Brioche

Can we talk about mornings for a second here?

I’m not a morning person by nature.  I never have been.  I remember as a kid, hating waking up in the morning for school, wanting to sleep in the afternoon and loving staying up late at night.  I remember spending the night at my grandmothers house and staying up late to watch late night talk shows with her, and hearing the television on long after I went to sleep.  I think I inherited my love of the late night from her.  God knows it’s not from my father.  All of my life, I remember him waking up at some awful hour and going to work.  Now that he’s retired he sleeps a little later, but it’s not much.

As I’ve gotten older I’ve realized there are two things that help me to cope with mornings.  Coffee.  And delicious fresh baked goods in the morning.   I decide to try the brioche recipe from Ad Hoc so I could have delicious fresh baked bread for breakfast.

Have you ever made bread?  You really should.  It’s a pretty amazing process.  Dough is sexy.  For real.

It’s so awesome to watch a small ball of dough go through its rising process to become a huge silky piece of dough finally a fluffy inside, crusty outside loaf of bread.  Brioche is pretty fantastic bread.  It’s really airy and soft.

There are a lot of eggs and even more butter in this bread so it’s really rich.  There is even a bit of sugar so it’s slightly sweet.  Personally I think brioche’s best application other then fresh with butter, is French toast.  The sweetness of the bread lends itself to sweet applications, and dipped in French toast batter, the bread gets even creamier on the inside while the outside gets caramelly brown in the pan.  Don’t misunderstand; this bread is lovely in all savory uses as well.  I made grilled sandwiched with bacon that were fabulous.

Go make some bread this weekend.  It’s not that hard I promise.  Read the recipe first, time it out right and you’ll have beautiful fresh bread before you know it.

Brioche


Recipe from Thomas Keller


Ingredients

1/3 cup very warm water (110 to 115 degrees)

One 1/4 ounce package (2 1/4 teaspoons) active dry yeast (not quick rising)

2 1/3 cups cake flour

2 cups all purpose flour

1/3 cup granulated sugar

2 1/2 teaspoons fleur de sel or fine sea salt

6 large eggs, at room temperature

2 1/2 (10 ounces) unsalted butter, cut into cubes, at room temperature

Directions

1.  Combine the water and yeast in a small bowl.  Let stand for 10 minute, then stir until yeast is completely dissolved.  Set aside

2.  Sift together flours, sugar, and salt into the bowl of a stand mixer fitted with the dough hook.  Add the eggs and beat for 1 minute at low speed scraping down the sides with a rubber spatula as needed.  Slowly add dissolved yeast and continue beating at low speed for 5 minutes.  Stop the machine, scrape any dough off the dough hook, and beat for another 5 minutes.

3.  Add the butter cubes, about one-quarter of them at a time, beating for about 1 minute after each addition.  Once all of the butter has been added, beat for 10 more minutes, until dough is smooth and silky.  Transfer the dough to a large floured bowl and cover with plastic wrap.  Let stand in a warm place until doubled in size, about 3 hours.

4.  Turn the dough out onto a lightly floured surface and gently work the air bubbles out by folding the dough over several times while lightly pressing down on it.  Return the dough to the bowl, cover with plastic wrap, and refrigerate overnight

5.  Generously butter 2 loaf pans or one Pullman loaf pan (I used one loaf pan and simply shaped the other loaf into a large ball in a large baking dish).  Turn the dough out onto a floured work surface.  With floured hands divide the dough in half, shape it into 2 rectangles that fit in the loaf pans.  Or shape it into 1 loaf and put it in the Pullman pan (if using a Pullman pan, cover with lid once the dough reaches 1/2 inch from the top).  Let the dough rise, uncovered, in a warm place until it is about 1/2 inch from top of the pans, about 3 hours.

6.  Preheat the oven to 350 degrees.  Bake the brioche until it is well browned on top and sounds hollow when tapped on the bottom, 35-40 minutes for 2 loaves, 45-50 minutes for a Pullman loaf.  Removed from oven and immediately turn the brioche out onto a cooling rack.

7.  If serving immediately, let the bread cool for 10 minutes, then slice.  If serving within a few hours or up to 2 days, promptly wrap the hot bread in aluminum oil and set aside at room temperature until ready to use.  To freeze, wrap the hot bread in foil and promptly freeze.  The bread can be frozen for up to 2 months; when ready to use, reheat (without thawing, and still wrapped in the foil) in a 250 degree oven until heated through, 20-25 minutes.

Baking with my husband or Apple Berry Crumble

I made this crumble with my husband.  HE suggested it.  That we make it together.  Well actually it started as a pie, but ended as a crumble.  You see my husband has not cooked for us in a VERY long time.  He used to, back when we were dating, whip up pasta-roni from the box.  But it’s been a long time since we’ve had pasta-roni, and even longer since he has cooked.  Or baked.  I’m fairly certain the extent of his baking experience begins and ends with Jiffy corn muffins.  He did work in a bread shop.  Somehow none of this knowledge remained with him.  At all.Needless to say, when he suggested we bake together, I was shocked. So I picked a crumble.  Pie seemed a little tough to start.  With the crust and the chilling and the rolling.  But there had been talk of berries and ice cream, so crumble seemed appropriate.He made the topping.  I may have told him what to do, but he did it.  And mixed the berries while I added the cornstarch, lime and vanilla.  He helped me layer the entire thing in the dish.  It was pretty great.I asked him later if he thought he could make it again on his own, if he had to.  He asked why he would have to, I suggested I could be working or out of the country, which he thought was funny.  I think he could make it on his own, but to be honest, why would he bother, when he’s got me.Apple Berry Crumble

Ingredients

1/4 cup dark brown sugar

1/4 cup sugar

1/2 cup all purpose flour

4 tablespoons butter, chilled and cubed

1/2 cup raspberries

1/2 cup chopped or small strawberries

1/2 cup blueberries

2 medium apples (I used Macintosh), thinly sliced

1/4 teaspoon lime juice

1/2 of a vanilla bean

1 teaspoon cornstarch

Directions

1. Preheat oven to 350 degrees.  In a small bowl mix sugars, flour and chilled butter with your hands until mixture is the size of small peas.

2.  Mix berries, cornstarch and lime juice in a medium bowl.  Scrape the half of a vanilla bean with the side of a knife and add to berries.  Mix well.

3.  In a buttered baking dish, make 1 layer of sliced apples.  Top with berry mixture.  Top with another layer of sliced apples.  Cover with crumble topping.  Bake for 40 -50 minutes, until topping is golden brown and juices had started to bubble over.  Allow to cool 10 minutes,  serve topped with vanilla ice cream

Birthday dinner

For my birthday I went out to dinner with my family.  It was reallllly good.  Prepare yourself for a long winded detailed description of it.  We went to Steenbock’s on Orchard.  This pretty little dish was the amuse, and it was phenomenal.  I probably could have eaten 10 of these.  It was a shrimp salad on a tiny brioche crostini, and it was full of flavor.  It was possibly my favorite part of the meal.This amazing looking creation was the field greens my parents ordered.  The greens sit inside of a potato basket and are topped with a yuzu foam.  It was probably the prettiest thing that came to our table.Next my husband and I had the heirloom tomatoes.  Underneath the tomatoes was a mixture of Crème fraîche and burrata cheese.  There was a tiny bit of balsamic reduction and tomato pesto on the edge of the plate.  The tomatoes were drizzled with olive oil and topped with micro greens.Our next course was the poached egg.  It was served with a hefty portion of perfectly crisp pork jowl, chicken, baby asparagus and a garlic cream.  Although not listed on the menu I’m fairly certain there was a purée of potatoes underneath it all.  The egg was perfect poached.  The waiter mentioned early on that the menu features a number of items cooked via the sous vide method, which if you are unfamiliar means cooking something in a plastic bag submerged in water.
For this course my parents had the agnolotti pasta.  It was served with crawfish, peas, tomato and truffle butter.  I made the mistake of not tasting this course.  I think I was too focused of my perfectly poached egg.  If you are not familiar with agnolotti, get with it.  Like right now.  Agnolotti was the first recipe I made from Thomas Keller’s The French Laundry cookbook and it was amazing.  You simply can not beat fresh pasta.  Especially when you knead it yourself.  For 30 minutes straight.Up next were the entrees.  I had the halibut.  The chef decided he didn’t like the corn that night so he changed up the preparation from the menu.  It was served with greens, and topped with kalamata olives, capers in a slightly smokey chipotle sauce with a hint of a kick.My father had the red snapper.  It was served with calamari and clams, in a tomato saffron nage, which was poured table-side, as were most of the sauces.  The waiter described the flavor as similar to bouillabaisse.  My dad devoured it, so I’m guessing it was pretty good.My mother had the Fountain Prairie Farms pork loin.  It was served three ways but I only vaguely remember what they were.  I’m thinking it involved some sort of pork belly, some sort of sausage like patty and a piece of seared pork.  The madeira sauce was pretty tasty.My husband had the chicken breast.  It was served with rainbow chard, parsnip purée (which I’m pretty sure he thought was mashed potatoes, mushrooms and a garlic jus.  I ate the leftovers of this dish the next day for lunch and it was just as tasty.  That jus was sooooo tasty.Finally we had dessert.  One of our servers (we had two the whole evening) recommended the s’more.  After looking over the menu I decided to go with his suggestion.  It was a deconstructed interpretation of a s’more that was pretty tasty.  It somehow ended up looking a little odd in this photo, but trust, it was gorgeous.  They even put birthday candles to keep the piece of smoldering wood that it is typically served with lit.  There were smaller pieces of house made marshmallow and one larger piece, sat atop a chocolate ganache.  The server told us about how the chef sometimes switches the ganache up, alternating between a typical smooth consistency and a slightly brittle ganache.  There was a small brownie which had a lava cake like center.  There was vanilla bean ice cream, which developed an almost caramel like flavor with the other components.  There was a sprinkling of a graham cracker crumble as well.  I probably could have eaten this whole portion myself.  Can you tell I like dessert?  I was nice and shared with the table.  The staff was nice enough to comp the dessert for my birthday.This odd photo is a shot of one of the many interactive monitors in the building which houses Steenbocks’s.  It is in the Wisconsin Institute for Discovery on the UW Madison campus.  A new high tech building, which many interactive features seems both an odd and fitting choice for this restaurant.  Clearly the chef uses molecular gastronomy along with traditional techniques.  The location however, is slightly odd and a bit difficult to locate unless you are looking for it.  I wonder if this fact will hinder their business, but being part of food fight maybe they don’t need to be as busy as a individual start up.  I quite enjoyed the experience, the service was the best I’ve seen, only comparing to the service out at Milkweed. I felt like our servers really cared if we had a good experience and were incredibly knowledgeable and always perfect with the timing.  They offered up interesting tid-bits of information without having to be asked and knew the answer to every question we asked.  I would go back to this restaurant any day and highly recommend it to anyone looking to try something new.  It made my birthday dinner feel special and the food made me a very happy girl!

Happy birthday

I’ve been coming down with a case of Peter Pan syndrome.  Today I turned 30, and I’ve been running and hiding and avoiding it like the plague.  I don’t know if it’s just my generation or if it’s always been this way, but I don’t think most of us really thought we would turn 30.  We all just kind of ignored it.  Like if we kept on pretending it wasn’t happening, maybe it wouldn’t.

And then it did.  Most of my friends are in their 30’s now, or very close to it.  We all still reminisce about our wild and crazy youth.  There’s something about the rebellious nature of my generation where turning 30 somehow seems like a betrayal.  Like we all saw people with 9-5’s and car loans and mortgages as evil.  Maybe we were on to something.

I’ve been having somewhat of a mini mid life crisis leading up to this day.  I’m not ready to be done living.  I’m not ready to settle down and bow down to a job and the grind and money for the rest of my life.  I’ve been rebelling against this passage of time by trying to recapture my youth.  I’ve been going to concerts and staying out late and not worrying so much about tomorrow. Maybe I’m being irresponsible, or maybe, just maybe I’m on to something.

I even got a tattoo.  As I’m writing this I’m realizing I forgot to tell my parents.  Sorry Mom and Dad.
 It’s a line from one of my new musical fascinations.  And no, I’m not going all crazy religious.  I got this tattoo for other reasons.  Ever since I graduated from college and became a real grown up I’ve been scared.  Scared to live, scared to die, scared to be poor.  Every single decision I’ve made since then has been financially motivated.  Not one single move, job change or big decision has been real.  I got this tattoo to remind me, to kick me in the ass, and tell me to start living.  Really living.  Making decisions from the heart, doing things that matter, things that really mean something to me.  Working for myself, not the dollar. So that’s the tattoo.  And the fact that it kind if weirds people out lets me know I made the right decision getting it.  I’ve always kind of been that girl.

So today I turned 30.  And even though it scared and still scares the crap out of me, it has kind of allowed me to realize what’s really important to me.  Family.  Happiness.  Living for the moment.  We won’t have them forever.

And I can’t forget that list I made.  That lovely 30 by 30 list.  I’ve done things!  I’ve accomplished goals!  Not a lot.  It is going to be a process that much is clear.  Here’s where I’m at so far:

1.  Make a soufflé.

I still need to do this.  I keep forgetting.

2.  Redesign my website.

Done.  It’s much better.  Re-subscribe if you haven’t yet.

3.  Find a way out of my job.

No ideas.  It needs to happen.  That place is pure evil.

4.  Create a small business plan.

The problem with this one is I’m not exactly sure what type of business.  Can I just get paid to write this blog?

5.  Start food blog.

Kind of obvious right?

6.  Write 30 new recipes.

I’ve written more then 30.  Go me!

7.  Animate Rocky.

I’ve decided I need a Wacom tablet for this one.  Want to buy it for me?

8.  Enter Iron Cupcake.

Done and doing again.

9.  Make baking business cards.

Way done.  Totally mini and adorable.

10.  Make crème brûlée.

I need a torch.  I might go buy one today.

11.  Learn to refinish my dresser.

Didn’t even think about this one yet.

12.  Learn to sew.

I bought fabric.  I’m making an apron.  Soon.

13.  Make my own cookbook by hand.

I have an adorable little book I’m using for this.  I do not have a working printer.

14.  Make a perfect poached egg.

I don’t know why, but I can never get this right.  They’re never quite perfect.

15.  Mail baked goods to 15 long lost friends.

I had great intentions of completing this one.  Not even started yet.

16.  Make a wedding cake.

I totally did that.

17.  Eat at L’Etoile.

Okay here’s the thing.  L’Etoile, totally not cheap.  Going to have to save some money.

18.  Plan a vacation to the west coast.

I’m thinking this spring.  It’s difficult, I have a husband who refuses to fly and 2 dogs that are hard to manage.

19.  Read 19 new books.

I’m pretty sure I did this.  I didn’t keep track.  I read a lot.

20.  Take 20 GOOD artistic photographs.  Not of food.

Ummmm yea…I like taking photos of food.

21.  Organize my computer.

Still needs to happen.  Still hasn’t happened.

22.  Watch every movie someone suggests from now until I turn 30.

This was easy.  Somehow people didn’t mention a lot of movies to me.  I did watch Anchorman and I now know why I avoided it for so long.

23.  Spend a night partying like it’s 1999.I did this.  A couple of times, including last night.  There was a brass band involved.  It was fun.

24.  Scan all of my old photos.

Nope, didn’t do this one.  It’s gonna be a biiiiig project.

25.  Make this beautiful cake for someone’s birthday.

No one has had a birthday who I make cakes for since I came up with this.  Soon though.

26.  Make a duo of homemade cheeses, ricotta and mascarpone.

This one is easy!  Why haven’t I done this yet?

27.  Make homemade dog biscuits.

Again, easy.  Do it!

28.  Take a cooking class.

Still need to do.

29.  Develop an exercise routine I can stick to.

Um yea, about that…

30.  Choose a cookbook and make every recipe in it.

Chosen, made recipes, it’s going to be a couple years before I finish this one.


So that’s it.  My 30 by 30 list is turning into 30 things for 30 years.  And then some.  But it’s good to have goal, even small ones.  So today I turned 30.  It wasn’t really as traumatic as I thought.  I had a great time with friends yesterday, and ate an amazing dinner with family tonight.  I’ll fill you in on that one later.  30 doesn’t feel any different then 29 did, so I’ll save my anxiety for 40.  Yikes.

Falling in love with a cookbook

I might be in love with a cookbook.  Really and truly in love.  This cookbook is quite possibly perfect.

It’s packed with knowledge.  Useful, easy to understand, information for any cook.  It’s simple.  It’s elegant.  The book it self is slick.  The dust jacket is beautiful.  There’s a drawing of a pig, divided into it’s delicious parts.  The texture of the paper is fabulous.  The hardcover itself is a rich bright blue, again with the pig on it.  And again, the texture of the book.  It’s smooth, almost satiny.  I have a thing for books, can you tell?  I really love a well-made book that becomes a tactile experience.

And the recipes.  Oh the recipes.  Family style, meals, meant to be served as such.  Condiments, from scratch.  Techniques for the basics.  This cookbook has style yet seems accessible enough for even beginners.

Did I forget to mention it’s a Thomas Keller cookbook?  It’s Ad Hoc at Home.  Yea, I kind of have a food crush on him.  Just a bit.  And I will be going to his restaurants, damn it!  I just have to get myself and a whole lot of money to California.

The first night I got this in the mail, I took it to bed with me.  Really.  I paged through it over and over.

Then I decided this would be the book for #30 off of my 30 by 30 list.  Choose a cookbook and make every recipe in it.  Considering the sheer size of this book, there’s no way I will accomplish this task by the end of the month when I officially exit my 20’s for good.  So I’ve decided to try and tackle 2 recipes a week.  There are 259 recipes in this book, so if you do the math that’s about 2.5 years before I finish.  However a number of the recipes are components of other recipes.  I’m going to see if I can complete it in 2 years.  I’ll keep you posted. So far I’ve made a few things.  The first recipe in the book is Keller’s barbequed chicken.  It was his father’s favorite.  He serves it with sautéed greens, mashed potatoes and shortcake.   With a few changes here and there, I did the same.I ran out of charcoal so the chicken was made in the oven.  I didn’t have strawberries so I used peaches and raspberries.  I’ve been on a peach and raspberry kick.  It’s a fall thing.  I used the rest of the chicken to make stock.  It was genius.  It was simple.  It was sooooooo good.  Definitely the perfect first recipe in this book.  The shortcake was amazing.Like buttermilk biscuits, but sweeter.The dough is a simple biscuit dough, which I sweetened with cinnamon and sugar.It rolled out easily and quickly.  It baked up in ten minutes.And then it got topped with the sweetest raspberries of the season and the juiciest peaches.  It was amazing.  I’m pretty sure this was my favorite raspberry peach combo of the year.  It was my answer to the last warm weekend of fall.

Dinner for Dad


Recipe adapted from Thomas Keller

     Ingredients

Bacon (about 4 ounces slab bacon, lardons or strips)

Approximately 2 pounds collard greens

Unsalted butter, approximately 1 stick, room temperature

Salt

1 pound potatoes (peel if you like, I left the peels on)

1 pound berries (I used peaches and raspberries)

Sugar

1-2 teaspoons Grand Marnier (I skipped this)

One 3-4 pound chicken

3/4 cup half and half

1 cup heavy cream

1/2 teaspoon vanilla extract

3/4 cup high quality barbecue sauce

4 shortcake rounds (I used Keller’s biscuit recipe)

Directions

1.  Preheat oven to 350 degrees.  If you will be grilling the chicken start the coals too.

2.  Cook bacon in a heavy dutch oven.  Remove stems from greens and discard.  Wash and dry greens.  Add a few tablespoons of butter to dutch oven and add greens, turning occasionally to wilt.  Add a two-finger pinch of salt.  Once the greens are wilted, cover and place in oven.

3.  Put the potatoes in a large pot and cover with cold water and a three-finger pinch of salt.  Place over high heat until simmering.  Simmer gently until potatoes are fork tender.

4.  Meanwhile prepare fruit.  For me this meant cutting up the peaches and mixing with the raspberries.  Add sugar.  Set aside.

5.  Cut chicken into eight pieces (or ask your butcher to do this for you) wings, breasts, drumsticks and thighs.  Season liberally with salt.  Cook the chicken, I baked mine in the oven for about 25 minutes, flipping every 7-8 minutes and basting with barbecue sauce.

6.  Heat half and half with butter.  Drain potatoes and add to half and half.  Mash to desired consistency.

7.  The collards should be done after about 45 minutes.

8.  Whip the cream with the vanilla.  Add the Grand Mariner.  Top biscuits with fruit mixture and whipped cream when ready to serve.

Buttermilk Biscuits


Recipe adapted from Thomas Keller

Ingredients

2 cups cake flour

2 cups all purpose flour

1 teaspoon salt

1 tablespoon baking powder

1 teaspoon baking soda

2 tablespoons sugar

1 teaspoon cinnamon

2 sticks of butter, cubed and chilled

1 1/2 cups buttermilk

Directions

1.  Preheat over to 425 degrees.  Line baking sheet with parchment paper.

2.  Combine flours, salt, baking powder and soda, sugar and cinnamon in a food processor or mixer.  Add chilled butter and pulse until butter is the size of peas.

3.  Add buttermilk and mix until dough just comes together.  Pour out onto a well-floured surface.  Roll out until dough is about 3/4 inch in thickness.  Use a biscuit cutter (or the top of a small jar) and cut out biscuits.  Re-roll scraps and continue until you have used all of the dough.  Place biscuits together on baking sheet.  Bake approximately 10-15 minutes, until tops are golden brown.

Chocolate Pudding

20111018-184539.jpg
Tonight I ate some burritos. I made a sauce from sour cream and garlic. It was delicious. And lingered. For a looooong time. So I decided I needed some chocolate pudding.

20111018-184823.jpg
There were egg yolks involved.

20111018-184841.jpg
Then there was milk who made friends with chocolate, sugar and cocoa powder.

20111018-184955.jpg
Eggs meet cornstarch. Double thickening power.

20111018-185054.jpg
I managed to scribble out the recipe somehow between whisking.

20111018-185202.jpg
Presto change-o chocolatey milk turns into wobbly silky pudding.

Double Chocolate Pudding

3 cups whole milk
1/2 cup sugar
1/2 cup bittersweet chocolate, chopped
1/3 cup cocoa powder
1/4 teaspoon salt
4 teaspoons cornstarch
3 egg yolks
1/2 vanilla bean

1. In a medium saucepan heat milk, sugar, chocolate, cocoa powder and vanilla bean over medium heat.

2. Combine salt, cornstarch and egg yolks in a small bowl, whisking until smooth.

3. Add a ladle full of hot milk mixture to egg mixture whisking thoroughly to combine. Continue adding hot milk until you have incorporated all.

4. Pour through a sieve into another clean saucepan and return to heat. Whisking constantly bring almost to boil. Mixture will thicken. Allow to cool slightly and pour into glasses. Refrigerate at least 4 hours. Serve topped with whipped cream if desired.

Summery Cocktails

Here’s the thing.

I’m trying to pretend it’s still the season of summery cocktails.

Remember this?

The drink I had that night was amazing.  It was simply the best drink I’ve ever had.  Hands down.  It was that good.

It’s deceptively simple.  And perfect.  It’s strong without being too strong.  You can taste the alcohol, but it doesn’t bite.  This drink is fruity, without being girly.  No umbrellas are invited to this party.  It’s loaded with fresh mint.  It’s light and refreshing.  It’s is the epitome of the summer cocktail.  And I’m going to keep drinking it all winter long.

I had planned to go back to Graze, to sit at the bar and order this drink so I could see exactly how they make it.  But I couldn’t wait.  Also I decided I would probably spend less on the ingredients to make 20 of these then I would going out.  I tried it a few times.  This was one of my first attempts.

The menu lists four ingredients: Cognac, Pimm’s No. 1 Cup, fresh mint and lemon.  I’m 99% certain there is club soda or some type of fizzy beverage involved as well.  If that were all it involved, it would be super alcoholic and tart.  Not the case.

So I went and bought Pimm’s, which I’ve been wanting to try since I saw it mentioned on Boardwalk Empire (which by the way is an amazing show.  You should totally watch it).  I bought some cognac too, which they keep locked up at the store I went to.  Apparently it gets stolen a lot.  I bought some lemons and some lemon lime soda. I have fresh mint in my back yard so that was a no brainer.  I used my pineapple mint, pretty much just because it’s fun.

So muddle, muddle, pour, pour and voila, you have a cocktail that tastes almost exactly like the one I had at dinner.  Sooooo good.  I could seriously drink these everyday.  They taste that good.

I’m still going back to see exactly how they make them, and also because they post their soup of the day on Facebook everyday and it makes me sooooo hungry.

This cocktail is definitely going down in my book as one of the best ever.

Here’s how I got there.

My own Mint Condition


1.5 ounces of Pimm’s no.1 cup

1.5 ounces of cognac

10 leaves of fresh mint

Juice of 1 lemon

1.  Mix all ingredients in a martini shaker.  Shake vigorously.  Pour over ice into a tall glass.  Top with lemon lime soda.

Warm fall breakfast

Raspberries fresh farm the farmers market.

Milk.  Whole milk.  The only way to go when you’re cooking.

Peaches also from the market.

Again, with the market.  Syrup.

Raspberry stuffed, peach french toast.  In case you were wondering, the bread, also from the farmers market.  And the eggs used in the batter.  Everything in this french toast came from the market.  And I didn’t even plan it that way.  Go me.

The wedding cake that wasn’t

Ok so it is a cake.


A totally adorable, amazingly delicious little cake.  It wasn’t a wedding cake.


A couple of weeks ago a friend decided to get married, super low key, only a few people, outside, no reception, no cost.  We were supposed to go be witnesses.  I thought I would surprise them with a cake.  Helllooo?  Have you met me?  I bake.  A lot.  Somehow they found out and something happened where they decided they didn’t want a cake.


Ummmmmmmm…ok?  Who turns down a free wedding cake?  But whatever, no hard feelings. It was their day and what they want they get.  I totally wrapped some in foil and snuck it home with the groom.  I’m pretty sure they were thanking me later.


As soon as I found out, I decided I was still making the cake.  I had a plan, I had ideas.  And I already spent $20 on mini cake pans.  There would be a wedding cake.  It just wouldn’t be attending a wedding.


So I made this cake.  It was little and oh so cute.  It wasn’t hard at all.  It was delicious.

The bottom tier is a chocolate cake that is filled with caramel and a milk chocolate crunch.  Think candy bar.  It was inspired by this Martha Stewart cake I made last year.  There are three layers in this tier and the second layer is filled with fudge buttercream.


The middle tier is a caramel cake, with three layers.  The first is filled with the fudge buttercream and caramel.  The second is salted caramel buttercream.


The top tier is chocolate again; this tier has only two layers, since it’s tiny.  This filling for this one is caramel; salted caramel buttercream and milk chocolate crunch.

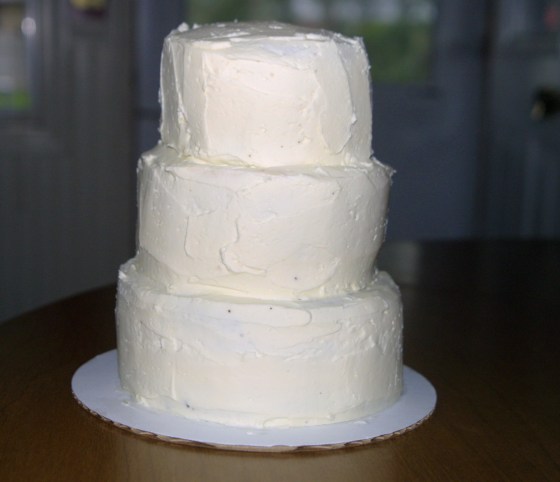
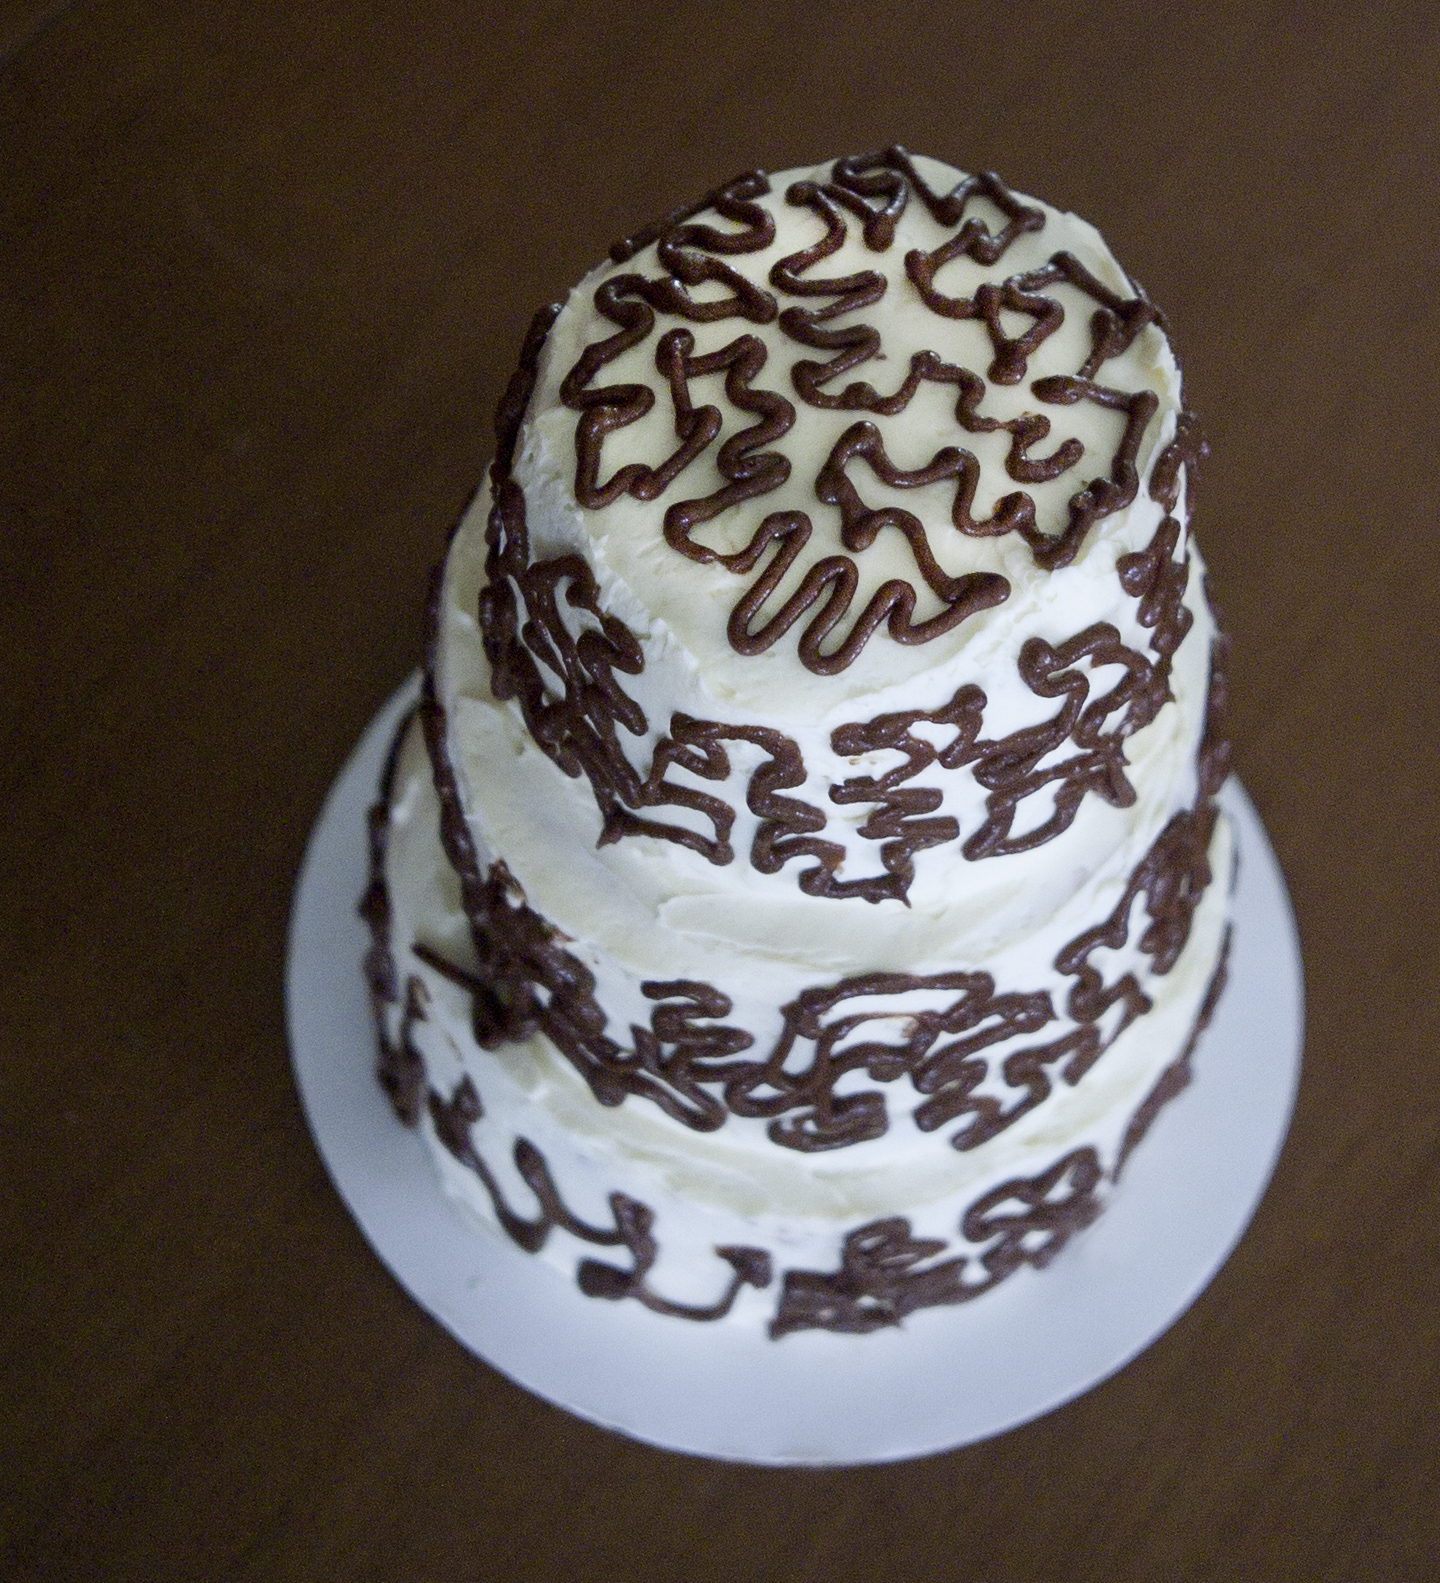
The whole cake gets slathered with salted caramel buttercream.  Then it gets decorated with the fudge buttercream.


This whole process was easier then I expected.  Possibly due to the small scale of the cake.  Or maybe I’m just awesome.  That’s a joke in case you can’t sense the sarcasm in written form.  I enjoy sarcasm a little too much.


Making a cake for a 200 person wedding I don’t see being as simple.  Where would I store the layers?  How would I transport it?  I’m pretty sure larger cakes involve dowels and other such nonsense to keep them together.  That sounds like crazy talk.


But this wedding cake was perfectly adorable.  They totally could have taken it home and eaten themselves into a sugar coma after their wedding. Instead we ate it ourselves, I gave some to friends and brought some to work.  There was so much damn cake for such a small cake!!

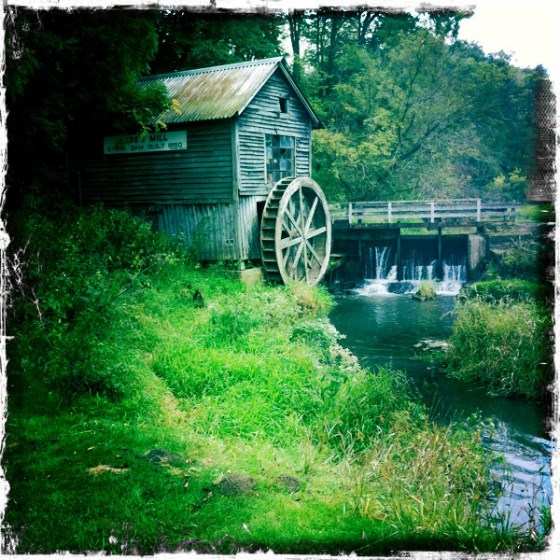
The wedding was great.  There were 8 people there, including the bride, groom and minister (who happens to be my BFF Karl, and also the officiant at my own wedding).  It was at this beautiful mill in the hills of the river valley about an hour from town.  It was drizzling all day, but seemed to stop just long enough for the ceremony.  She cried, I teared up, they got married.  And that was it.  I’ve been to two weddings this summer.  The first I spent 7 hour at.  This one was 30 minutes total.  It was kind of awesome.

We went home and I disassembled the cake and cut it.  It was candy bar like elegance.  It was simple and decadent.  I totally should have made my own wedding cake.  Wait that’s insane, who does that?


Here’s how it all came together.


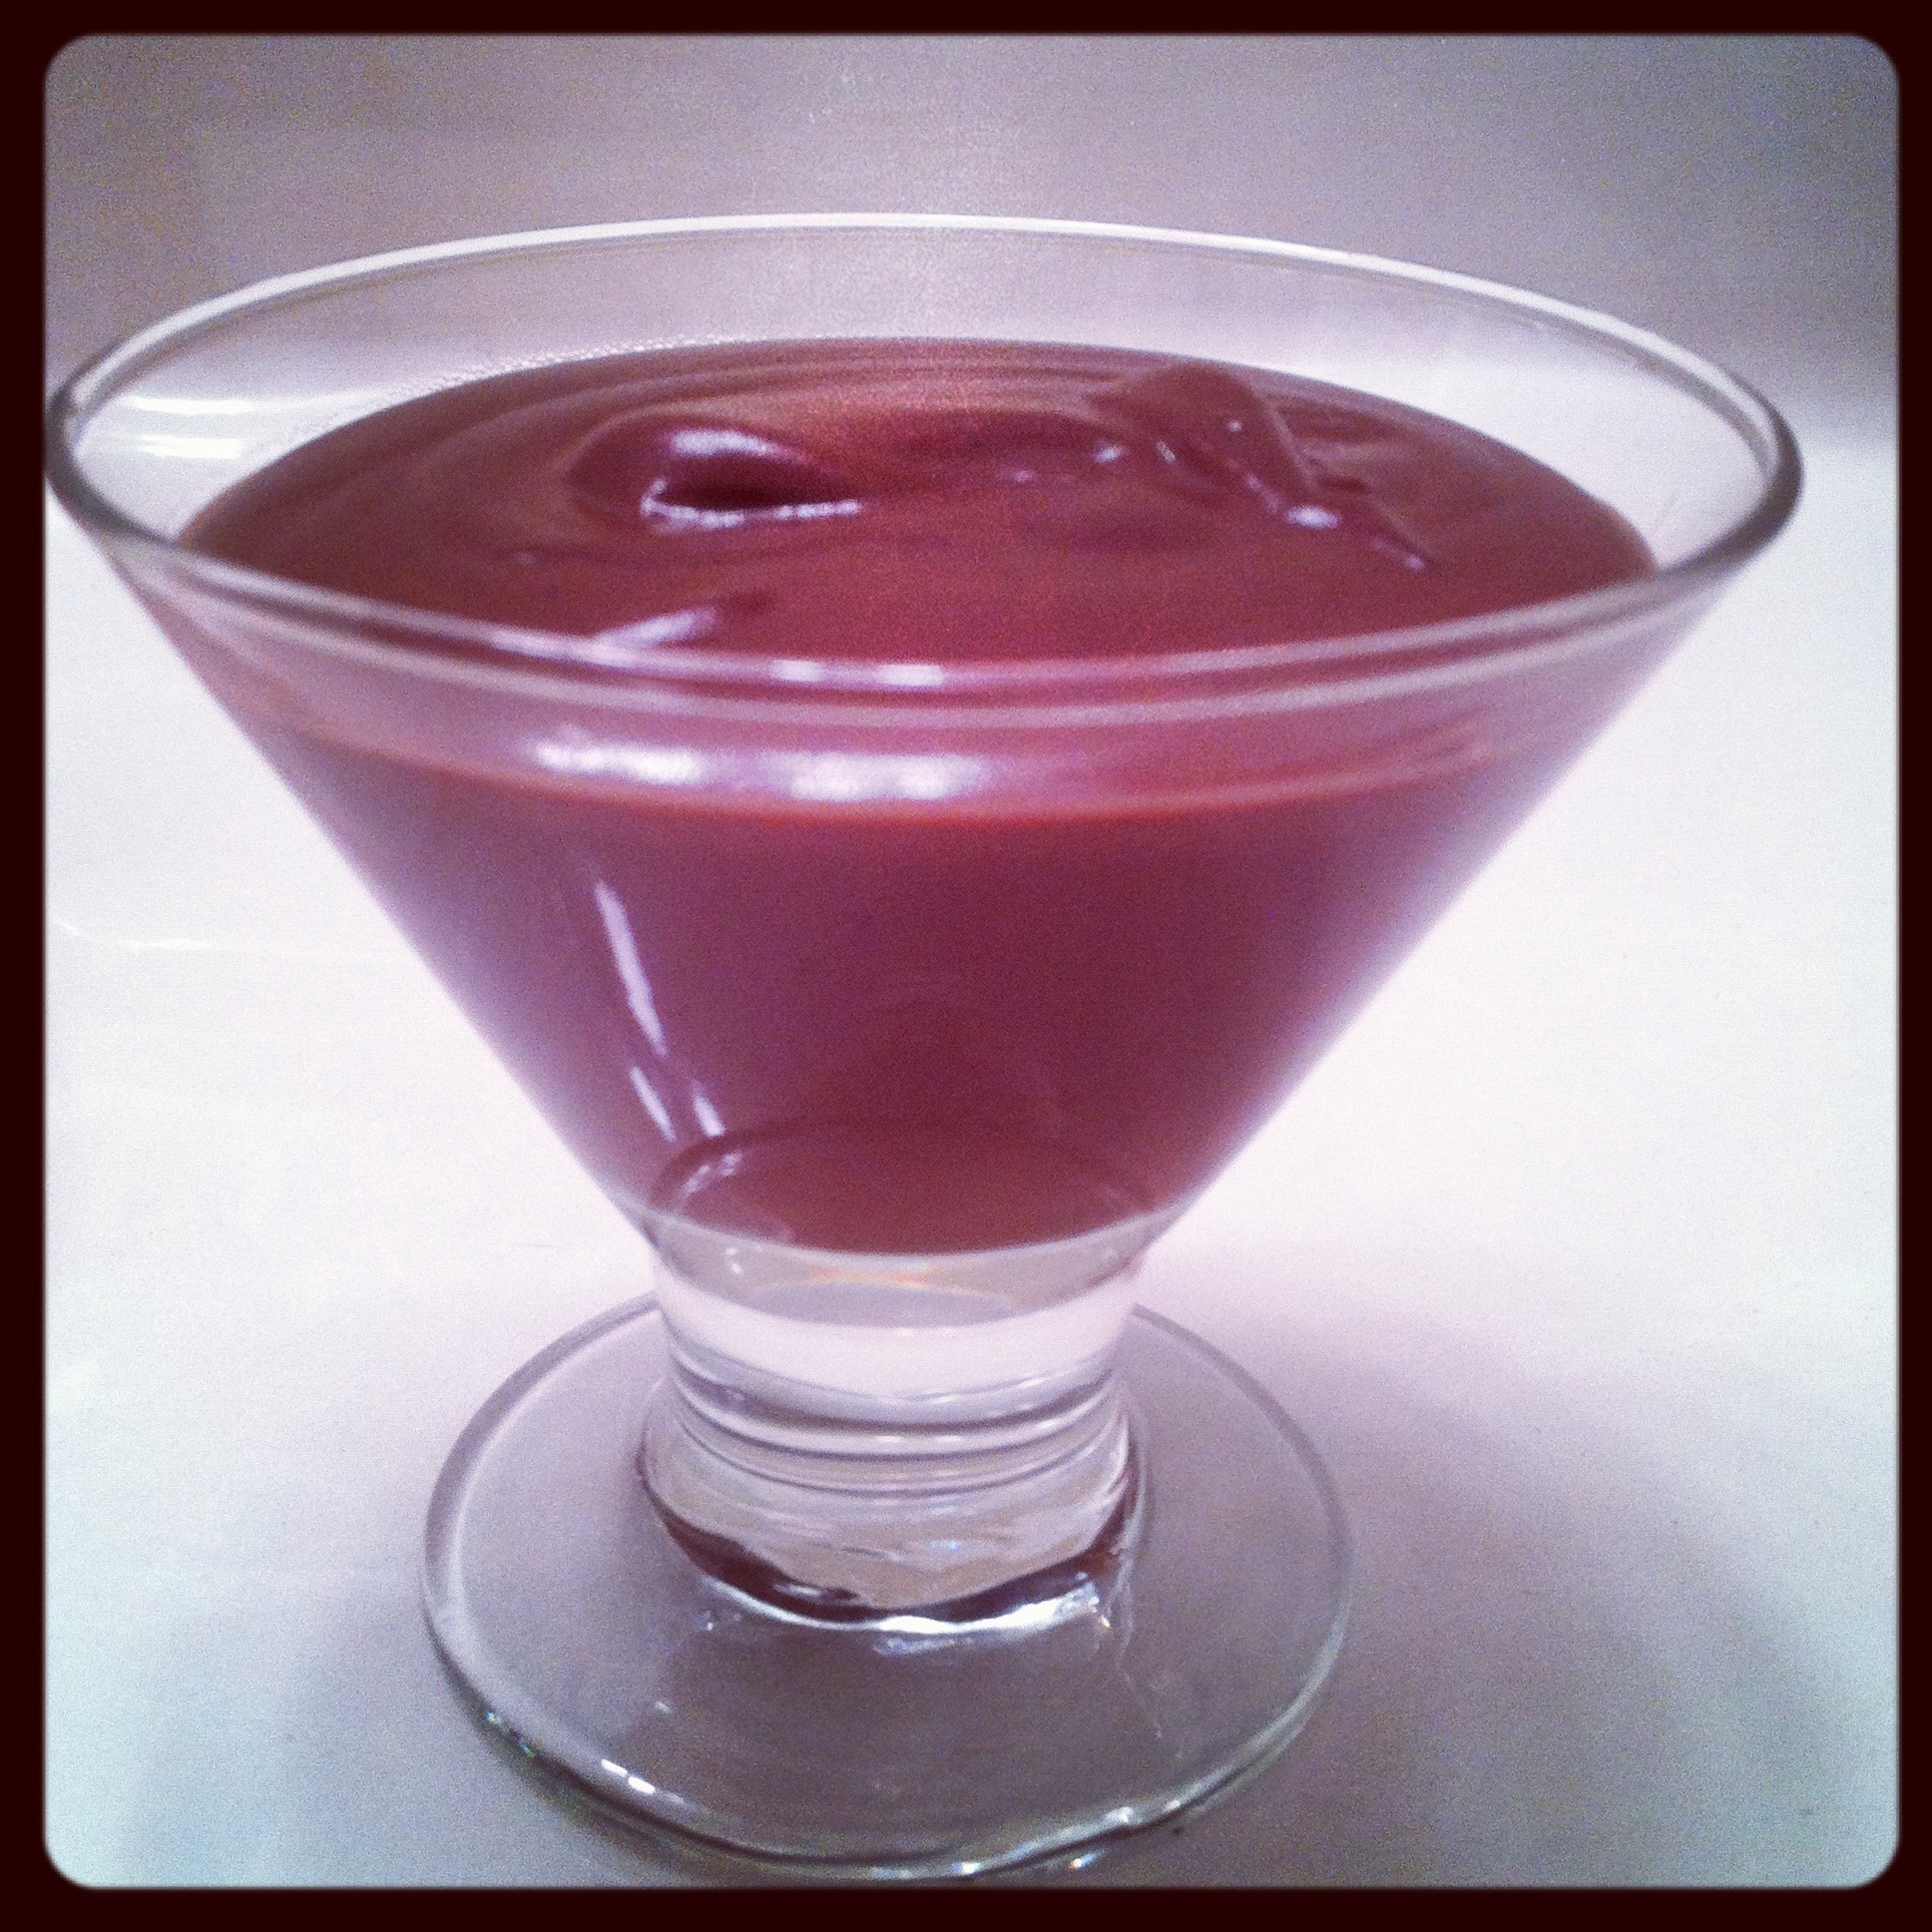
Four days before the wedding I made the caramel sauce.  Super easy.  Into squeeze bottles it went.


Two days before I made the cakes.  As soon as they were cool I wrapped them as tight as possible in plastic wrap and put them in zip lock bags in the fridge.  I leveled the cakes in the pans before doing this.


That same day I also made the milk chocolate crunch.  That was super simple.


The day of I made the frosting, cut the cakes into layers and assembled and frosted the cakes.


I did everything as I would have, had I been taking the cake to the actual wedding.  Once completed I put the whole cake in the fridge to allow the frosting to set.


When I took it apart to cut it, I simply lifted each layer off of the cake and cut them.  I stored them in zip lock bags in the fridge, and took the cake out 15 minutes before I wanted to eat it.  Trust this, the caramel gets all oozy, the frosting softens…it’s a gooey delicious mess.  That’s a lie, it’s not messy, and it stayed together quite well.


So I made my first wedding cake.  I think it turned out pretty well.  I’m not about to go offering to do cakes for huge weddings, but this one was a delicious success.  And I checked something off of my 30 by 30 list!  Go me!

Chocolate Caramel Wedding Cake


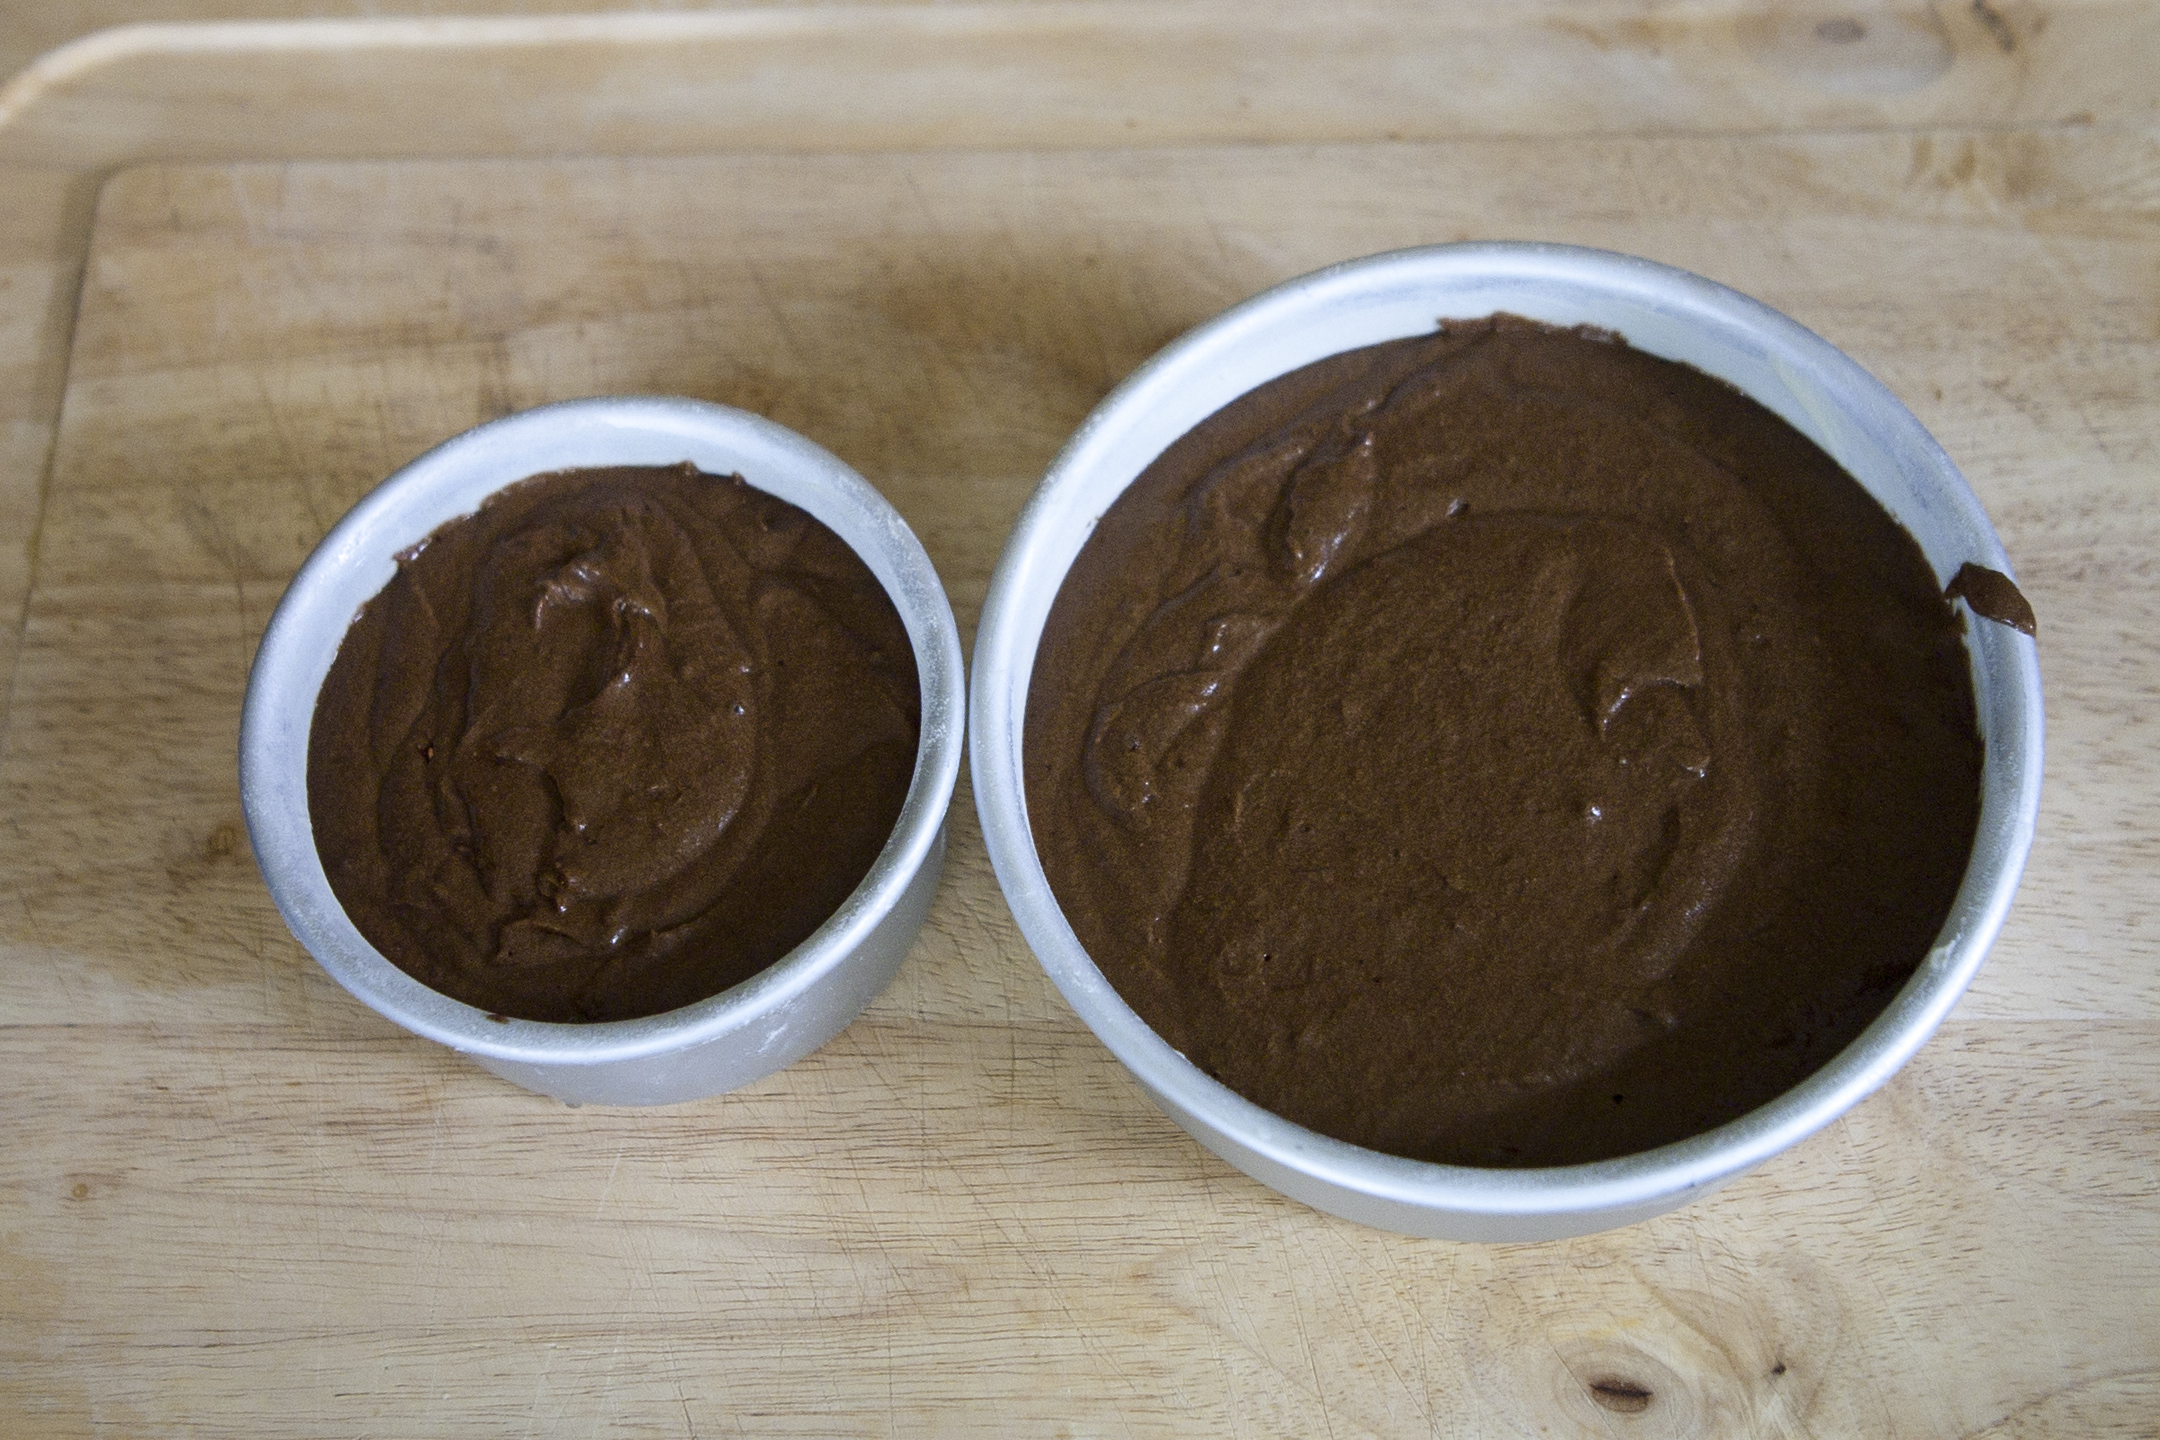
A few notes on this recipe:  I had left over batter.  You might too, depending on the size cake pans you use.  I simply poured my extra batter into a loaf pan.  I also ended up with extra caramel, milk chocolate crunch and frosting.  These all went on top on the loaf cake when cooled.  It looked like a giant candy bar.  So use your extras any way you choose!


When cutting the cake, disassemble it first.  Don’t try to cut the cake as a whole, it gets complicated and doesn’t work out well.


Lastly, this cake tastes really delicious with coffee.  I highly recommend it.


Ingredients


For the chocolate cake:
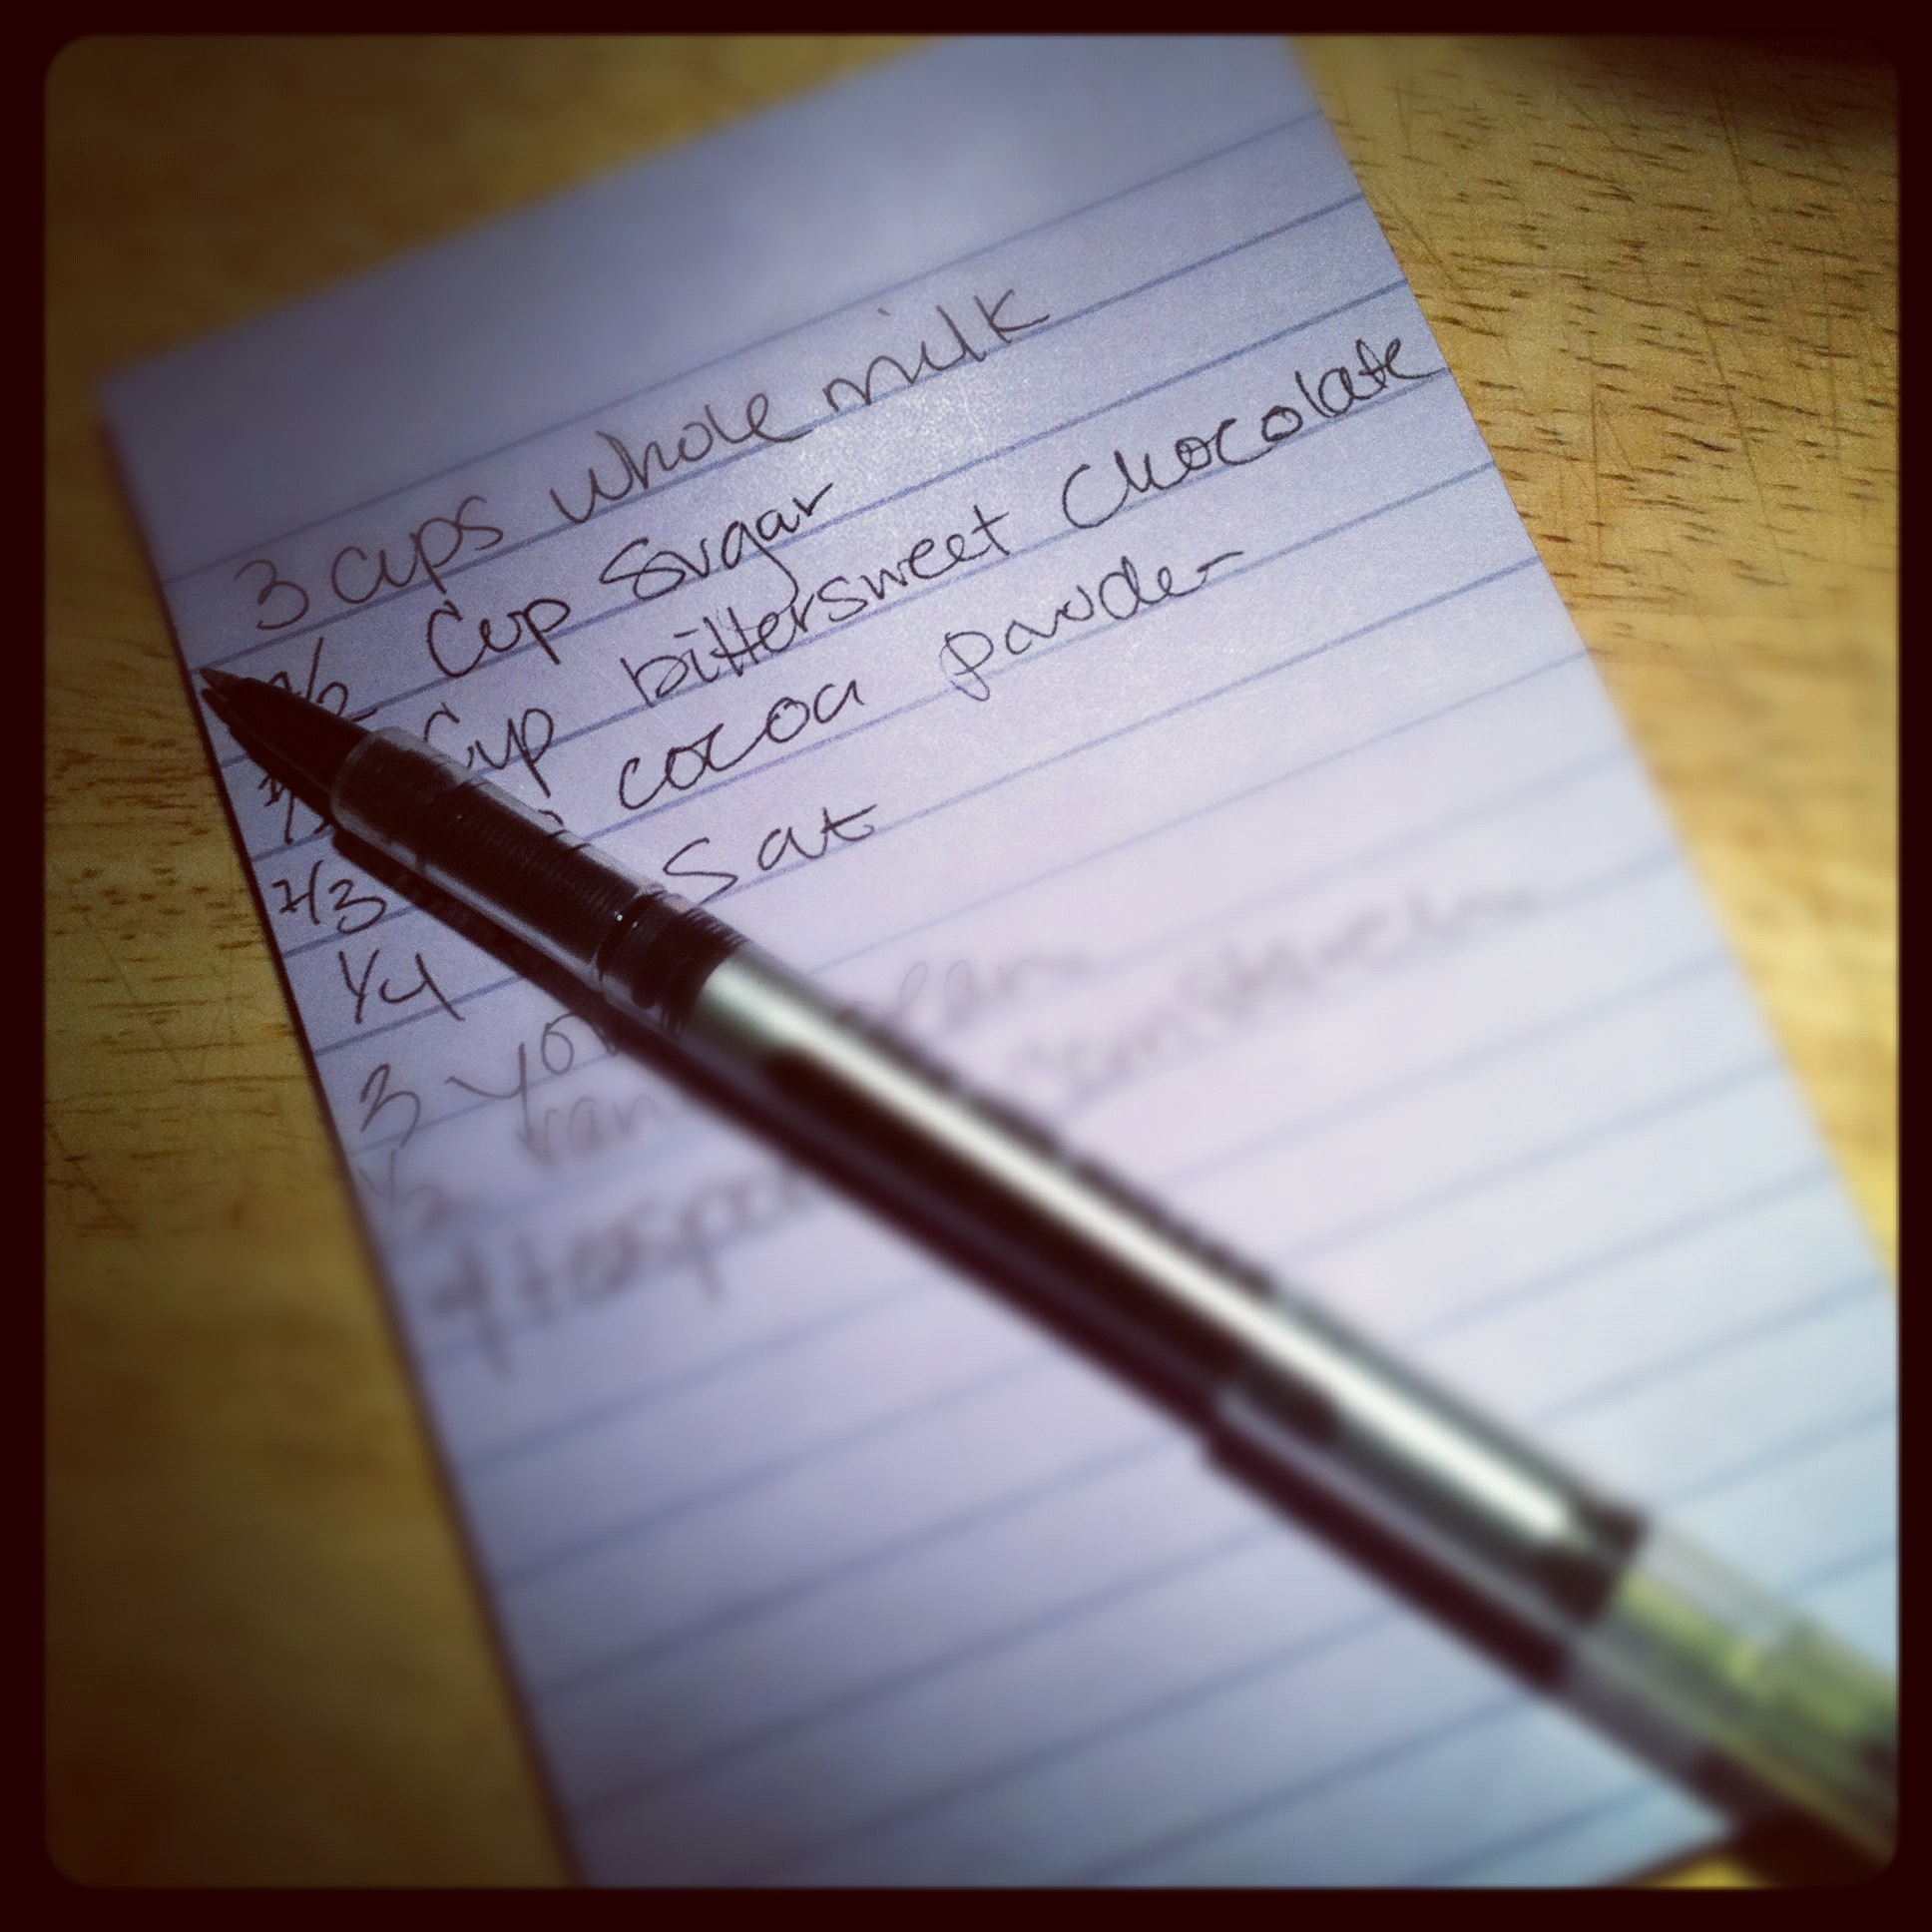
 

1 cup coffee

3/4 cup cocoa powder

1/2 whole milk

2 cups flour

1 1/4 teaspoon baking soda

2 sticks of butter softened

1 1/4 cup brown sugar

3/4-cup sugar

4 eggs


For the caramel cake:


1/2 cup plus 1/8 cup all-purpose flour

1/2 cup cake flour

1/2 teaspoon plus 1/8 teaspoon baking powder

pinch of salt

1/3 cup whole milk

1 teaspoon vanilla

1/2 stick plus 1/2 tablespoon unsalted butter, softened

1/3 cup sugar

2 large eggs

1/3 cup caramel sauce


For the frosting:


5 egg whites

1 cup of sugar

4 sticks of butter, softened

6 ounces of semi sweet chocolate

caramel sauce

1/2 teaspoon salt


For the milk chocolate crunch:


6 ounces milk chocolate

1 cup crisped rice cereal


Directions


1.  Preheat oven to 350 degrees.  Butter and flour 3 cake pans, you can use a variety of shapes, sizes and types.  You want to make enough cake to have layers and tiers as well.


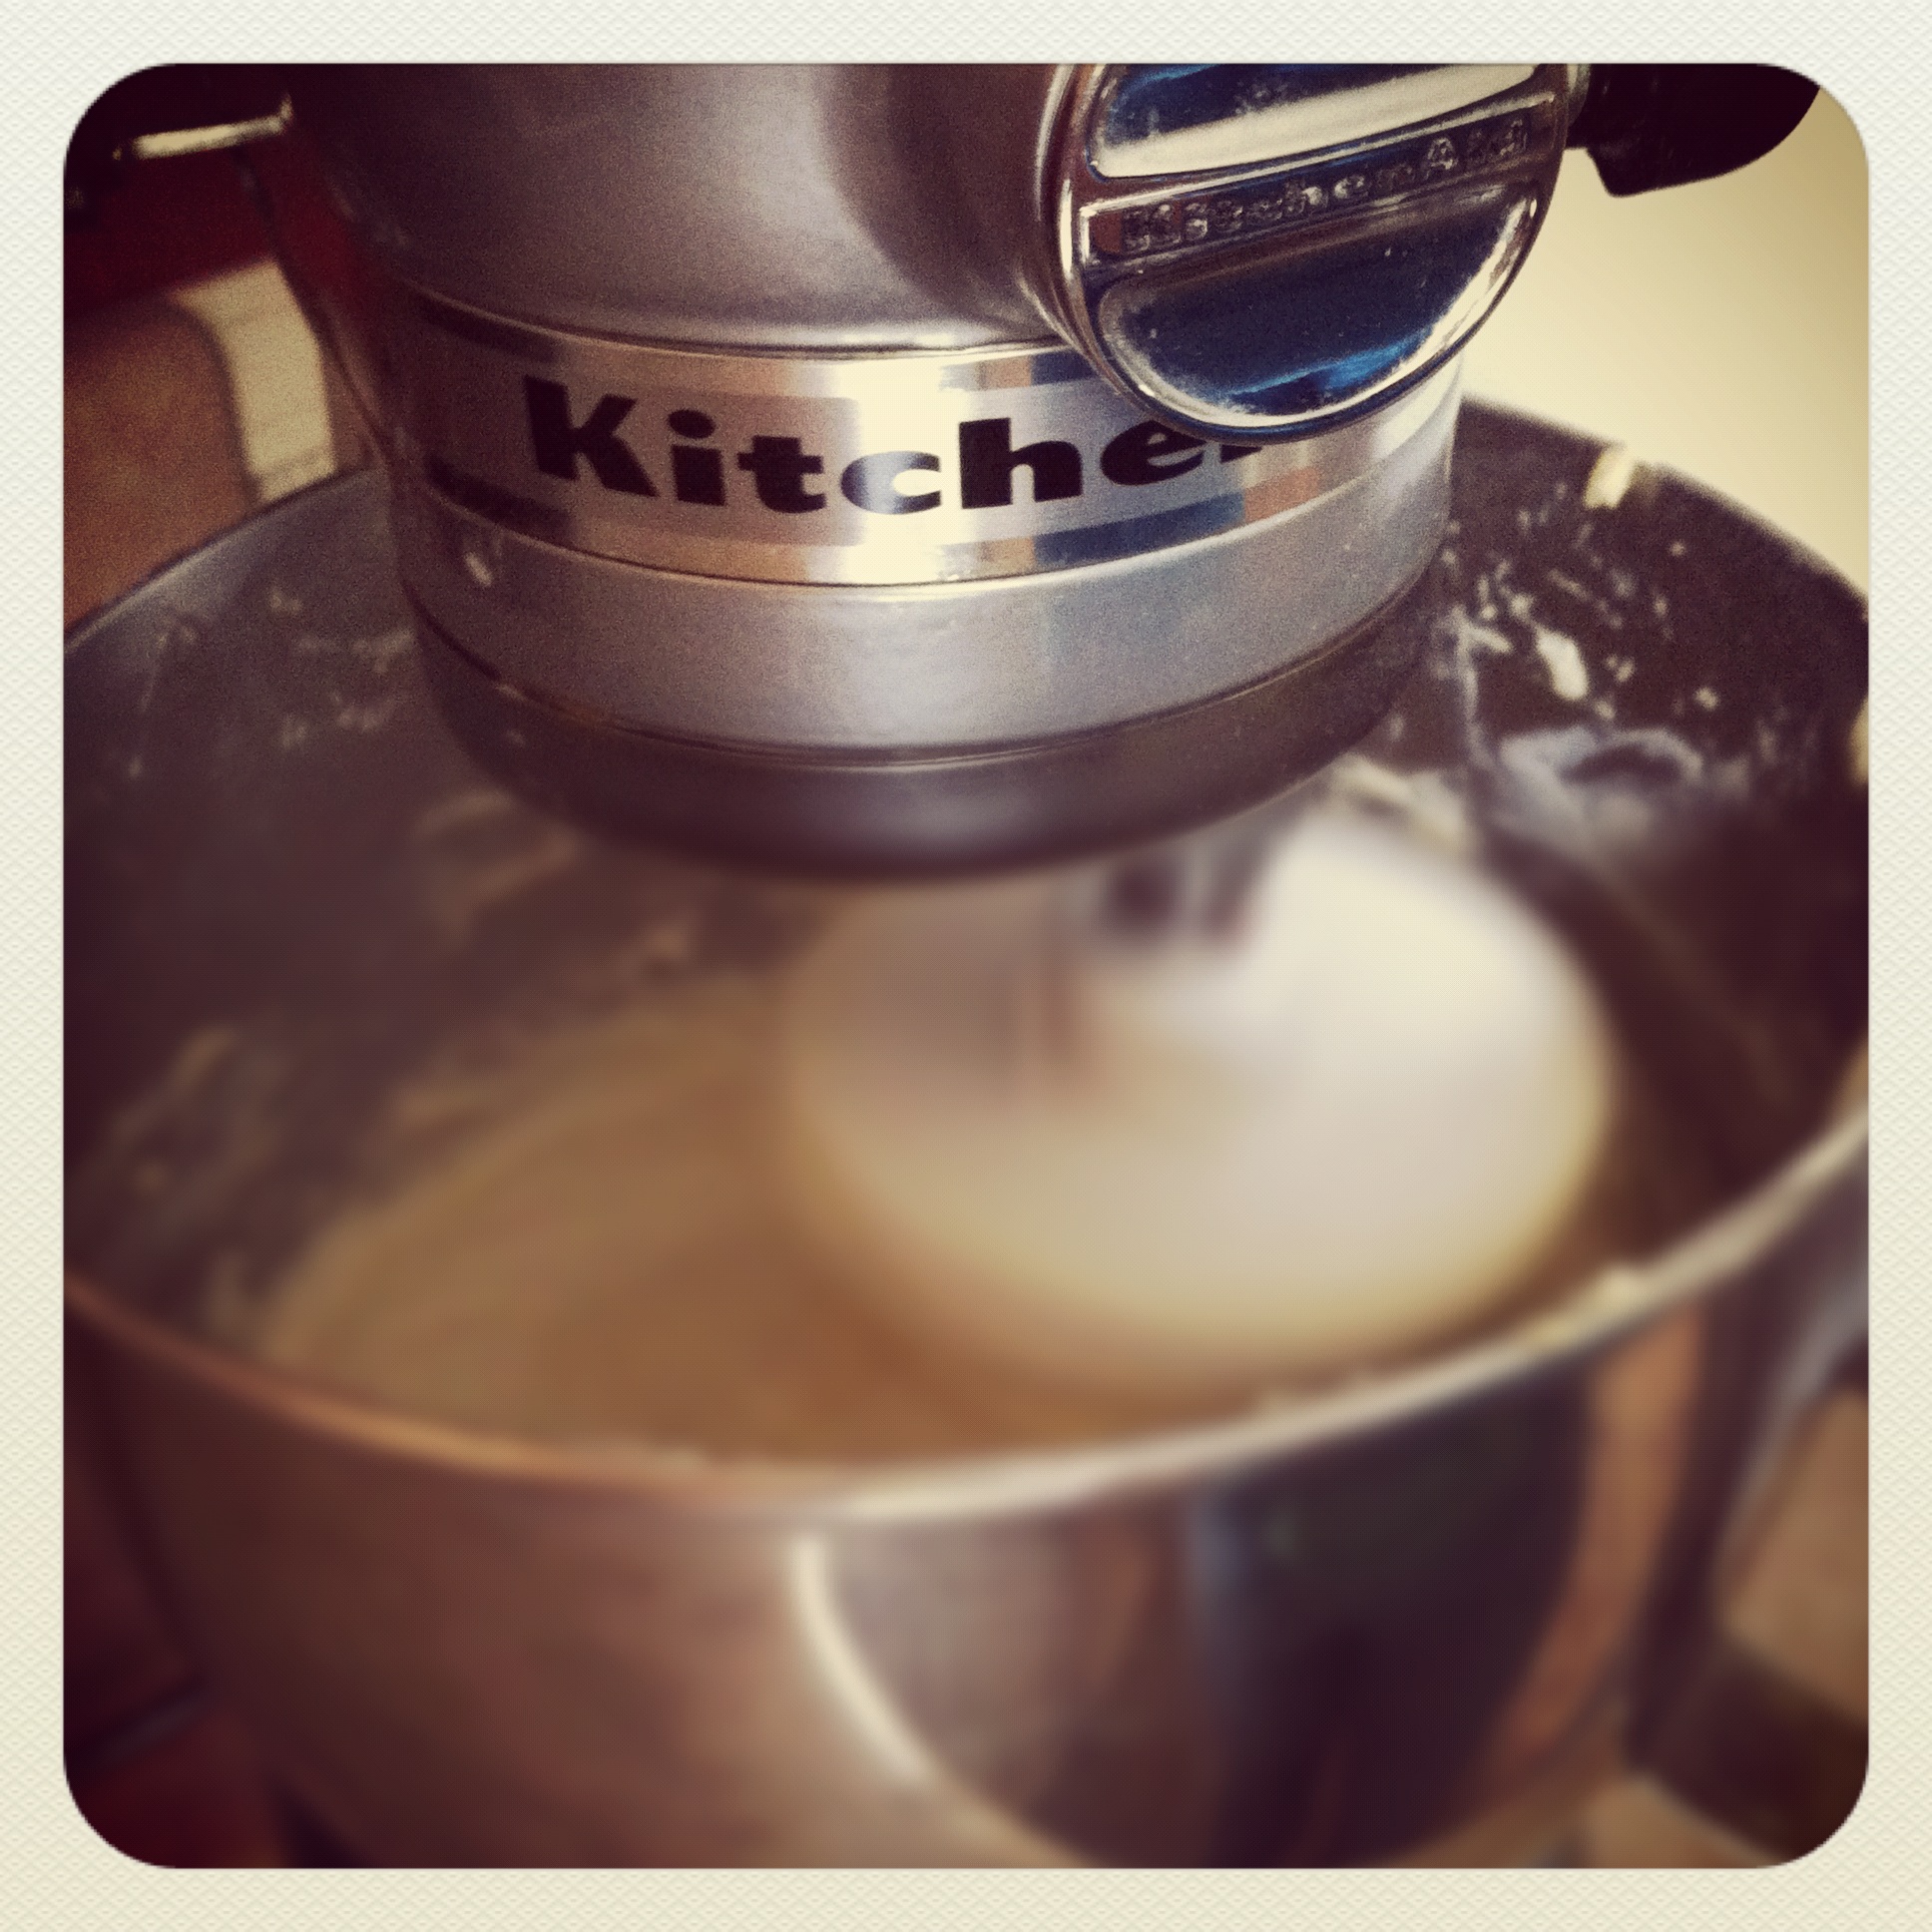
2.  Make the chocolate cakes: Brew 1 cup of strong coffee.  Mix cocoa powder in with coffee until dissolved.  Once cooled add milk.  In another bowl mix flour, and baking soda.  In a mixer using the paddle attachment cream butter and sugars together.  Add eggs one at a time until well blended.  Add flour mixture and coffee mixture alternating, starting and ending with flour.


5.  Make the caramel cake:  Whisk together flours, baking powder and salt in a small bowl.  Stir milk and vanilla in another small bowl.  Beat butter in mixer on medium speed until light and fluffy, approximately 3 minutes.  Add sugar slowly while mixing.  Beat until pale and fluffy, about 3 minutes.  Beat in eggs 1 at a time, mixing after each addition.  Scrape bowl and beat until smooth.  Reduce speed and slowly add 1/3 of flour mixture.  Alternate adding milk mixture and flour mixture until all ingredients added.  Add caramel sauce.


5.  Pour into cake pans, filling 3/4 full.  Place pans on cookie sheet and bake until a toothpick inserted in the center comes out clean.  Times will vary based on cake pan size.  The timing I use goes a little like this:  20 minutes for smaller cake pans and 40 minutes for larger cake pans.  Just watch them, and keep a toothpick handy.  It’s not that hard.  I promise.


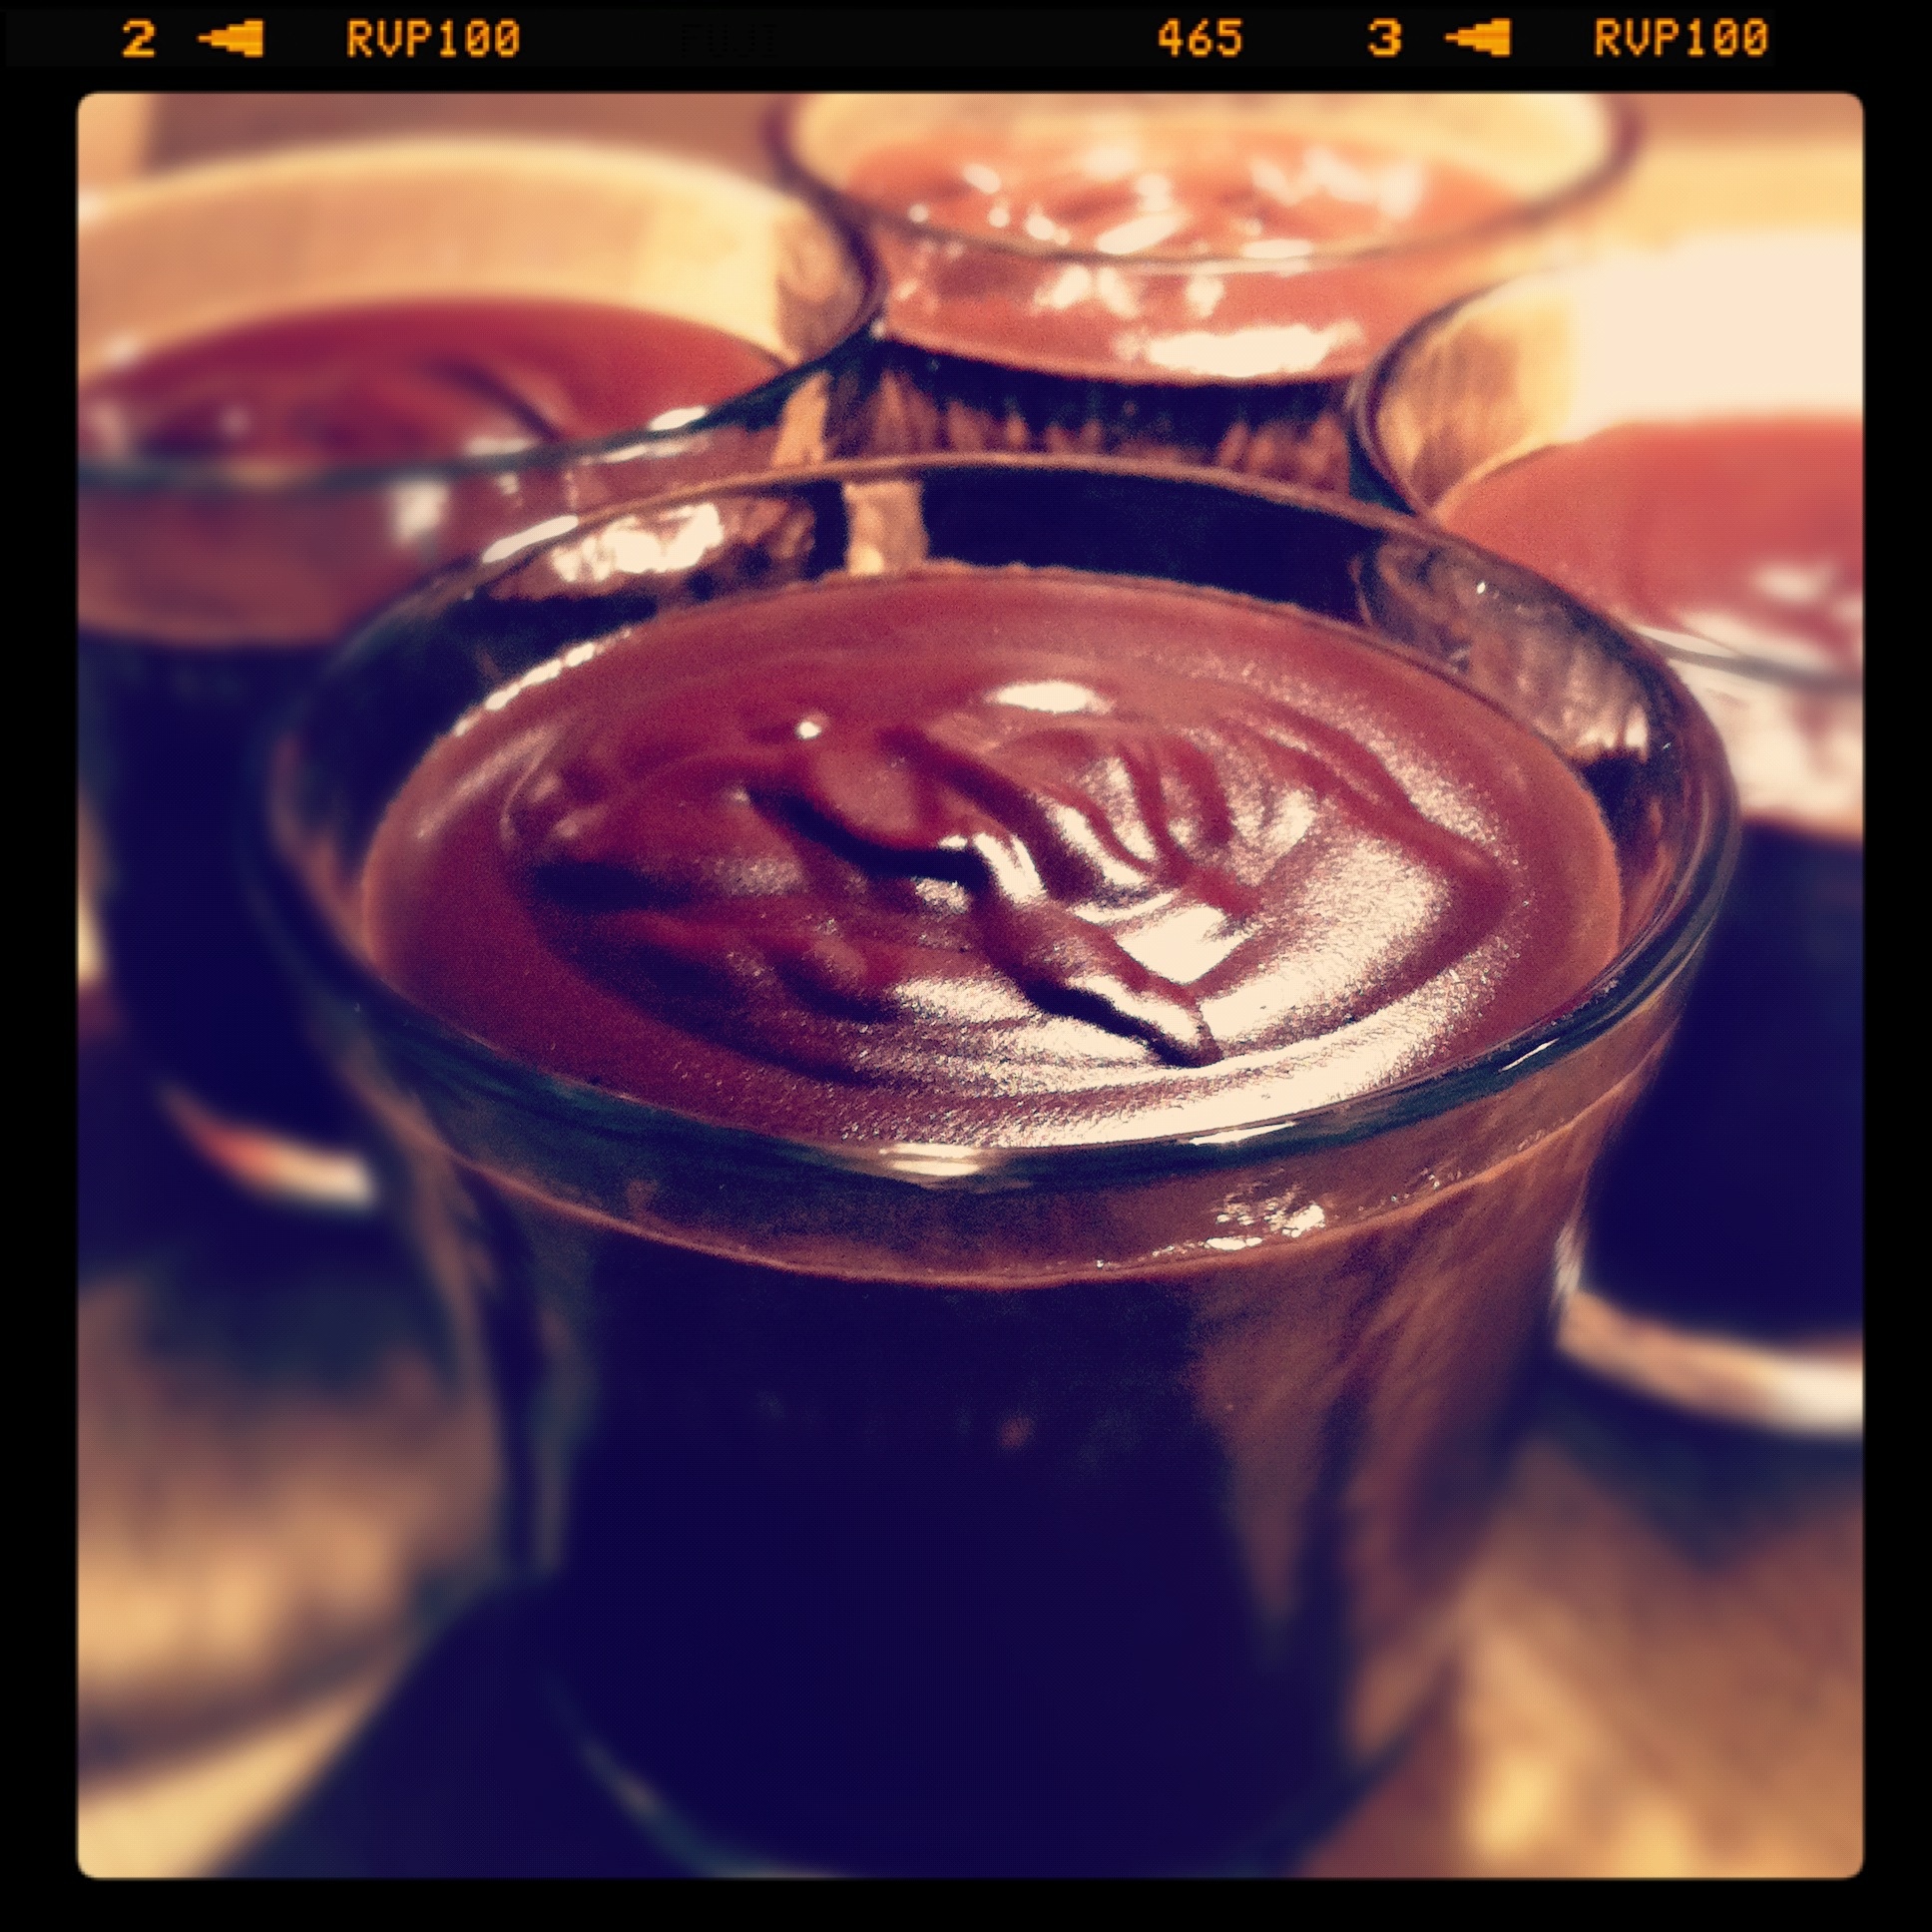
6.  Meanwhile make the milk chocolate crunch.  Melt chocolate in microwave safe bowl in 20-second increments until smooth.  Fold in cereal.  Pour into thin even layer on a cookie sheet.  Transfer to fridge until set.  Break into small pieces.


7.  Make the frosting.  Using a heat proof mixing bowl, whisk egg whites and sugar over 1 inch of simmering water until mixture reaches 160 degrees.  Transfer to mixer and beat on medium speed for 5 minutes.  Increase speed to high and beat another 6 minutes, until stiff peaks form.  Add butter a tablespoon at a time, until completely incorporated, and frosting is light and fluffy.  Remove 1/3 of frosting.  Melt chocolate sauce in microwave safe bowl, in 20-second increments until smooth.  Cool slightly.  Fold into 1/3 of frosting.  Add 1/3 cup of caramel and salt to remaining 2/3’s of frosting.  Mix until completely incorporated.


8.  Once cooled place cakes in the freezer for about 20 minutes.  This makes them much easier to slice.  Slice the bottom two tiers into thirds, and the top in half.   Start with the bottom tier first, fill the first layer with as much caramel as you desire, I used about 1/3 cup.  Top the caramel with your milk chocolate crunch, I used a third of my crunch.  Place the second tier on top and make sure it seems level.  Spread the next tier with fudge buttercream.  Place top layer on and again make sure it is level.  Frost entire tier lightly with salted caramel buttercream.  This is your crumb coat.  It’s messy.  It catches all of the loose crumbs so your final layer of frosting is nice and smooth.  Place tier in fridge.


9.  Assemble the second tier.  This is your caramel cake.  Fill the bottom layer with caramel and milk chocolate crunch.  Again I used a little under 1/3 cup of caramel and a third of the crunch.  Place the second layer on top of the bottom layer.  Frost with fudge buttercream.  Place third layer on top.  Frost entire tier with a crumb coat of caramel buttercream.  Put this tier in the fridge as well.


10.  Assemble your final tier.  Fill the layer with salted caramel buttercream, caramel and milk chocolate crunch.  Frost with crumb coat of caramel buttercream.  Again, put this tier in the fridge.


11.  Starting with the bottom tier, after it has been refrigerated until set, about 20 minutes, frost with the final layer of frosting.  Make sure it is as smooth as possible, and then place back in the fridge for another 20 minutes.  Repeat with each tier.  Once each tier is set, take a small amount of frosting and dollop in the middle of each tier.  Align each tier on top of the next until they are level and even.  Return to the fridge for another 20 minutes.


12.  Using your remaining fudge buttercream, pipe swirl, or vine patterns over entire cake.  Take some artistic license and do whatever you want.  One more stint in the fridge and your cake is ready to go!
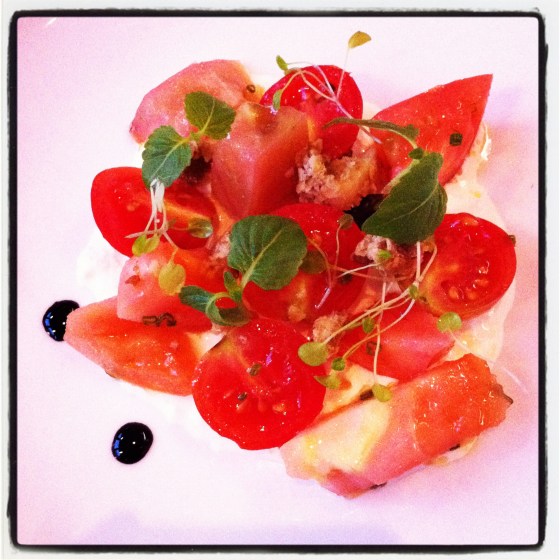
S’mores

Here’s some advice.


1.  When it’s 90 degrees in Wisconsin, spend as little time outside as possible.  Really, I don’t recommend any vigorous activity.


2.  The second the weather turns, the days drop into the 60’s-70’s and the nights even cooler, spend as much time outdoors as humanly possible.  Leave the widows open.  Go for a walk.  Mow the lawn. Go ahead, read a book on the porch.


3.  When this beautiful almost fall, end of summer weather hits, cook everything you’ve been meaning to cook outside all summer long.

For me, that meant s’mores.  I have for quite some time been meaning to make marshmallows and graham crackers from scratch.  I finally did it.  It’s almost cold at night these days, my pumpkins are growing rapidly and the farmers markets are loaded with butternut squash, fall raspberries and tomatoes.


It’s my absolute favorite time of year.  I love fall.  The cool brisk air, the changing leaves.  It’s hands down, the best season.  I should probably take this entire season off of work.  It’s one of the reasons I stay in Wisconsin.  It feels almost magical, like there’s some thin veil between reality and some other world on crisp fall nights.


These nights are picture perfect for campfires in the backyard.  And roasting marshmallows.  I’m not a huge marshmallow fan in general, but put them on a graham cracker with some chocolate and I’m in love.  Store bought marshmallows are disturbing.  The ingredients are insane.  Marshmallow fluff is even worse.  So I made some.

They were easy.  I mean super easy.  Gelatin (which still grosses me out, but necessary in marshmallows), water, sugar and egg whites.  That’s basically it.  No skill involved, I promise.  This is where I got the marshmallow recipe.  The cooking of the gelatin is a little off putting.  It smells.  Kind of gross.  I mean it is after all hooves, and it has a distinct smell.  For a while I was convinced the marshmallows wouldn’t turn out.  They did.  They tasted just like a marshmallow.  Plan on making them when you will use them, these aren’t the bag of jet puffed you can keep in your pantry forever.  There are no preservatives.  They get sticky, and sweaty and stale within a few days.


The graham crackers were a bit more difficult, but not much.  Here’s the recipe I used.  I made 2 more batches after we devoured the first one.  The second batch I made in 10 minutes on my lunch break.  The dough is easy to make, it just has to chill.  Rolling them out was a bit trickier.  I was expecting the dough to roll like any typical rolled cookie dough because, who are we kidding, graham crackers are really just cookies.  This dough was more like piecrust.  It broke easily and was somewhat temperamental.  I found it easiest to let it warm up for about 10 minutes before rolling and then return the cut cookies to the fridge before baking.  I also used a square cutter instead of cutting them with a knife like the recipe suggests.  It was much easier.  This dough would probably make an amazing piecrust in any recipe which calls for a graham cracker crust.  I plan on trying it the next time I make one. 

These graham crackers will be in my permanent repertoire, the marshmallows may not be.  I may not make the marshmallows again for a long time, if ever.  I’m just not that into marshmallows.  I ate the graham crackers every day for a snack.  They were soooo good.  They made my house smell like heaven when they were baking.


Try it, you’ll see.