Turkey day!

20111129-201155.jpg

How do you feel about Thanksgiving?

Are you one those people who dreads it? Who hates the idea of eating food until you feel as though you might burst? Or are you one of those people who loves it? Do you love spending time with your family and relish in the act of stuffing your face?

I am definitely the latter. We had 3 Thanksgivings this year. One last weekend combo birthday party with my husbands mother, on the day itself we went to my aunts and the Saturday after my parents came over and I cooked. I love Thanksgiving. Love, love, love. I love turkey and mashed potatoes and stuffing. I love pie and I have even learned to love cranberry sauce..

20111129-201618.jpgAs a child I hated cranberry sauce. My father and my brother always loved it but I couldnt stand the stuff. It was tart and gooey and never tasted quite right to me. In my adult years I’ve learned to love cranberries. It all began with a bottle of cranberry vodka. It was the first infused liquor I ever made. I used a recipe from Michael Chiarello and presented my father with a bottle of it for Christmas. When I tried it I was amazed. It was sweet and tart and not too boozey tasting. It led me to trying cranberry sauce again. And really, really liking it.

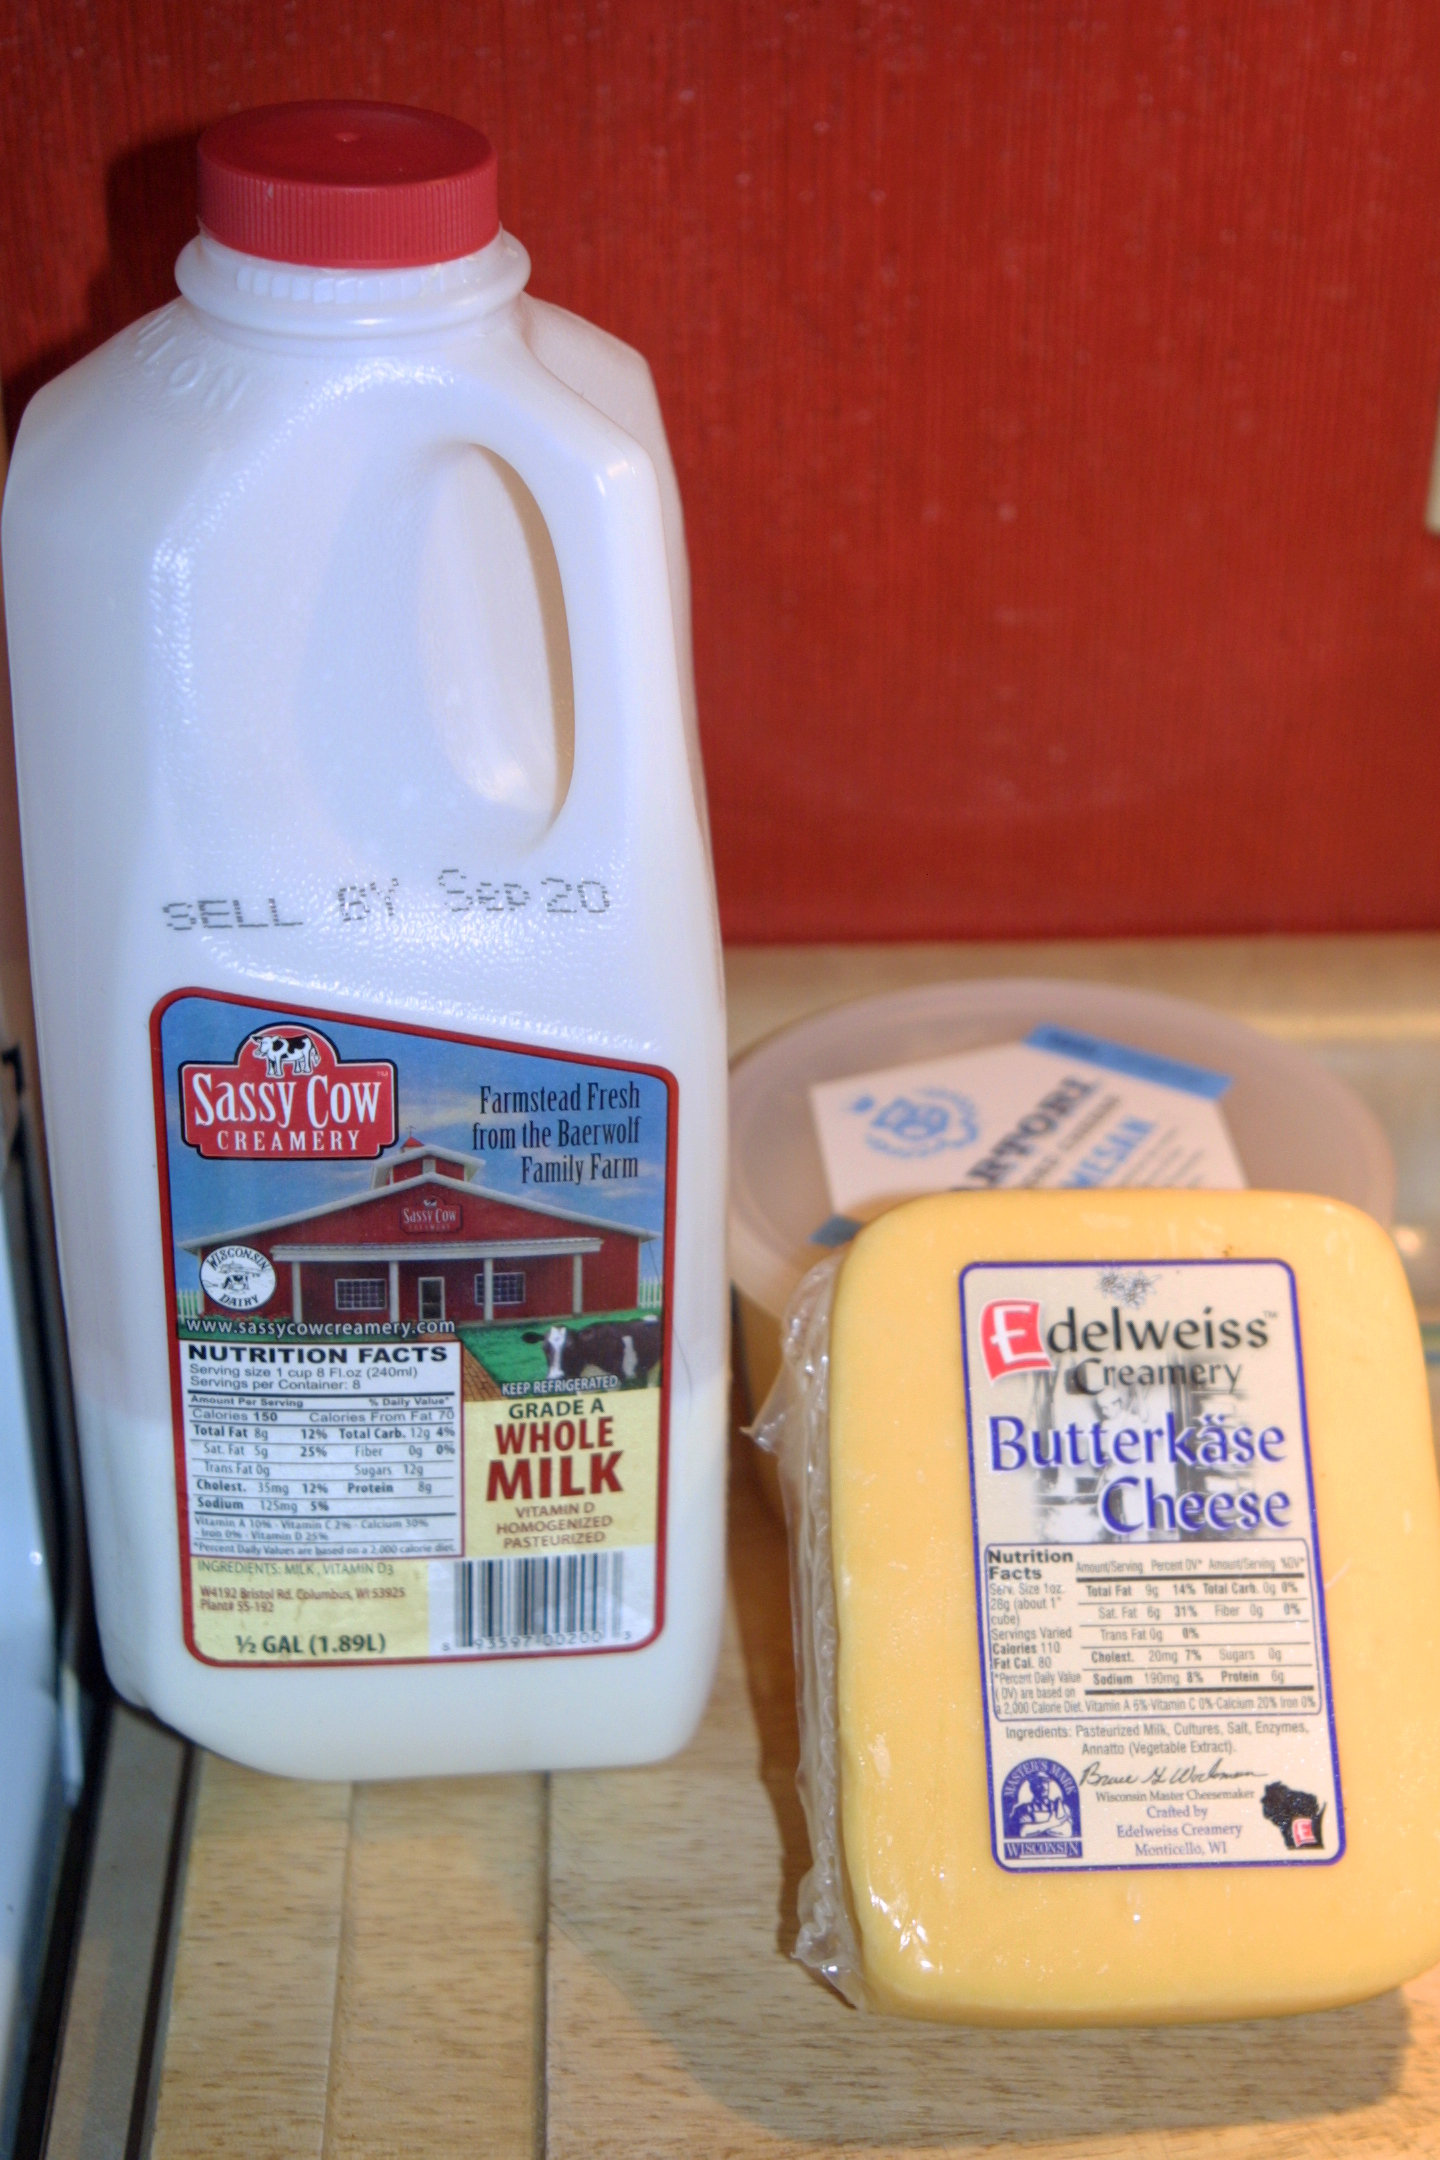
My husband loves the canned stuff. He likes the way it sloshes out of the can and the little ridges in its gelatinous surface. He likes how sweet it is and the way you can cut perfect slices out of it. Personally the canned stuff creeps me out. I like to cook down real cranberries, born and raised in Wisconsin. I like to add orange zest and juice, and then some brown sugar and spices. I like how it almost burns my nose when I’m cooking it. I like how it’s still a little tart when it’s done.

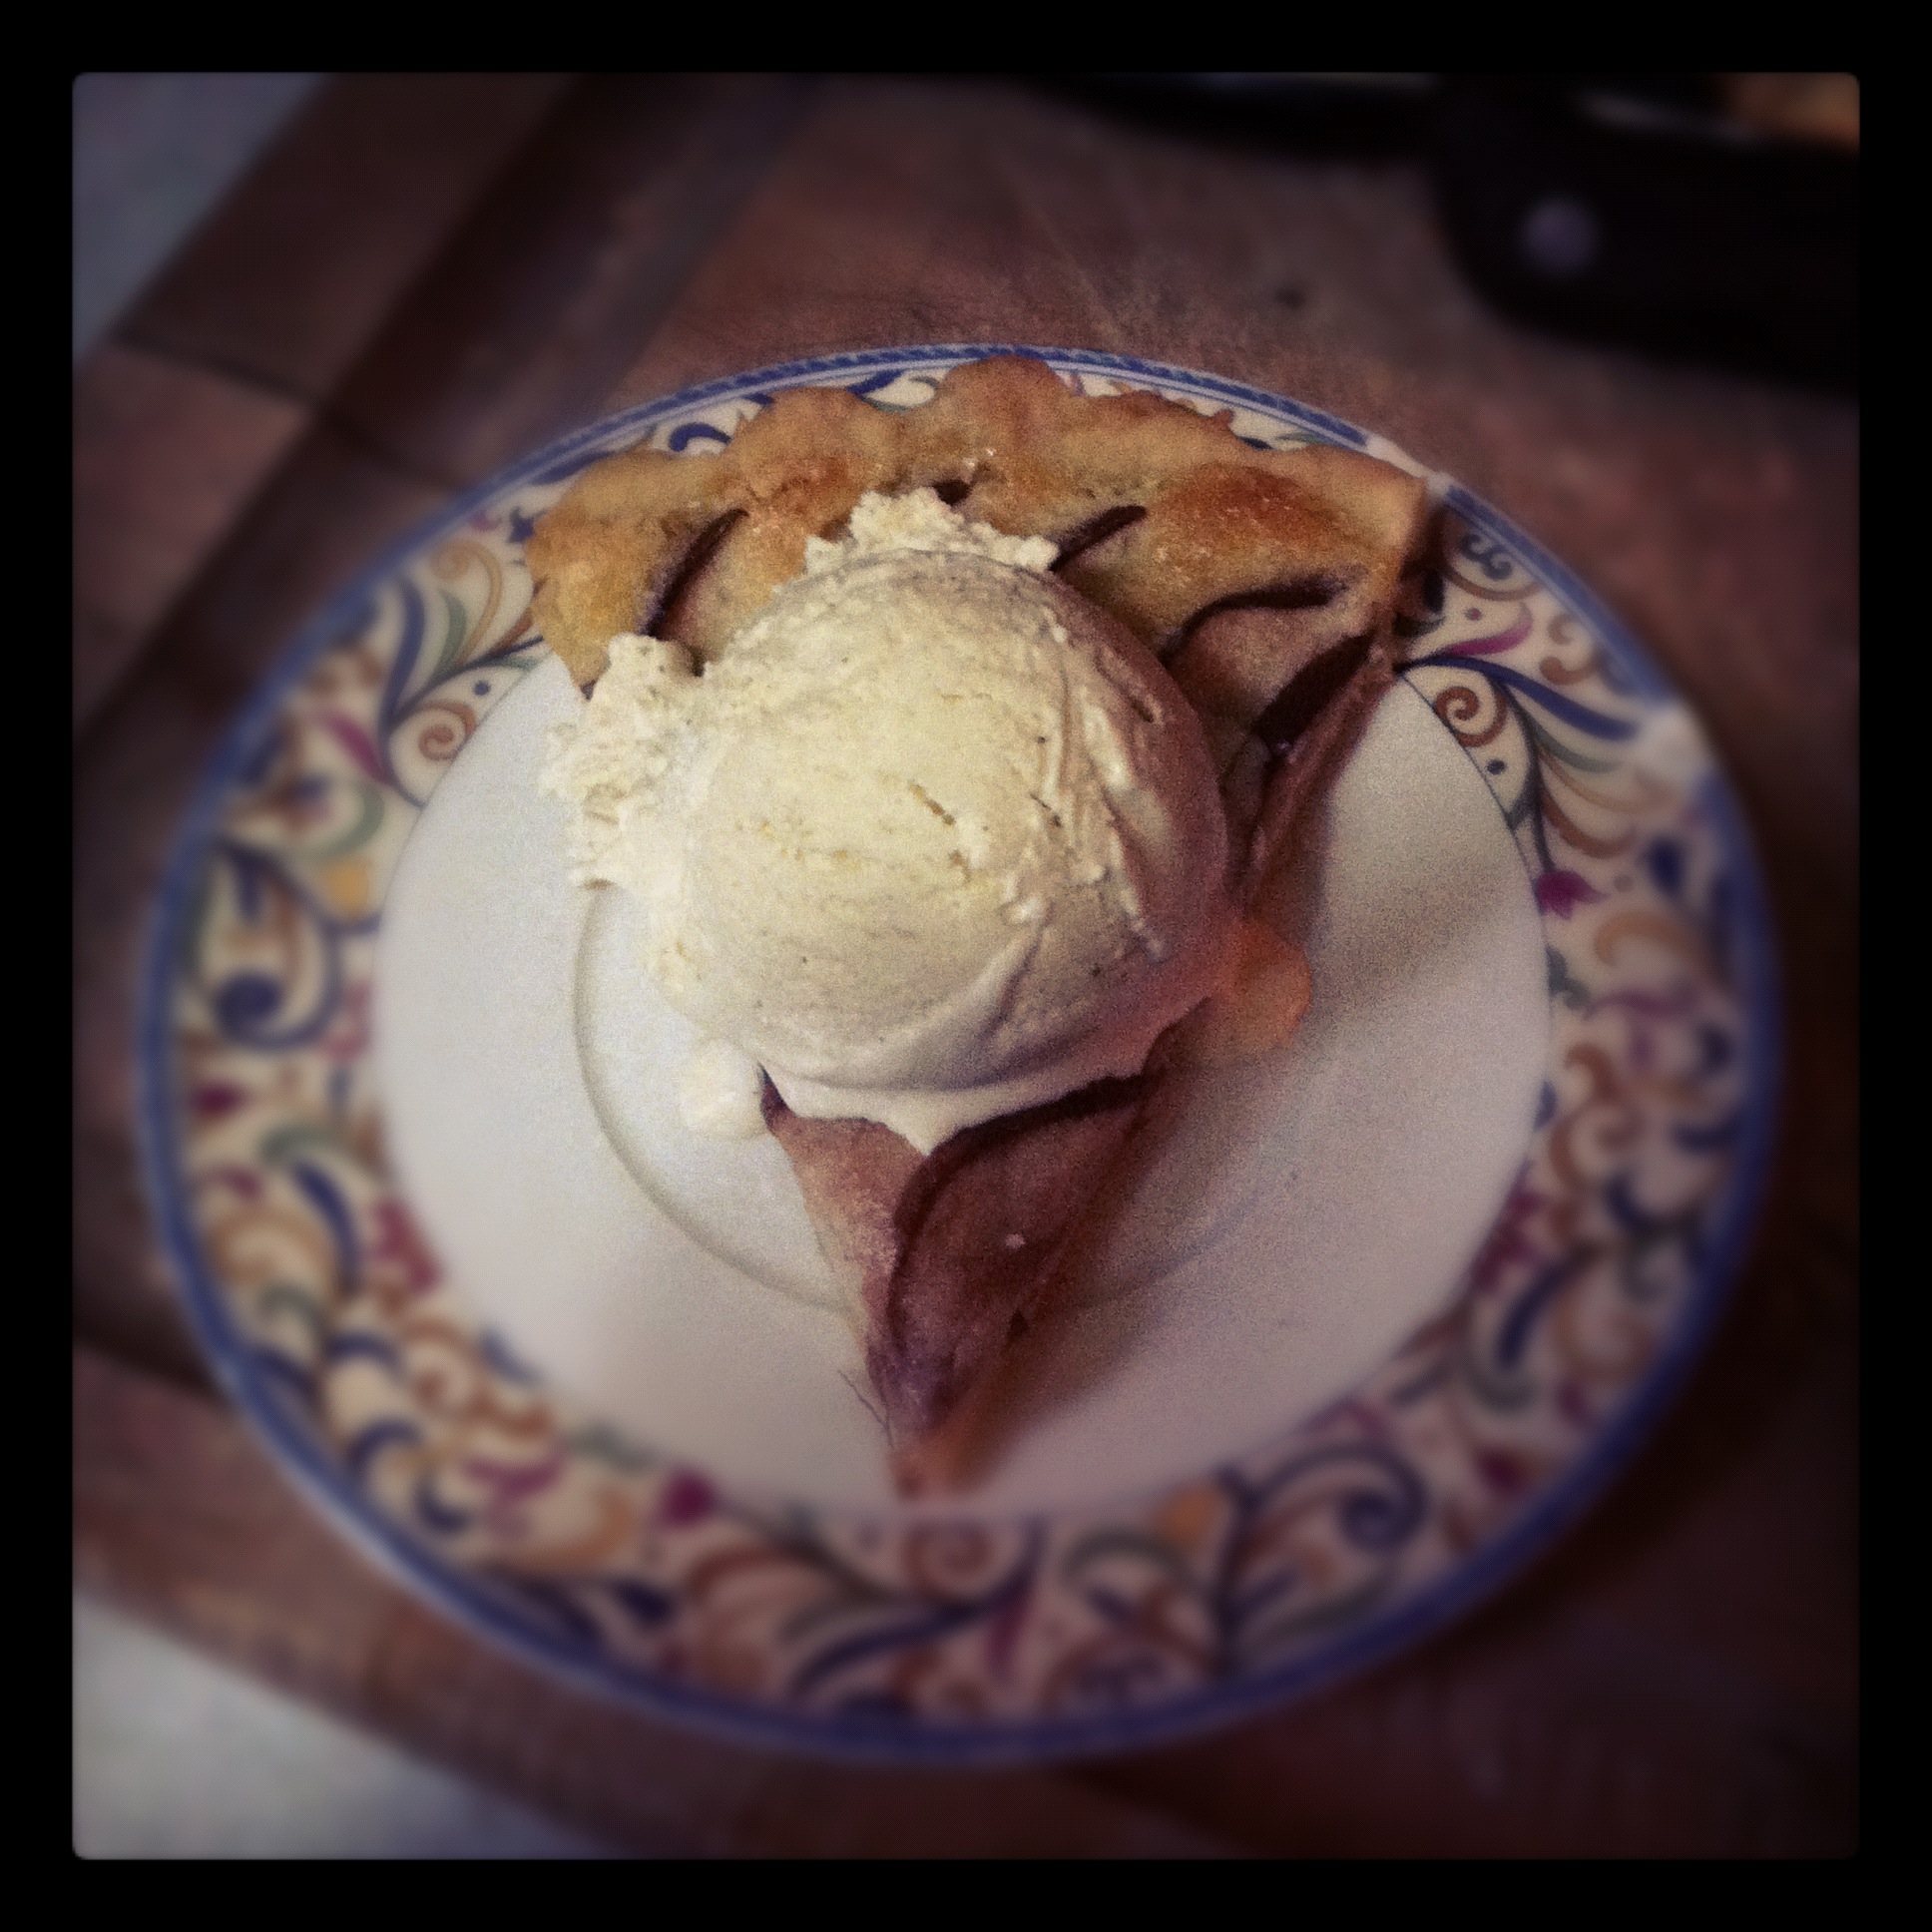
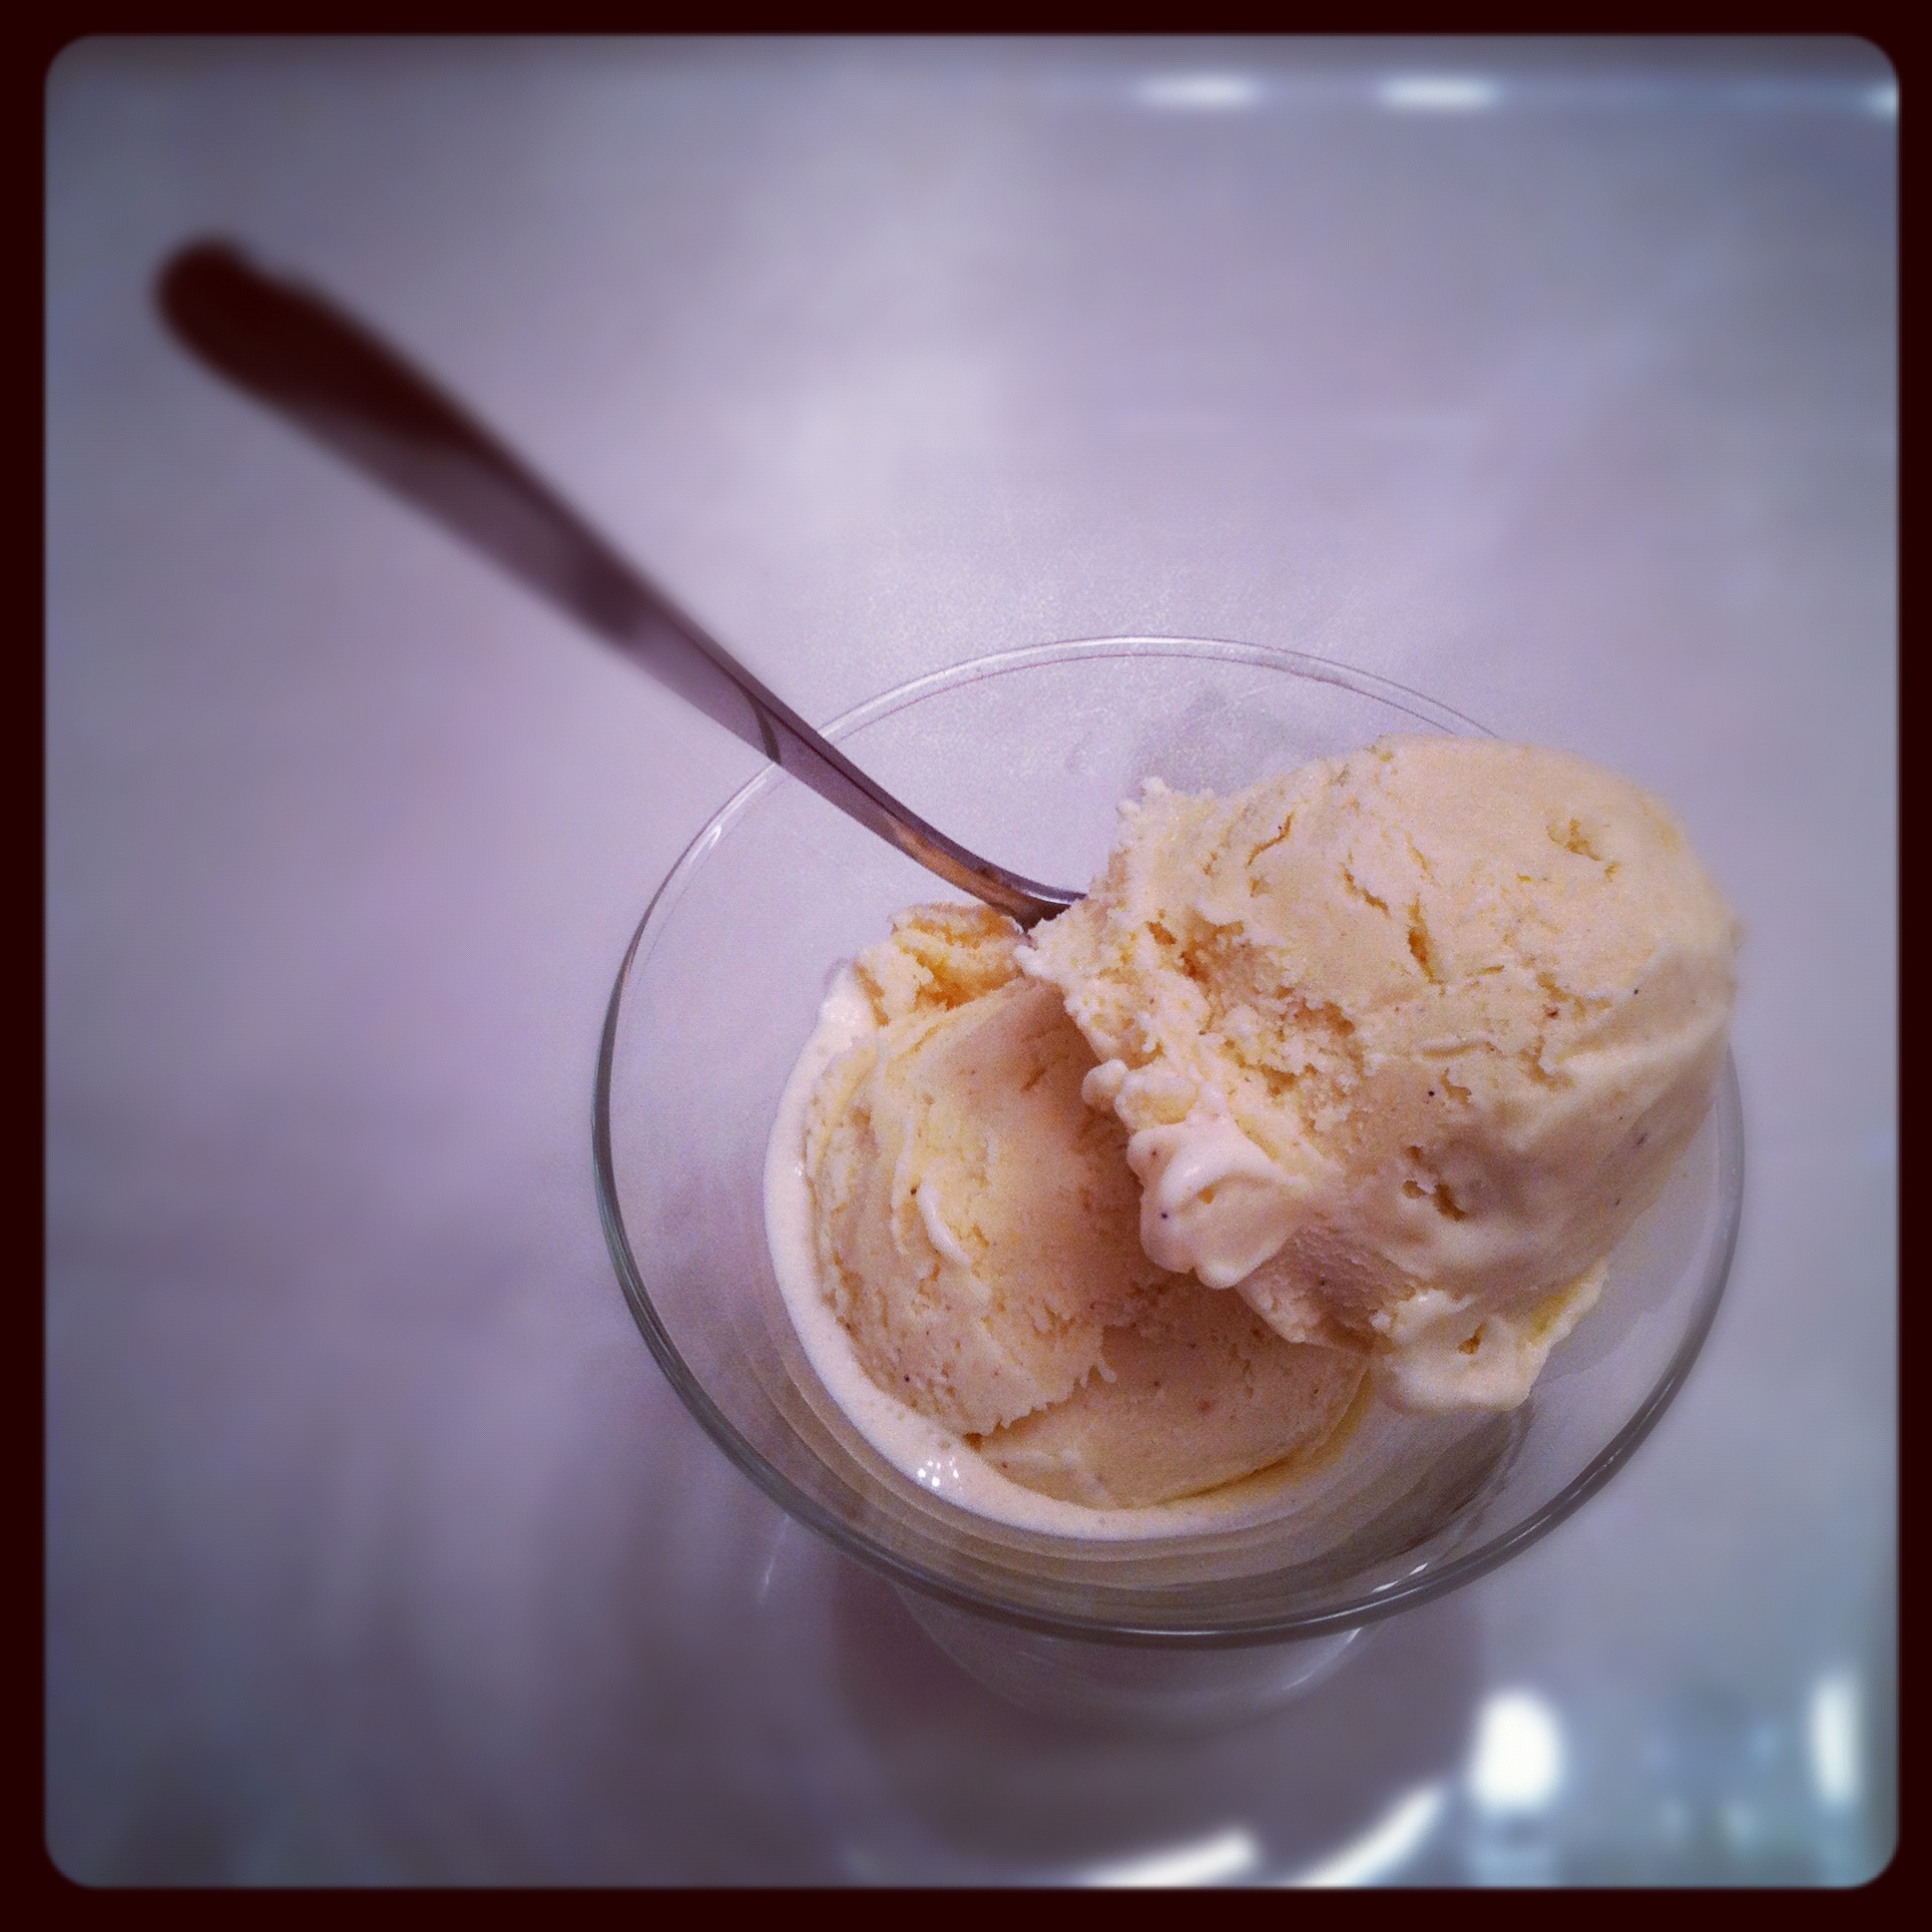
This year I put it in a dessert. I spread a tart crust with a bit of frangipane custard and then topped that with my cranberry sauce. Then the cranberries got a gorgeous blanket of sliced pears. Everyone was sprinkled with sugar and then baked. I topped it with brown butter gingersnap ice cream (can you tell I’m a little obsessed with brown butter ice cream right now?). The sweetly spiced ice cream perfectly balanced the tart cranberry. While it baked the cranberries stained the pears a beautiful merlot. This was one pretty dessert. And it wasn’t even difficult. At all. I had so much frangipane left over from last weekend that it was a super simple. I did it all lazily Thursday morning while the ice cream froze and I waited to leave and stuff my face full of turkey. I can almost taste it now. This may be one of my favorite new fall desserts for its ease and elegance. It would wow at a dinner party and dazzle at a bake sale. It slices easily with a sharp knife and holds together well.

For the second round I made some gorgeous short ribs. I’ll tell you all about that meal later. It was simple and amazing. Call some friends, have a cocktail and make them something beautiful.

20111129-202101.jpgPear Cranberry Frangipane Tart

Ingredients

1 recipe tart crust
1 recipe Frangipane
1 bag fresh cranberries
2 oranges, juice and zest
1/2 cup brown sugar
1 teaspoon cinnamon
2 pears
1 tablespoon granulated sugar

Directions

1. Make tart crust and bake 10 minutes without filling. Set aside.

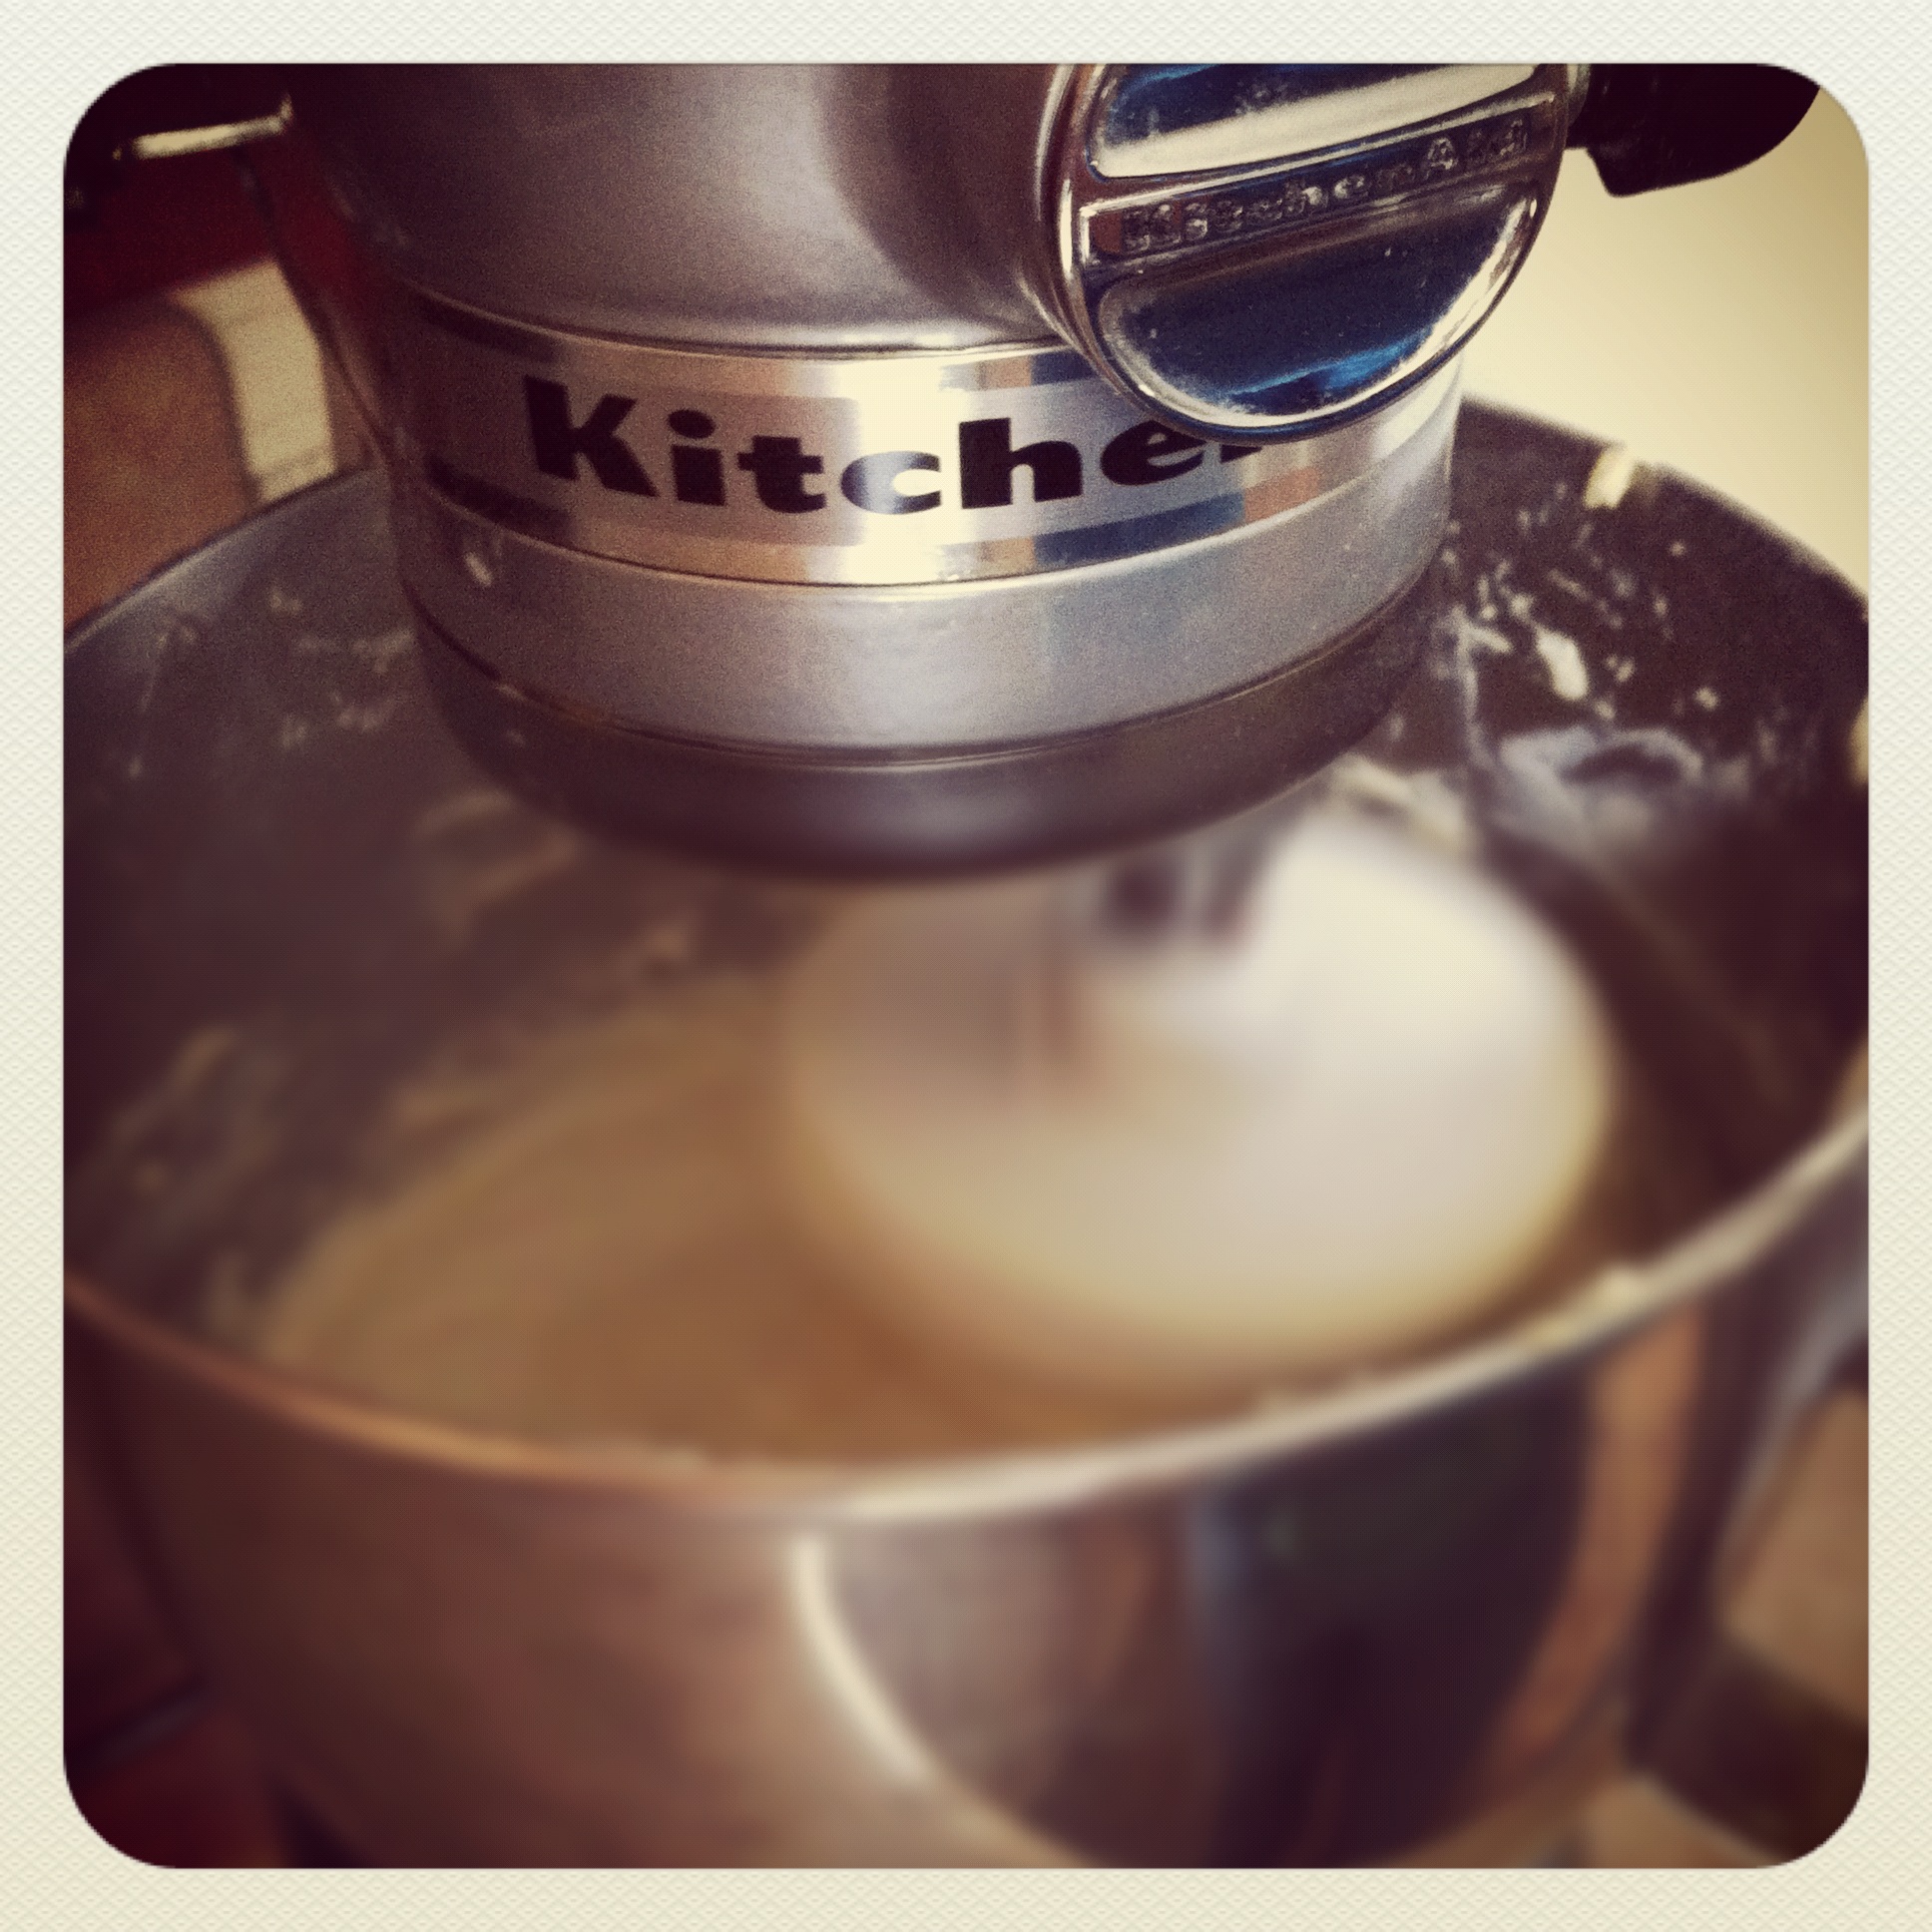
2. Make Frangipane and spread about 1/4 cup along bottom of tart crust.

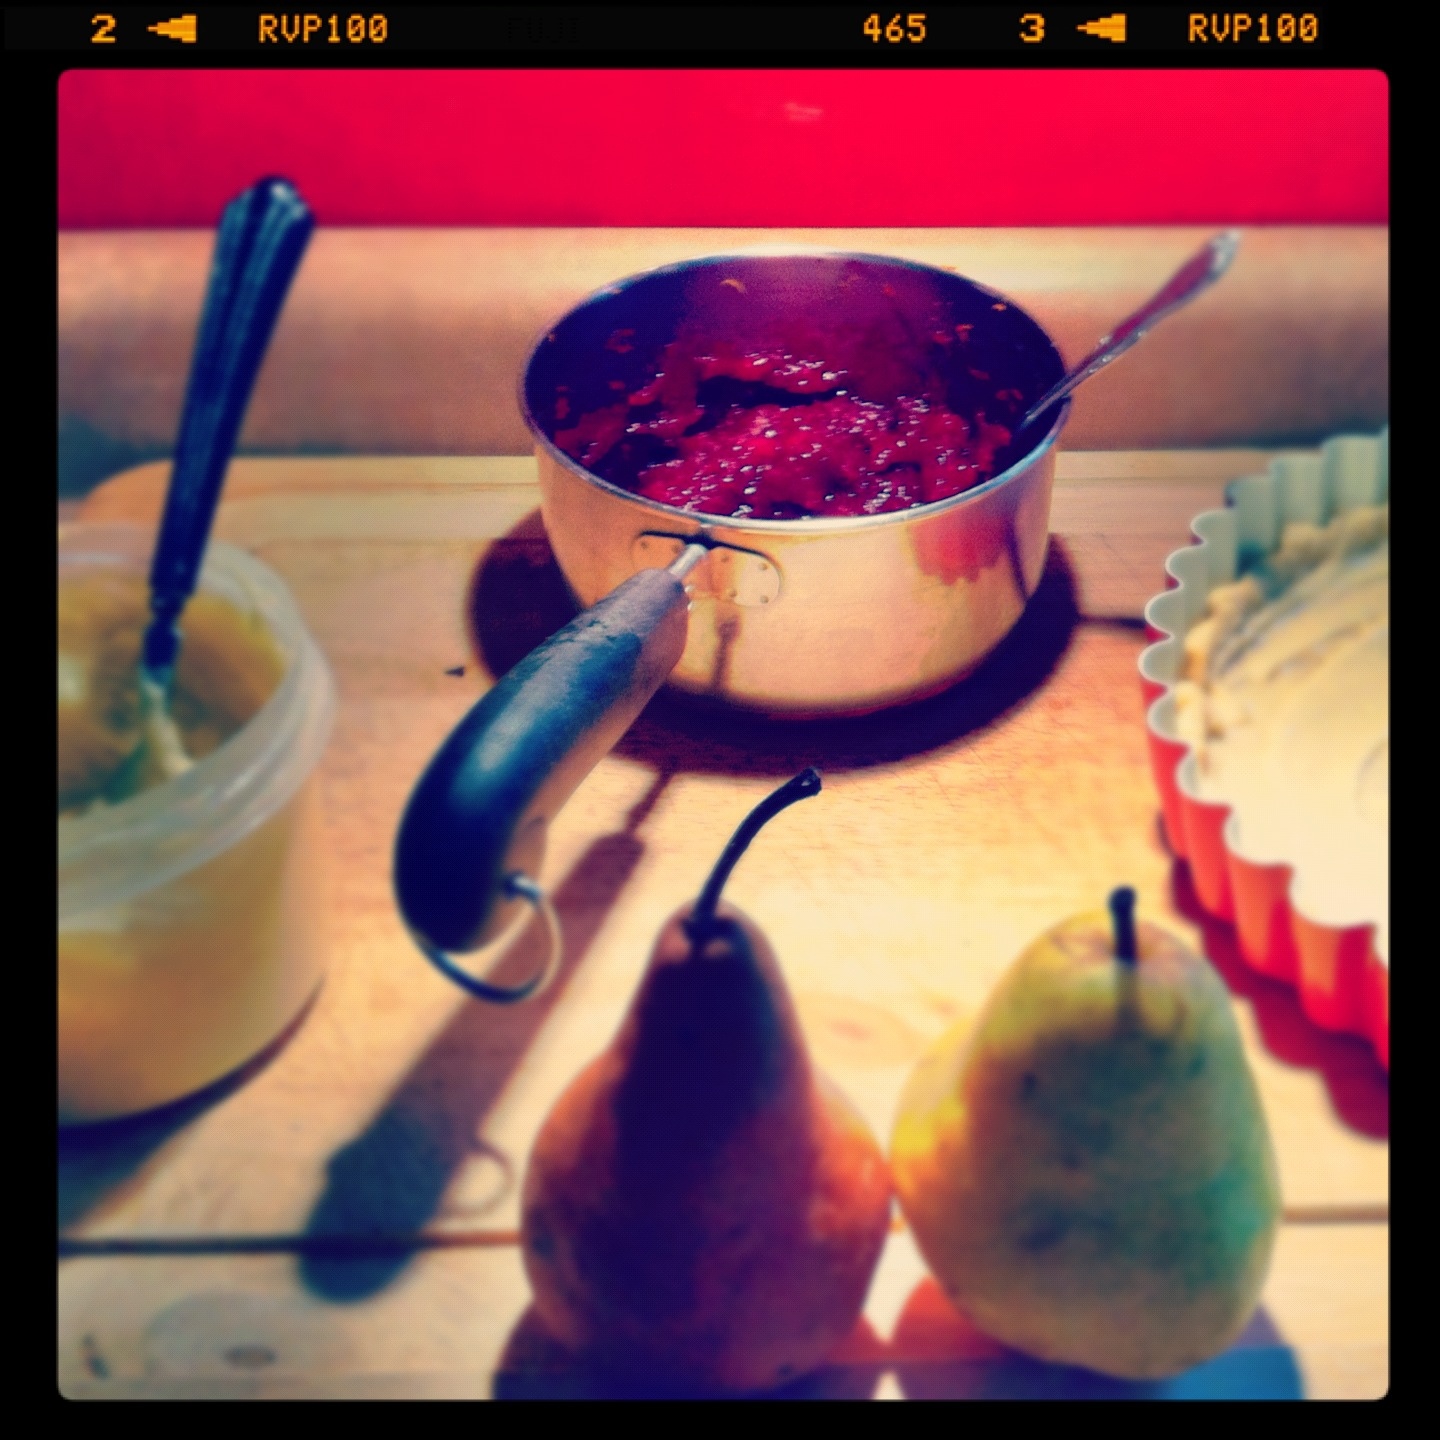
3. Make cranberry sauce. Put cranberries, orange juice and zest, brown sugar and cinnamon in a medium sauce pan. Heat over medium heat until berries cook down and sauce is reduced, about 30 minutes over medium heat. Set aside to cool.

4. Quarter and core pears. Slice pears thinly. Spread cranberry sauce over Frangipane. Arrange pears on top and sprinkle with sugar. Bake at 350 degrees for about 30 minutes until crust is golden brown and sugar is caramelized. Serve with

Pear Frangipane Tart

This is my mother in law. She’s sort of like Gemma Teller, only not so intense. She does have a bike. She’s one of the strongest women I know.She’s also gorgeous. Do you see that outfit? Those pants? That blouse? Those shoes? Oh and that cute little boy is my husband. If you met her today you’d never guess her actual age.

She’s a pretty amazing mother in law. I know so many people who have trouble with their in laws, but I seriously lucked out in that department. She welcomed me into the family the minute I met her, and made me feel at home. She’s an open caring person. Most holidays are filled with not only her blood relatives, but also those around her who have become family. She’s seriously amazing.And today is her birthday. So I made her dinner. And sweets. I hoped to show her a fraction of the love she’s shown me over the years. And I loved doing it. Alas, I took far too few photos during the process. But I did take a few of the desserts.I made mini éclairs, because I know this is one of her favorites. I also made a pear tart for dessert. And of course, ice cream for the tart. It was spiced brown butter bourbon ice cream. It was everything I love about the holidays in an ice cream. Make it yourself. Seriously an ice cream maker is one of the best investments ever.

Pear Frangipane Tart

4-5 medium pears, and variety

For the filling:

Adapted from Martha Stewart

7 tablespoons butter, softened

1/3 cup almond paste

1/2 cup sugar

2 eggs

1/3 cup cake flour

1 tablespoon cream

1. Cream together butter, almond paste and sugar. Add eggs, one at a time and beat until smooth. Add flour and cream and mix until incorporated.

For the tart shell:

Adapted from David Lebovitz

3 ounces butter

1 tablespoon vegetable oil

3 tablespoons water

1 tablespoon sugar

pinch of salt

1 rounded cup flour

1. Preheat oven 410 degrees. In an ovenproof bowl mix butter, vegetable oil, water, sugar and salt. Place in oven and heat for a few minutes until melted and bubbling.

2. Remove from oven and add flour. Mix until dough forms a ball and pulls away from the edges of the bowl. Place dough in tart pan and slowly spread to edges, bring dough up sides as well. Prick bottom of dough several times with a fork. Bake un-filled for approximately 10 minutes until edges just start to brown.

3. While shell cools, quarter and core pears. Slice each quarter into thin slices. Pour filling into tart shell. Arrange pears in a fan or any other desired pattern. Sprinkle with sugar. Bake for another 20-30 minutes until filling is set and crust is golden brown.

Spiced Brown Butter Bourbon Ice Cream

Adapted from Chez Pim

1 cup unsalted butter

1 1/2 cups milk

1 1/2 cups cream

1/2 cup sugar

6 egg yolks

1 teaspoon salt

1 vanilla bean

1/4 teaspoon nutmeg

1/4 teaspoon cinnamon

1 tablespoon bourbon

1. In a saucepan melt butter on medium low heat. Continue to heat butter once melted, it will start to simmer and spit, so make sure you choose a large pan. Swirl pan occasionally to mix. When butter begins to develop brown specks and liquid butter is caramel in color, remove from heat.

2. While butter is heating in another saucepan heat milk, cream, vanilla bean (seeds and pod), nutmeg, cinnamon, salt and 1/4 cup of sugar.

3. Place other 1/4 cup of sugar and yolks in a blender. Turn on low speed and slowly stream in hot butter by removing lid insert. Once yolks and butter are emulsified slowly pour in milk mixture, straining through a sieve first.

4. Return ice cream mix to saucepan and return to heat, cooking until mixture coats the back of a spoon. Pour into a glass bowl over an ice bath. Once cooled add bourbon and place in a sealed container in the fridge for at least 3 hours. Pour into an ice cream maker and freeze according to manufacturers instructions.

Cider Doughnuts

I made you these doughnuts. Apple. Cider. Doughnuts.

Ok, so maybe I made me these doughnuts. Me and my husband. For breakfast. On a cold sunday morning in Wisconsin. And maybe later that day I heated up some of the extra cider with some bourbon. Just maybe.Have you ever had cider doughnuts? They feel like fall to me. Especially warm, topped with even more cidery delicious goodness. They’re a super easy doughnut. They’re cake doughnuts so there’s no rising and waiting and rising again. Mix up the dough, heat some oil, and boom. Fresh doughnuts. So, so many doughnuts. I saved half the dough for next weekend to make more.The outsides get crisp and golden, while the insides stay fluffy and light. They cook super quick, and even the rolling out process is simple. These are some seriously good doughnuts.

Go make them this weekend.

Apple Cider Doughnuts

Adapted from this post on the smitten kitchen

Makes 18 about doughnuts + 18 doughnut holes

Ingredients

1 cup apple cider

3 1/2 cups flour, plus additional for the work surface

2 teaspoons baking powder

1 teaspoon baking soda

1/2 teaspoon ground cinnamon

1/2 teaspoon salt

1/8 teaspoon ground nutmeg

4 tablespoons (1/2 stick or 2 ounces) butter, at room temperature

1 cup granulated sugar

2 large eggs

1/2 cup buttermilk


Vegetable oil or shortening

Directions

1. In a saucepan over medium heat gently reduce the apple cider to about 1/4 cup, 20 to 30 minutes. Set aside to cool.

2. In a bowl, combine the flour, baking powder and soda, cinnamon, salt and nutmeg. Set aside.

3. Using an electric mixer on medium speed beat the butter and granulated sugar until the mixture is smooth. Add the eggs, one at a time, and continue to beat until the eggs are completely incorporated. Use a spatula to scrape down the sides of the bowl occasionally. Reduce the speed to low and gradually add the reduced apple cider and the buttermilk, mixing just until combined. Add the flour mixture and continue to mix just until the dough comes together.

4. Turn out dough onto well-floured surface. Roll out until approximately 1/4 inch thick. Using a 3-inch or 3 1/2-inch doughnut cutter — or a 3 1/2-inch round cutter (or a glass like I did) for the outer shape and a 1-inch round cutter for the hole, cut out doughnut shapes. Place the cut doughnuts and doughnut holes onto the second sheet pan. Re roll scraps of dough. They will not be as tender, but still delicious.

5. Add enough oil or shortening to a deep-sided pan to measure a depth of about 3 inches. Attach a candy thermometer to the side of the pan and heat over medium heat until the oil reaches 350°F*. Here’s a bit of truth for you. I don’t have a candy thermometer. I set the burner to medium and wait until it’s good and hot. Have ready a plate lined with several thicknesses of paper towels.

6. Carefully add a few doughnuts to the oil, being careful not to crowd the pan, and fry until golden brown, about 60 seconds. Turn the doughnuts over and fry until the other side is golden, 30 to 60 seconds. Drain on paper towels for a minute after the doughnuts are fried. Dip the top of the warm doughnuts into the glaze or cinnamon sugar mixture (if using) and serve immediately.

Glaze

Ingredients

1 cup confectioners’ sugar

1 cup apple cider reduced to 1/4 cup + cider as need to loosen glaze

Directions

1. Heat cider over medium heat until reduced to 1/4 cup. Mix until smooth and no lumps remain.

Cinnamon sugar

Ingredients

1 cup granulated sugar

1 1/2 tablespoons cinnamon

Directions

1. Mix until well incorporated.

Chocolate Chip Cookies

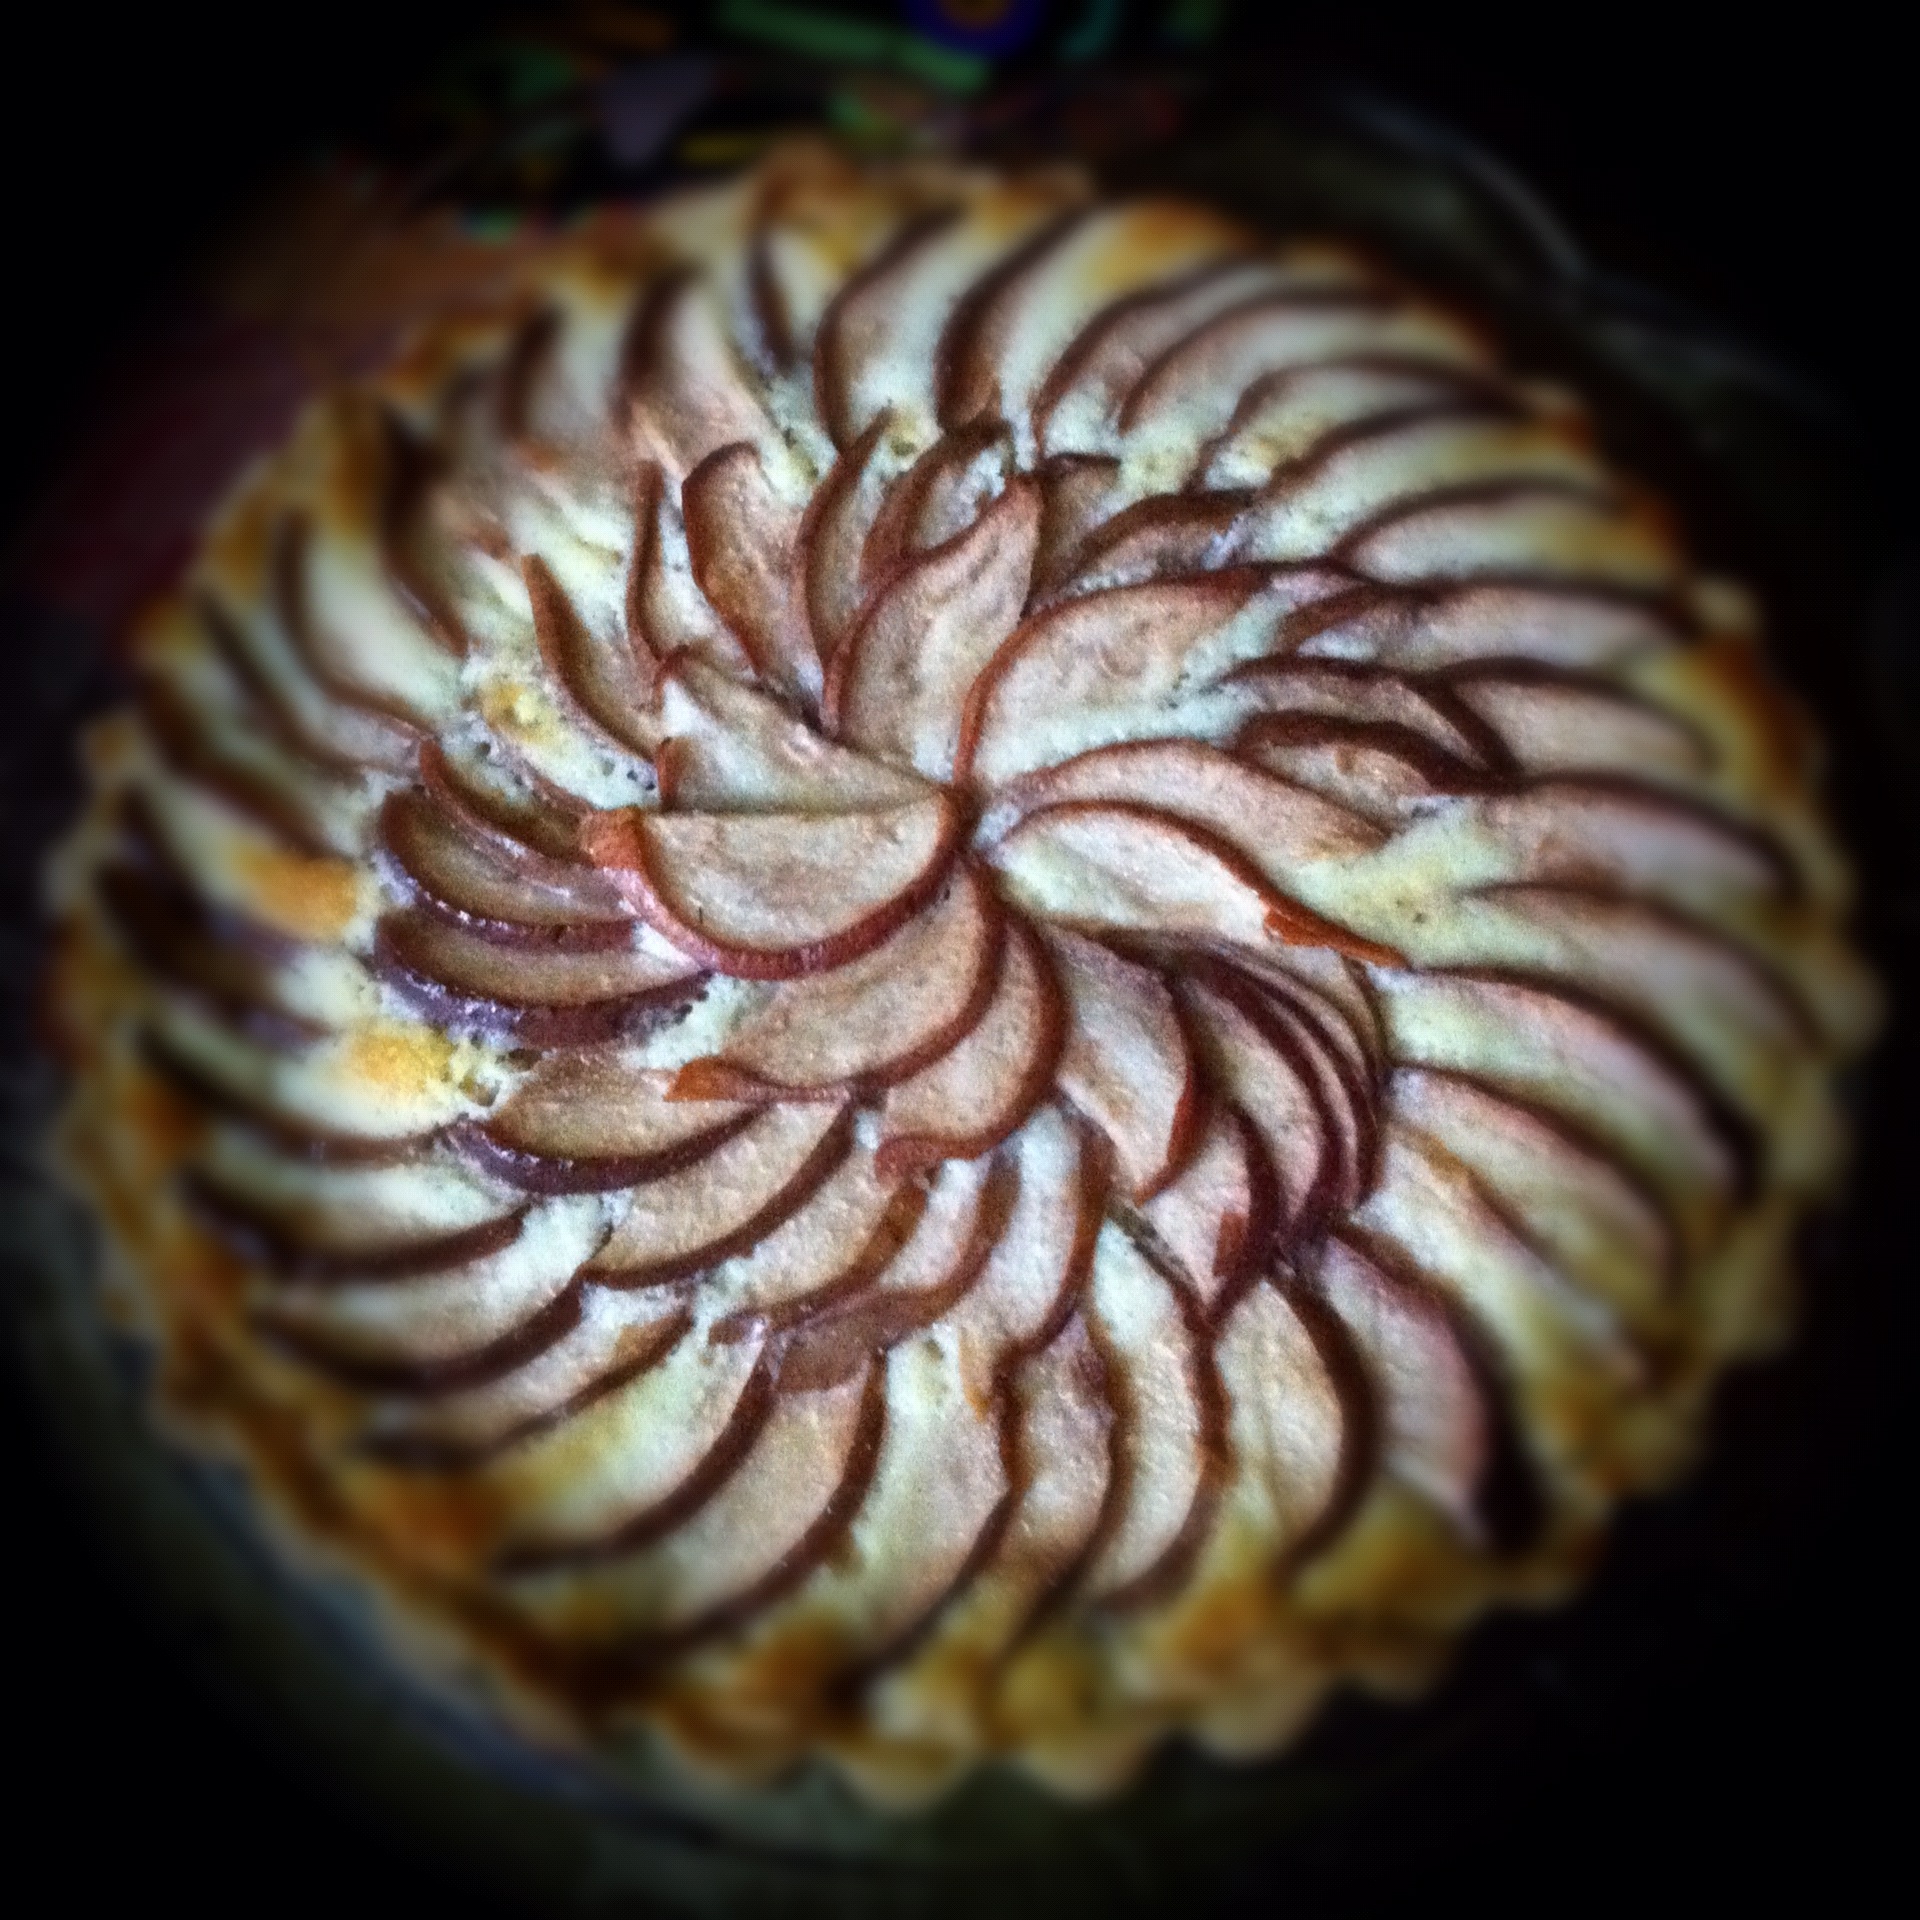
So… have you noticed some of my photos look a little different lately?  Well they do.  Here’s the thing, my camera is jacked up.  My lovely dog, accidentally knocked over the tripod, which is almost always set up in my kitchen, and boom.  Down went the camera.  And the lens is now skewed.  So no more sharp focus photos.  Luckily, I have an iPhone.  Which I love.  It is an amazing piece of technology.  Not only did the iPhone camera already almost rival my 10 year old digital SLR, but now, it’s pretty much what I am using to exclusively photograph this blog.  Kind of crazy considering I’m technically, sort of, a photographer.  But way to go Apple for putting a kick ass camera in your phone!!

Anyway, I made some cookies.  From my Ad Hoc cookbook.  They were good, but I have to admit, not my perfect chocolate chip cookie.  These cookie have a higher brown sugar content, and end up a little crisper then I prefer.  I like a super chewy, buttery, bordering on greasy chocolate chip cookie.  Don’t get me wrong, these were good.  If you sandwiched some ice cream between two cookies like he suggests I’m pretty sure it would be undeniably amazing.  Alas I had no ice cream, nor room in the freezer to make any (seriously I need another freezer, like now).  They were however, a worthwhile endeavor on my perfect chocolate chip cookie quest.

Chocolate Chip Cookies

Recipe from Thomas Keller

Makes about 30 three inch cookies

Ingredients

2 1/3 cup plus 1 tablespoon all-purpose flour

3/4 teaspoon baking soda

1 teaspoon kosher salt

5 ounces 55% chocolate, cut into chip sized pieces (about 1 1/4 cups)

5 ounces 70%-72% chocolate, cup into chip sized pieces (about 1 1/4 cups)

1/2 pound (2 sticks) cold unsalted butter, cut into small pieces

1 cup packed dark brown sugar, preferably molasses sugar

3/4 cup granulated sugar

2 large eggs

Directions

1.  Postion the oven racks in the lower and upper thirds of the oven and preheat the oven to 350 degrees.  Line two baking sheets with Silpats or parchment paper.

2.  Sift the flour and baking soda into a medium bowl.  Stir in the salt.  Put the chips in a fine mesh basket strainer and shake to remove any chocolate dust (small fragments).

3.  In the bowl of a stand mixer fitted with the paddle, beat half the butter on medium speed until fairly smooth.  Add both sugars and the remaining butter, and beat until well combined, then beat for another few minutes, until the mixture is light and creamy.  Scrape down the sides of the bowl.  Add the eggs one at a time, beating until the first one is incorporated before adding the next and scraping the bowl as necessary.  Add the dry ingredients and mix on low speed to combine.  Mix in the chocolate.

4.  Remove the bowl from the mixer and fold the dough with a spatula to be sure that the chocolate is evenly incorporated.  The dough, or shaped cookies, can be refrigerated, well wrapped, for up to 5 days or frozen for up to two weeks.  Freeze shaped cookies on the baking sheet until firm, then transfer to freezer containers (Defrost cookies overnight in refrigerator before baking).

5.  Using about 2 level tablespoons per cookies (I used a cookie scoop), shape the dough into balls.  Arrange eight cookies on each pan, leaving about 2 inches between them, because the dough will spread.  Bake for 12 minutes, or until the tops are no longer shiny, switching the position and rotating the pans halfway through baking.  Cool the cookies on the pans on cooling racks for about 2 minutes to firm up a bit, then transfer to the racks to cool completely.  Repeat to bake the remaining cookies.

Roast Squash Pizza

Have you ever put squash on a pizza?  You really should.  It’s pretty much amazing.

I get it, squash on a pizza?  You’re probably thinking I’m a little out there right about now.  Most people wouldn’t think of putting squash on pizza.  But it’s good.  Really, really good.

Pizza is probably one of the most perfect foods.  Dough, sauce, cheese.  It’s wonderful.  Pizza however, is more often then not, pretty unhealthy.  Why?  Why can’t you have a delicious pizza that is loaded with healthy toppings and still tastes amazing?  Really it’s not that difficult.  Even my husband, the guy who only likes plain cheese pizza, liked this.

It starts with fresh dough.  If you haven’t made this pizza dough yet, you need to.  It’s super easy and super delicious.  It takes mere minutes.  Trust me.   The pizza gets topped with a garlic cream sauce.  Super easy, super flavorful.  Finally pile on the toppings.  Be creative, be adventurous, do something you might not normally do.  I put roast squash, fresh spinach, bacon, corn, tomatoes and a bit of grated cheese on mine.  It’s a perfect fall pizza.  Go make one tonight.

Roasted Squash Pizza

Ingredients

3 cups all purpose flour

1 package active dry yeast

2 tablespoons vegetable oil

1 teaspoon salt

1 tablespoon sugar

1 cup warm water

1 small butternut squash

2 tablespoons of olive oil

1 cup fresh spinach

1 ear of corn

1 medium tomato, sliced

2 strips of bacon

1 small yellow onion

1 clove of garlic

1 cup milk

1/2 cup sour cream

1/4 teaspoon of nutmeg

1 tablespoon flour

1/2 cup grated cheese

Salt and pepper to taste

Directions


1.  In a small bowl mix warm water, sugar and yeast.  Set aside for 10 minutes.  Add vegetable oil, salt and flour.  Mix until well combined.  Turn out onto a well-floured surface, roll out to desired pizza size, set aside to rise while you prepare the rest of the ingredients.

2.  Preheat oven to 450 degrees.  Peel and remove seeds from squash.  Chop into approximately 1 inch size cubes.  Toss with 1 tablespoon of olive oil and a dash of salt and pepper.  Arrange in a single layer on a baking sheet and bake for about 30 minutes, until tender and edges are just starting to brown.

3.  While squash is cooking prepare the sauce.  Take the peeled garlic glove and wrap it in tinfoil.  Put in oven with squash and cook until tender, about 20 minutes.  Heat milk and sour cream in a small saucepan, whisking to combine.  Add roasted garlic, whisking to incorporate fully.  Add nutmeg.  Put tablespoon of flour in a small glass and add a few ladles of sauce, whisking to incorporate and add back into sauce.  Add salt and pepper to taste.

4.  In a medium sauté pan heat remaining tablespoon of olive oil.  Add strips of bacon and sautéed until crisp.  Remove from pan.  Chop onion and sauté until translucent.  Husk corn and cut kernels off the cob.  Add to onions.

5.  Assemble pizza.  Spread sauce to edges of crust.  Top with crumbled bacon, sliced tomatoes, onions and corn, spinach and squash.  Sprinkle with grated cheese.  Bake for about 20-25 minutes until cheese is melted and edges of crust are golden brown.

Brioche

Can we talk about mornings for a second here?

I’m not a morning person by nature.  I never have been.  I remember as a kid, hating waking up in the morning for school, wanting to sleep in the afternoon and loving staying up late at night.  I remember spending the night at my grandmothers house and staying up late to watch late night talk shows with her, and hearing the television on long after I went to sleep.  I think I inherited my love of the late night from her.  God knows it’s not from my father.  All of my life, I remember him waking up at some awful hour and going to work.  Now that he’s retired he sleeps a little later, but it’s not much.

As I’ve gotten older I’ve realized there are two things that help me to cope with mornings.  Coffee.  And delicious fresh baked goods in the morning.   I decide to try the brioche recipe from Ad Hoc so I could have delicious fresh baked bread for breakfast.

Have you ever made bread?  You really should.  It’s a pretty amazing process.  Dough is sexy.  For real.

It’s so awesome to watch a small ball of dough go through its rising process to become a huge silky piece of dough finally a fluffy inside, crusty outside loaf of bread.  Brioche is pretty fantastic bread.  It’s really airy and soft.

There are a lot of eggs and even more butter in this bread so it’s really rich.  There is even a bit of sugar so it’s slightly sweet.  Personally I think brioche’s best application other then fresh with butter, is French toast.  The sweetness of the bread lends itself to sweet applications, and dipped in French toast batter, the bread gets even creamier on the inside while the outside gets caramelly brown in the pan.  Don’t misunderstand; this bread is lovely in all savory uses as well.  I made grilled sandwiched with bacon that were fabulous.

Go make some bread this weekend.  It’s not that hard I promise.  Read the recipe first, time it out right and you’ll have beautiful fresh bread before you know it.

Brioche


Recipe from Thomas Keller


Ingredients

1/3 cup very warm water (110 to 115 degrees)

One 1/4 ounce package (2 1/4 teaspoons) active dry yeast (not quick rising)

2 1/3 cups cake flour

2 cups all purpose flour

1/3 cup granulated sugar

2 1/2 teaspoons fleur de sel or fine sea salt

6 large eggs, at room temperature

2 1/2 (10 ounces) unsalted butter, cut into cubes, at room temperature

Directions

1.  Combine the water and yeast in a small bowl.  Let stand for 10 minute, then stir until yeast is completely dissolved.  Set aside

2.  Sift together flours, sugar, and salt into the bowl of a stand mixer fitted with the dough hook.  Add the eggs and beat for 1 minute at low speed scraping down the sides with a rubber spatula as needed.  Slowly add dissolved yeast and continue beating at low speed for 5 minutes.  Stop the machine, scrape any dough off the dough hook, and beat for another 5 minutes.

3.  Add the butter cubes, about one-quarter of them at a time, beating for about 1 minute after each addition.  Once all of the butter has been added, beat for 10 more minutes, until dough is smooth and silky.  Transfer the dough to a large floured bowl and cover with plastic wrap.  Let stand in a warm place until doubled in size, about 3 hours.

4.  Turn the dough out onto a lightly floured surface and gently work the air bubbles out by folding the dough over several times while lightly pressing down on it.  Return the dough to the bowl, cover with plastic wrap, and refrigerate overnight

5.  Generously butter 2 loaf pans or one Pullman loaf pan (I used one loaf pan and simply shaped the other loaf into a large ball in a large baking dish).  Turn the dough out onto a floured work surface.  With floured hands divide the dough in half, shape it into 2 rectangles that fit in the loaf pans.  Or shape it into 1 loaf and put it in the Pullman pan (if using a Pullman pan, cover with lid once the dough reaches 1/2 inch from the top).  Let the dough rise, uncovered, in a warm place until it is about 1/2 inch from top of the pans, about 3 hours.

6.  Preheat the oven to 350 degrees.  Bake the brioche until it is well browned on top and sounds hollow when tapped on the bottom, 35-40 minutes for 2 loaves, 45-50 minutes for a Pullman loaf.  Removed from oven and immediately turn the brioche out onto a cooling rack.

7.  If serving immediately, let the bread cool for 10 minutes, then slice.  If serving within a few hours or up to 2 days, promptly wrap the hot bread in aluminum oil and set aside at room temperature until ready to use.  To freeze, wrap the hot bread in foil and promptly freeze.  The bread can be frozen for up to 2 months; when ready to use, reheat (without thawing, and still wrapped in the foil) in a 250 degree oven until heated through, 20-25 minutes.