Baking with my Daughter: French Silk Pie

IMG_1106.JPGThis girl is finally started to embrace playing outside in the winter. For a while I could barely get her to set foot outside (the complete opposite of last year). I even got her to put on her snow suit and play in the measly dusting of snow we got today.IMG_1107.JPGI was hoping to take her sledding when I heard we were getting snow over the weekend. Sadly there was nowhere near enough snow to even pull a sled through. This is Wisconsin people, where is my blizzard?IMG_1109.JPGEnough about snow, let’s talk about pie. I made this pie for Thanksgiving, and it was a hit. I neglected to take any decent photos that day, and when she requested we make pie again I suggested chocolate pie and she agreed. She did far more tasting than helping this go around, but to be fair this pie is mostly made on the stove top so it was a littler harder to help. She promptly devoured a piece as soon as it was ready, and cried when I told her she couldn’t have a second piece for lunch. I highly recommend this pie for a beautiful and impressive dessert. It’s super rich and beyond tasty.
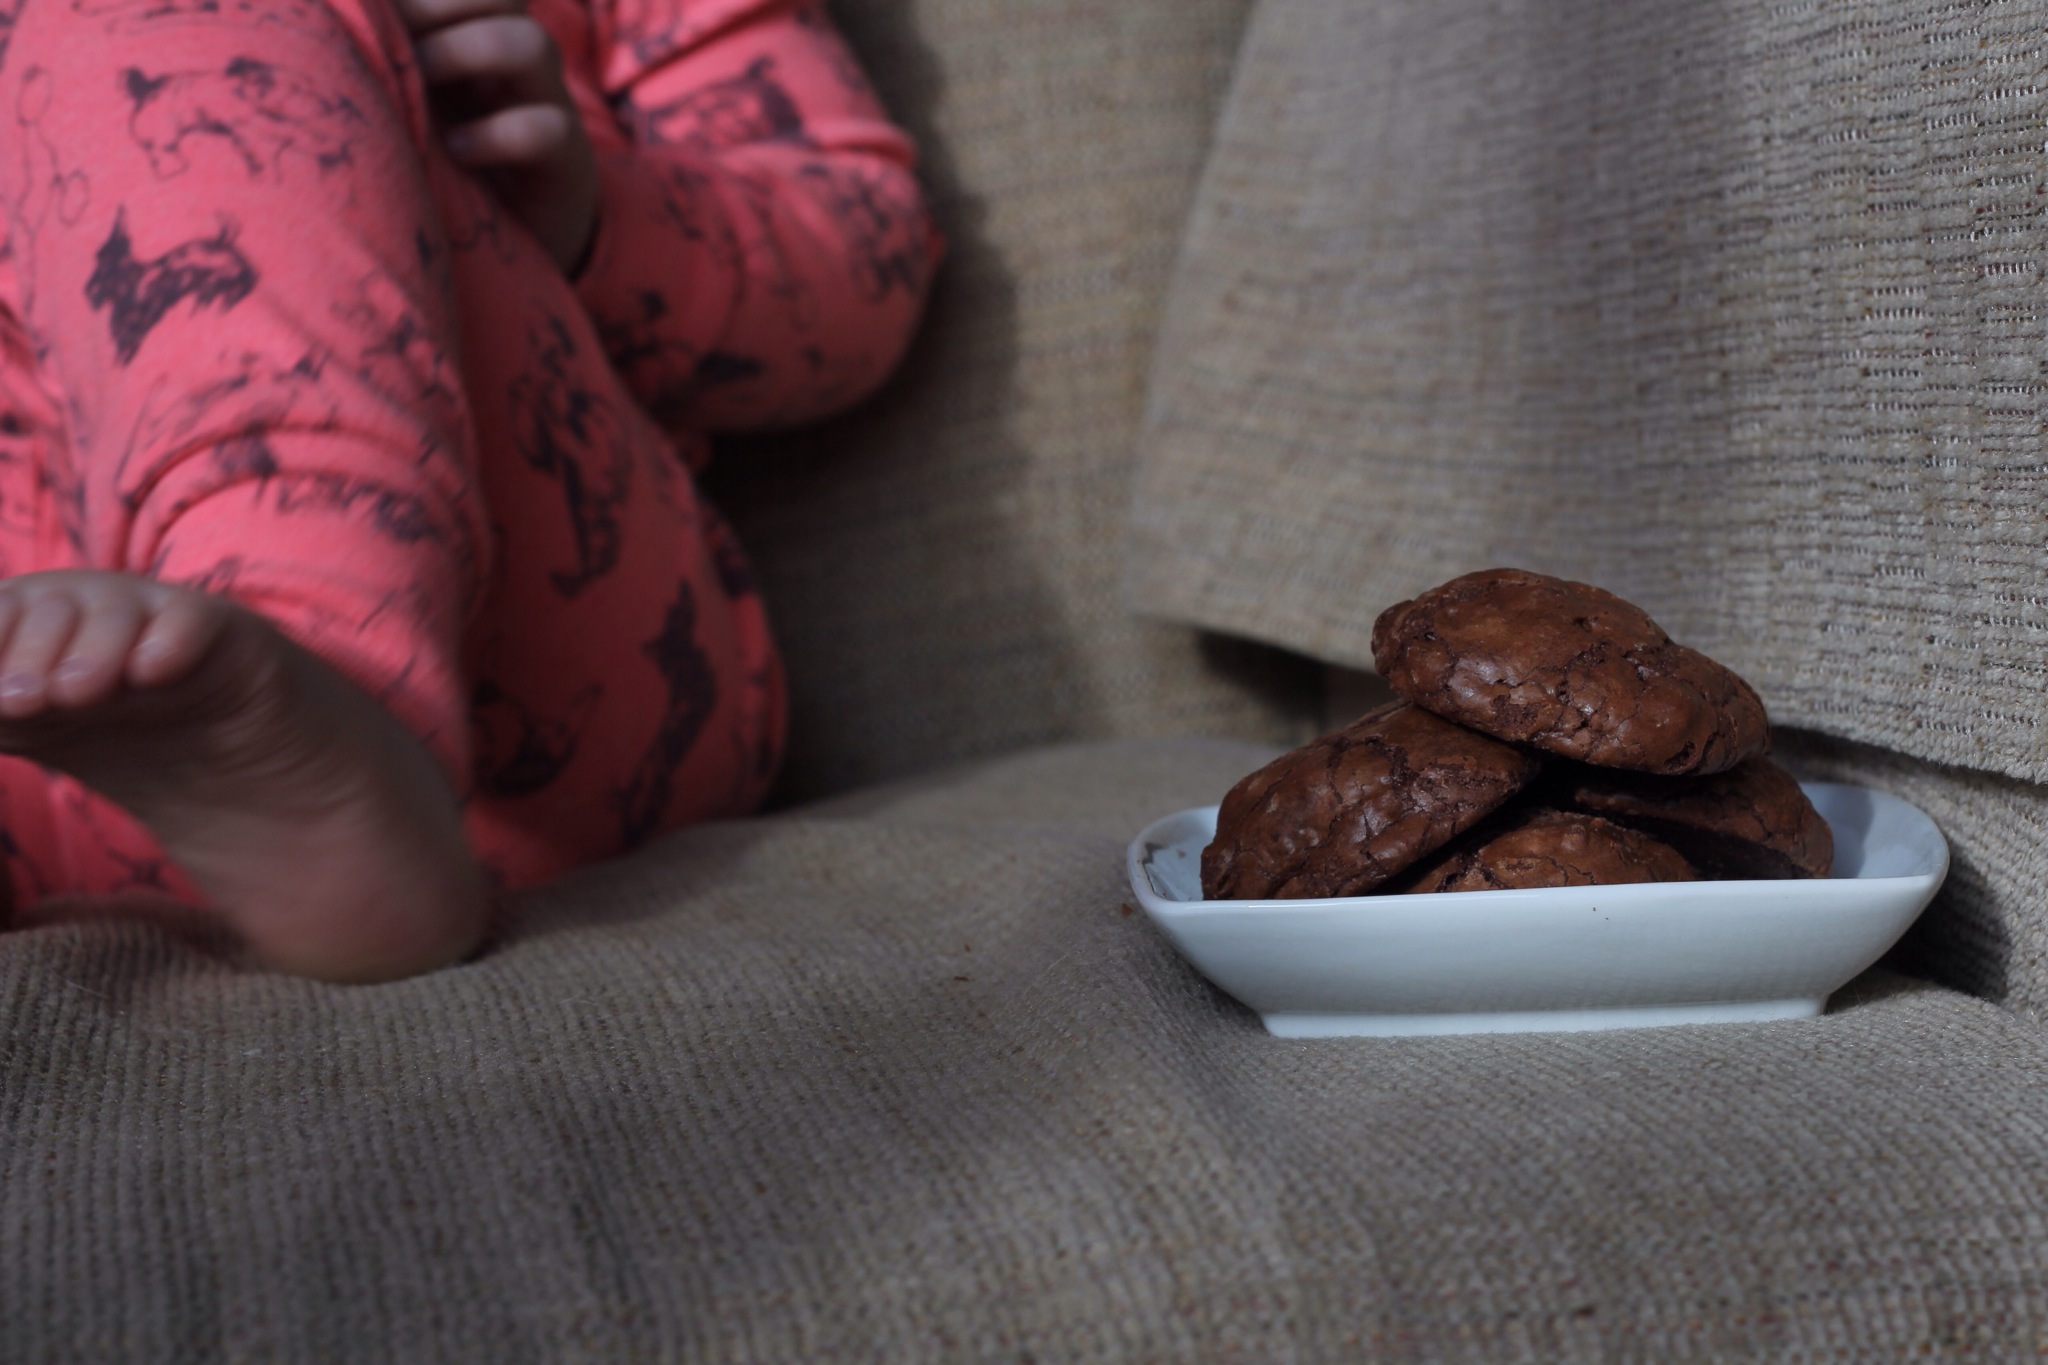
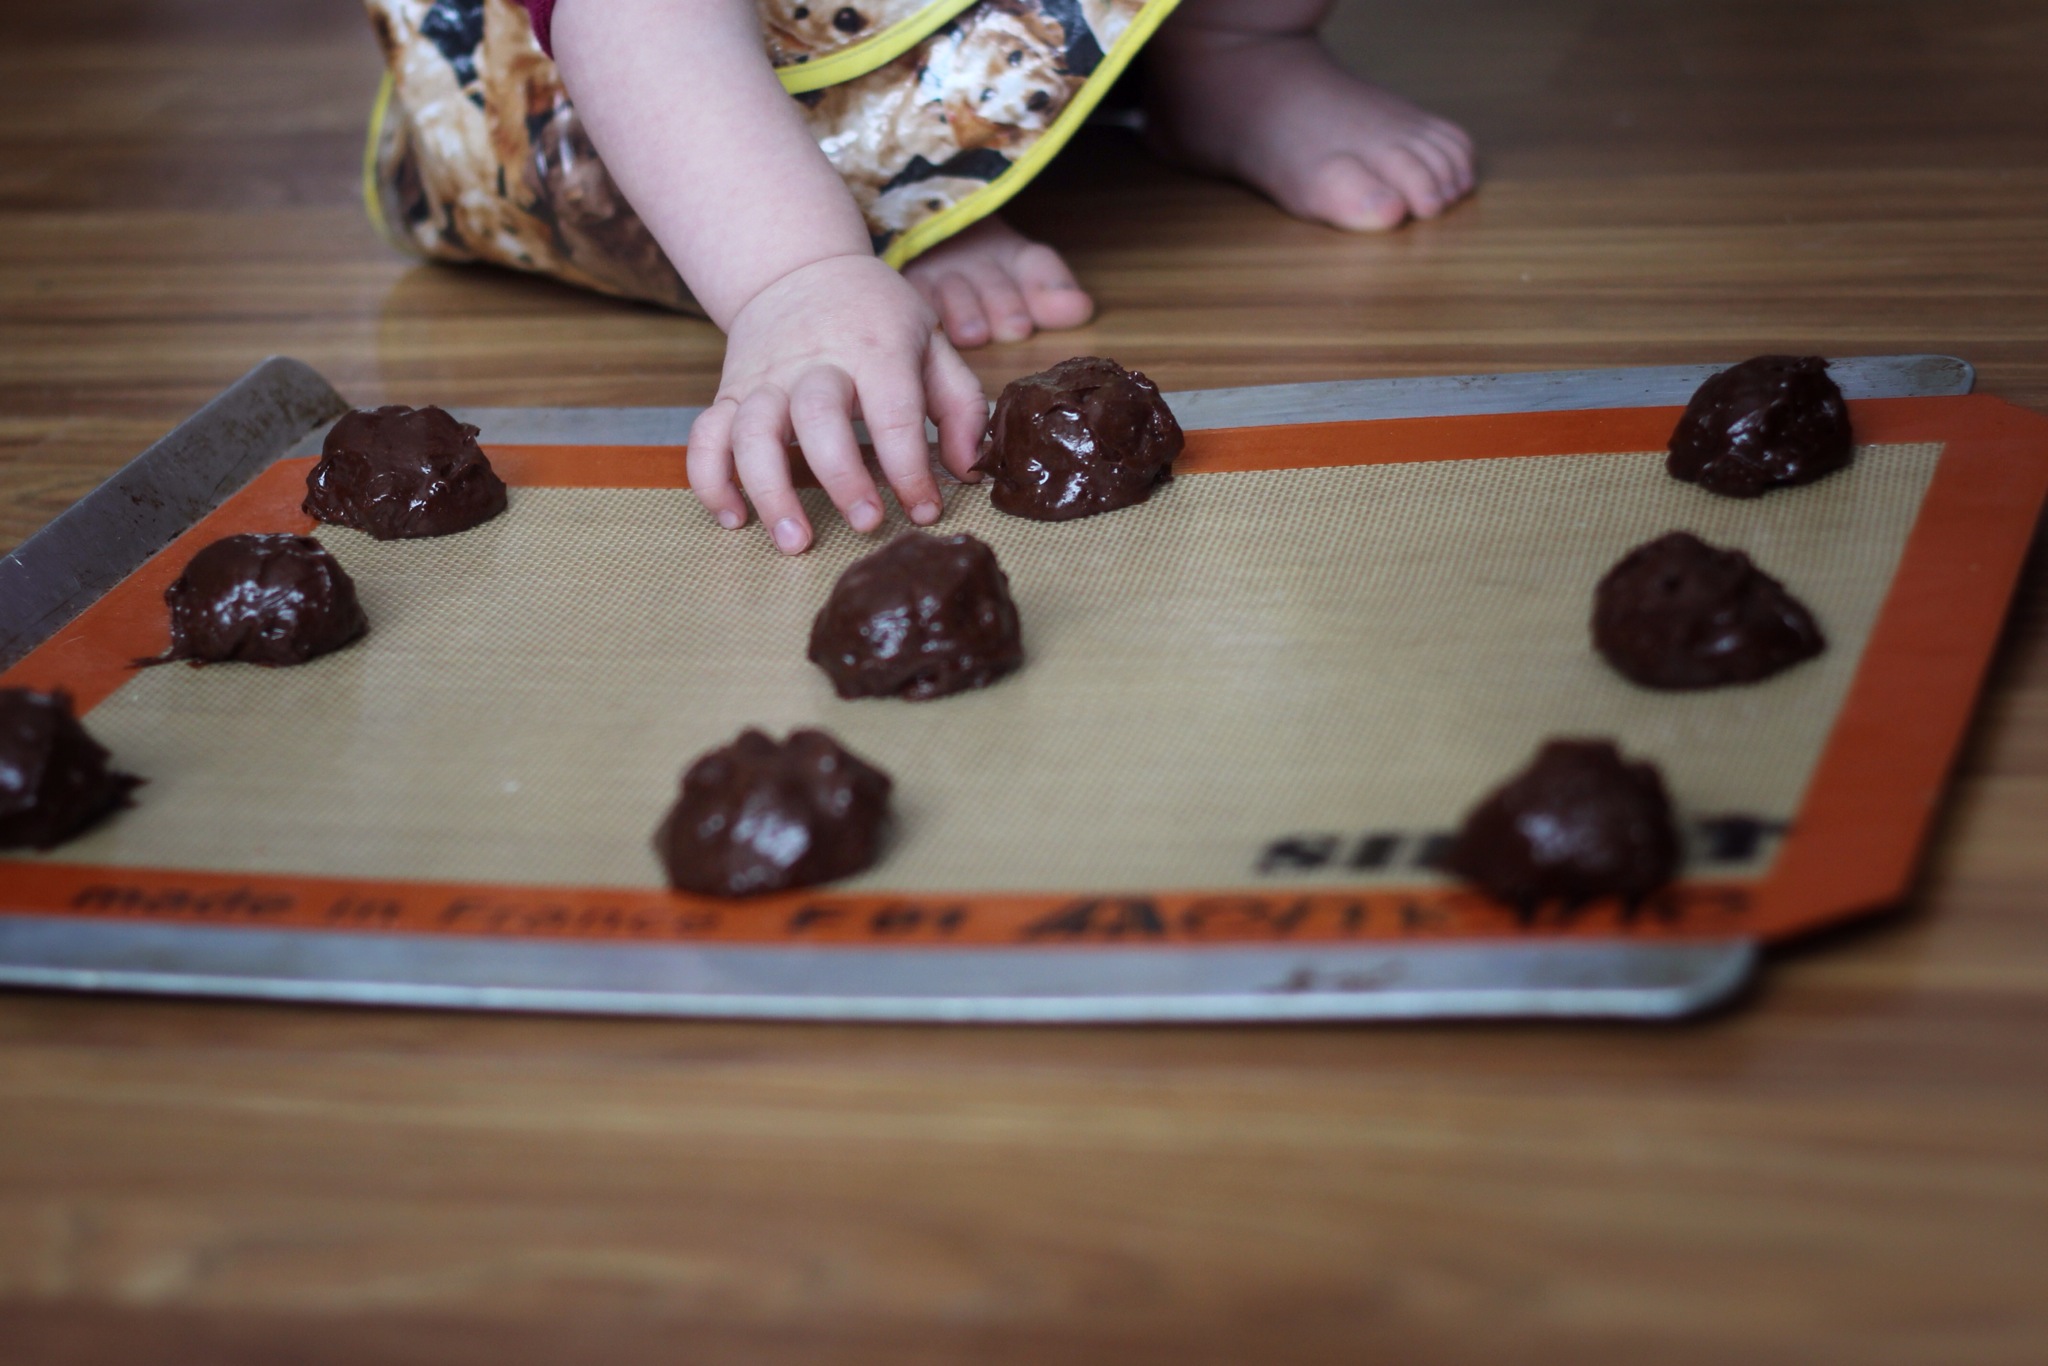
IMG_1108-0.JPG
French Silk Pie

Ingredients

Crust:
60 Vanilla wafers, finely crushed
1/4 teaspoon cinnamon
3/4 cup (1 1/2 sticks) unsalted butter, melted and cooled

Filling:
4 large egg yolks
1/4 cup granulated sugar
1/4 teaspoon coarse salt
3 1/2 ounces bittersweet chocolate, coarsely chopped (about 3/4 cup)
3 cups heavy cream
2 tablespoons confectioners’ sugar
Chocolate shavings, for serving (optional)

Directions

1. For crust: In a food processor pulse vanilla wafers until they are fine crumbs. Add cinnamon and melted butter. Pulse unit well mixed.

2. Pour mixture into the bottom of a 9” springform pan and press into the bottom and sides of the pan, in an even layer.

3. Bake crust for 10 to 15 minutes or until golden brown. Remove from oven and cool completely. Once cooled, place in the refrigerator until ready to use.

4. For the Filling: In a heatproof bowl set over (not in) a pot of simmering water, whisk together yolks, granulated sugar, and salt until sugar is dissolved. Whisk in bittersweet chocolate until melted. Remove from heat. Let cool 10 minutes.

5. Beat 2 cups of cream until medium-stiff peaks form. Whisk one third of whipped cream into chocolate mixture. Gently but thoroughly fold in remaining whipped cream. Pour mixture into cooled crust. Refrigerate at least 3 hours.

6. Beat remaining 1 cup cream with confectioners’ sugar until soft peaks form. Dollop onto pie, sprinkle with chocolate shavings, and serve.

Baking with my Daughter: Raspberry Hand Pies

IMG_1102.JPGEvery week I ask her what she wants to make when we bake. I start asking at the beginning of the week and ask as couple of times over the next few days. So far she’s been pretty consistent. She tells me what she wants and sticks to it throughout the week. This week she alternated between raspberry cake and raspberry pie, finally settling on “baby raspberry pie”. I decided to go with hand pies, I knew she would like them because they’re easy to pick up and eat, plus she’s loves rolling out and cutting dough.IMG_1099.JPGWhen we got to the assembly part, I pulled up her high chair, gave her some filling and 2 pieces of dough. She watched thoughtfully while I showed and explained how to assemble one and then did it. She did it surprisingly well with little mess. Seriously I don’t think most 10 year olds can fashion hand pies like this kid. Sadly I let her eat it before I took a picture of it. IMG_1100.JPGI pulled the blackberries out of the fridge and let her stick a whole blackberry inside the pie she made. When I gave her the container of berries she excitedly exclaimed “woah mom, got about blackberries!” She’s been saying she “(for)got about” anything that gets set aside and come back to later on. I find it pretty hilarious. She could hardly wait to eat her pies when they came out of the oven, it took much convincing to give them time to cool. These little pies were the perfect baking project for her, I only wish we had made more!IMG_1101.JPG
Raspberry Hand Pies

Ingredients

For the Crust:

2 1/2 cup all-purpose flour
2 tablespoons sugar
3/4 teaspoon salt
1 cup (2 sticks) unsalted butter, cold, cut into cubes
5 tablespoons plus 2 teaspoons ice cold water
1 teaspoon apple cider vinegar

For the Filling:

10 ounces fresh or frozen raspberries
1/2 cup sugar
Seed from 1 vanilla bean
1 teaspoon corn starch

1 egg beaten plus 1 tablespoon water for egg wash
Turbinado sugar for dusting

Directions

1. To make the crust, in the bowl of a mixer, whisk together flour, sugar, and salt. Add cold, cubed butter and, and slowly work the butter into the flour mixture. Quickly break the butter down into the flour mixture, some butter pieces will be the size of oat flakes, some will be the size of peas. Stir together the ice cold water and vinegar. This process goes even better if you keep your flour in the freezer like I do. Add the water and vinegar. Try to moisten all of the flour bits. I noticed I had to add a bit more water this time than the last time I made this dough. The air is much drier here in January so add a few more tablespoons if it doesn’t feel moist. On a lightly floured work surface, dump out the dough mixture. It will be moist and shaggy. That’s perfect. Divide the dough in two and gently knead into two disks. Wrap each disk in plastic wrap and refrigerate for 1 hour.

2. To make the filling combine raspberries, sugar, and vanilla bean seeds in a medium saucepan. Cook until berries just begin to break down. Add cornstarch and cook 2 more minutes simmering. Remove from heat and allow to cool.

3. Preheat oven to 400 degrees. Remove one of the pie dough disks from the fridge. On a lightly floured surface, roll dough out into about a 13-inch round. Roll the dough a few strokes, then use your fingers to move the emerging circle around the floured surface. This ensures that the dough isn’t sticking to the work surface. Using a large biscuit cutter cut out as many circles as you can from the dough. Repeat with other disk. Combine scraps and repeat until no dough remains. I got about 24 rounds plus one large piece left over for a certain two year old to make doggie pie.

4. To assemble, brush the edges of one circle with egg wash. Place 1-2 teaspoons of raspberry filling in the center. Place another round of dough on top and push down edges to close. Seal edges using a fork. Be careful not to overfill your pies or filling will leak out during the baking process. Once all pies are assembled, brush tops with egg wash and sprinkle with turbinado sugar.

5. Bake for 10 minutes at 400 degrees, then turn down oven to 375 and bake for another 10 minutes. Pies are done with crust is golden brown.

Untitled

IMG_1097.JPGIMG_1098.JPGIt’s been strange for me not to take, edit and post a photo every day. I’ve still been taking the photos. I’ve decided I’m only going to post the images I’m really proud of. The ones I would put up on a wall for critique if I did that sort of thing.

I think it’s the editing I’m missing the most. It’s funny, I used to get really impatient in the darkroom. Maybe it was too many hours spent breathing in ilfochrome chemicals. When I hit college (I was wild and went later in life), I learned to love the editing process. Editing digitally was so much more natural for me. Sitting in those dark computer labs spending hours getting each image just right, fighting with the damn printer to get the stupid thing to just match the screen. It’s funny how much I miss that now. It makes me wish I had a functional printer. And calibration software. But then I remember how temperamental printers are, and how expensive and I rethink that desire.

This girl is my most willing and available subject so she’s been easy to photograph. I’ve always been better at people, and photographing those closest to me has always been my passion. I remember someone telling me in college they couldn’t wait until I had babies to see my photographs. My work has changed a lot since then, and softened. I don’t think my current images are what either of us would have expected all of those years ago. Sometimes I hesitate to share some of my best work, after all my kid is naked half of the time and its the internet and I’m just not that brave or naive which ever you prefer to call it. I recently discovered on Instagram of all places, a photographer and was inspired.Wyatt Neumann’s recent work, “I FEEL SORRY FOR YOUR CHILDREN”, is a gorgeous collection of photographs juxtaposed with the comments he received after posting the images online. I related to the images he shot. I envied them. I envied his balls to share them. They were a beautiful representation of what life with a toddler looks like. But the world we live in deemed him a pedophile, a terrible father, and on and on. I seem to remember people saying some of the same things about Sally Mann. How terribly we judge those brave enough to show us life as it truly is, and god forbid they include the human body.

If you’re interested in seeing more of my every day shots, look me up on Instagram (thenightbakery), where I will be posting some of what doesn’t make the cut here.

Baking with my Daughter: Outrageous Chocolate Cookies

IMG_1089.JPGShe’s been waking up in the middle of the night a lot lately. As in every night, and refusing to go back to sleep. As a result we’ve been having 2-4 hour long play sessions around 2 am on a regular basis. I’m not going to lie, it’s exhausting. To put it nicely. Last night we got lucky, she decided to stay up until midnight and we avoided the middle of the night wake up.IMG_1088.JPGI can’t quite figure out what it is that’s doing it this time. Previously it’s always been teeth but she only has three more to go and none of them are even close. My husband thinks we should call her cardiologist (which I will) but I have a feeling it won’t yield any additional info other than the possibility of a continuous heart monitor for 24 hours to rule out her WPW acting up, which I’m sure she will just love. There has been a lot of coffee for me, and coke for my husband.IMG_1087.JPGAnd sugar. When I’m just beat down, I desperately need sugar. There were doughnuts, and then these cookies. When I asked her what she wanted to make this weekend, she requested chocolate cookies. I clarified that she wanted chocolate cookies and not chocolate chip cookies. She was adamant they be chocolate chocolate chip cookies. This recipe is amazing, however the secret to it is under baking. When I used the timing in the original recipe they cookies were like rocks. Under baked they became delicious, fudgey, brownie cookies. I recommend watching them closely in your oven and removing while they still look slightly raw in the middle.IMG_1086.JPG
Outrageous Chocolate Cookies

Recipe adapted slightly from Martha Stewart

Ingredients

8 ounces semisweet chocolate, roughly chopped
4 tablespoons unsalted butter
2/3 cup all-purpose flour
1/2 teaspoon baking powder
1/2 teaspoon salt
2 large eggs
3/4 cup packed light-brown sugar
1 teaspoon pure vanilla extract
1 package (12 ounces) semisweet chocolate chips

Directions

1. Preheat the oven to 350 degrees. Heat chopped chocolate and butter in a microwave-safe bowl in 20-second increments, stirring between each, until almost melted; do not overheat. In another bowl, whisk together flour, baking powder, and salt.

2. In a mixing bowl, beat eggs, brown sugar, and vanilla on high speed until light and fluffy. Reduce speed to low; beat in melted chocolate. Mix in flour mixture until just combined. Stir in chocolate chips.

3. Drop heaping tablespoons of dough 2 to 3 inches apart onto baking sheets. Bake, rotating sheets halfway through, until cookies are shiny and crackly yet soft in centers, 8 to 10 minutes. Cool on baking sheets 10 minutes; transfer to a wire rack to cool completely.

Baking with my Daughter: Brown Sugar Cupcakes

IMG_1081.JPG
As soon as I knew I was having a child I knew I wanted her to love food the way I do. I wanted her to love this process, from start to finish. I wanted her to be passionate about where her food comes from, what she eats. I wanted her to care what she put in her body. Watching other parents and their young children I realized quickly, those that were involved in cooking, in choosing ingredients, in raising and growing food were the ones that ate well. They were the kids whose relationship with food I envied, and could only hope to cultivate that relationship between my own child and food.IMG_1080.JPGRather then another portrait series I’ve decided to get back to where I began with this blog. Cooking and baking. My daughter has become such an integral part of my life and everything I do, so it seemed only natural to involve her. There’s also the fact that every time I go into the kitchen to make something a certain toddler follows me and says “Mama help!”, while pointing enthusiastically to herself.IMG_1082.JPGSo this years project will not be photos (although there will of course be photos), but recipes and stories to accompany them. This first recipe is courtesy of Joy the Bakers new cookbook, Homemade Decadence. This little girl choose cupcakes as our first venture. I’m a little surprised it wasn’t pie with her love of all things pie. She was in charge of dumping ingredients and stirring as per usual, as well as distributing cupcake liners which is super entertaining when you’re a toddler FYI. These cupcakes were super delicious. The brown sugar flavor was rich and deep with a hint of molasses. Almost like butterscotch. But the best part of these cupcakes is when you get a tiny pocket of unmixed brown sugar, that sort of caramelized while baking. It’s soooo good. I was reminded of these cupcakes I made a few years back.

I hope you enjoy this new series for 2015. I have a feeling I will!IMG_0114.JPG

Brown Sugar Cupcakes

Recipe adapted slightly from Joy the Baker from Homemade Decadence

A note on this recipe: although the frosting is titled salted caramel frosting, I didn’t find it very salty. If that’s was you’re looking for I suggest adding an additional 1/2 teaspoon of salt to the recipe.

Ingredients

3 cups all purpose flour
1 1/2 teaspoons baking power
1/2 teaspoon baking soda
1 teaspoon salt
1/4 teaspoon ground cinnamon
1 cup (2 sticks) unsalted butter, melted and cooled
2 large eggs
1 large egg yolk
2 teaspoons vanilla extract
2 cups packed dark brown sugar
1 1/2 cups milk

Directions

1. Put racks in the center and upper third of the oven and preheat to 350 degrees. Line 2 cupcakes pans with liners.

2. In a large bowl whisk together the flour, baking powder, baking soda, salt and cinnamon.

3. In a medium bowl, whisk together the melted butter, eggs and egg yolk, vanilla and brown sugar. Add the brown sugar mixture all at once to the flour mixture and stir well. Add the buttermilk as well. Divide the batter among the prepared pans. Bake until lightly golden brown and a toothpick inserted comes out clean, about 20-23 minutes. I made mini cupcakes as well, those needed approximately 11 minutes. Let cool in pans before transferring. Frost with salted caramel frosting.

4. The cupcakes will keep, unfrosted and well wrapped, at room temperature for up to 3 days. Cupcakes can also be wrapped and frozen for up to 7 days.

Salted Caramel Frosting

Ingredients

1/2 cup (1 stick) unsalted butter
1/2 cup heavy cream
2 teaspoons vanilla extract
1 cup packed dark brown sugar
1/2 teaspoon salt
4 to 4 1/2 cups confections sugar, sifted

Directions

1. In a medium saucepan set over medium heat, combine butter, cream, vanilla, brown sugar and salt. Cook, stirring occasionally until the sugar melts and the mixture begins to simmer, about 4 minutes.

2. Transfer to the bowl of an electric mixer fitted with the whisk attachment. Add 2 cups of the confectioners sugar and beat on medium-low until well mixed. Add additional 2 to 2 1/2 cups and beat until thick and fluffy, about 6 minutes.