My husband loves really good strawberry ice cream. It’s something he may have developed during his stint working at Coldstone Creamery. They have a lovely concoction called strawberry blonde which throws graham crackers into the mix, that he and I are both pretty fond of. What I’m not fond of is spending $4-$5 on a small dish of ice cream that leaves me wanting more. Especially when he used to bring home a pint for free every day. Yes we got fat then. It was my freshman year in college, we were broke and thousands of miles from home. The ice cream did the trick.
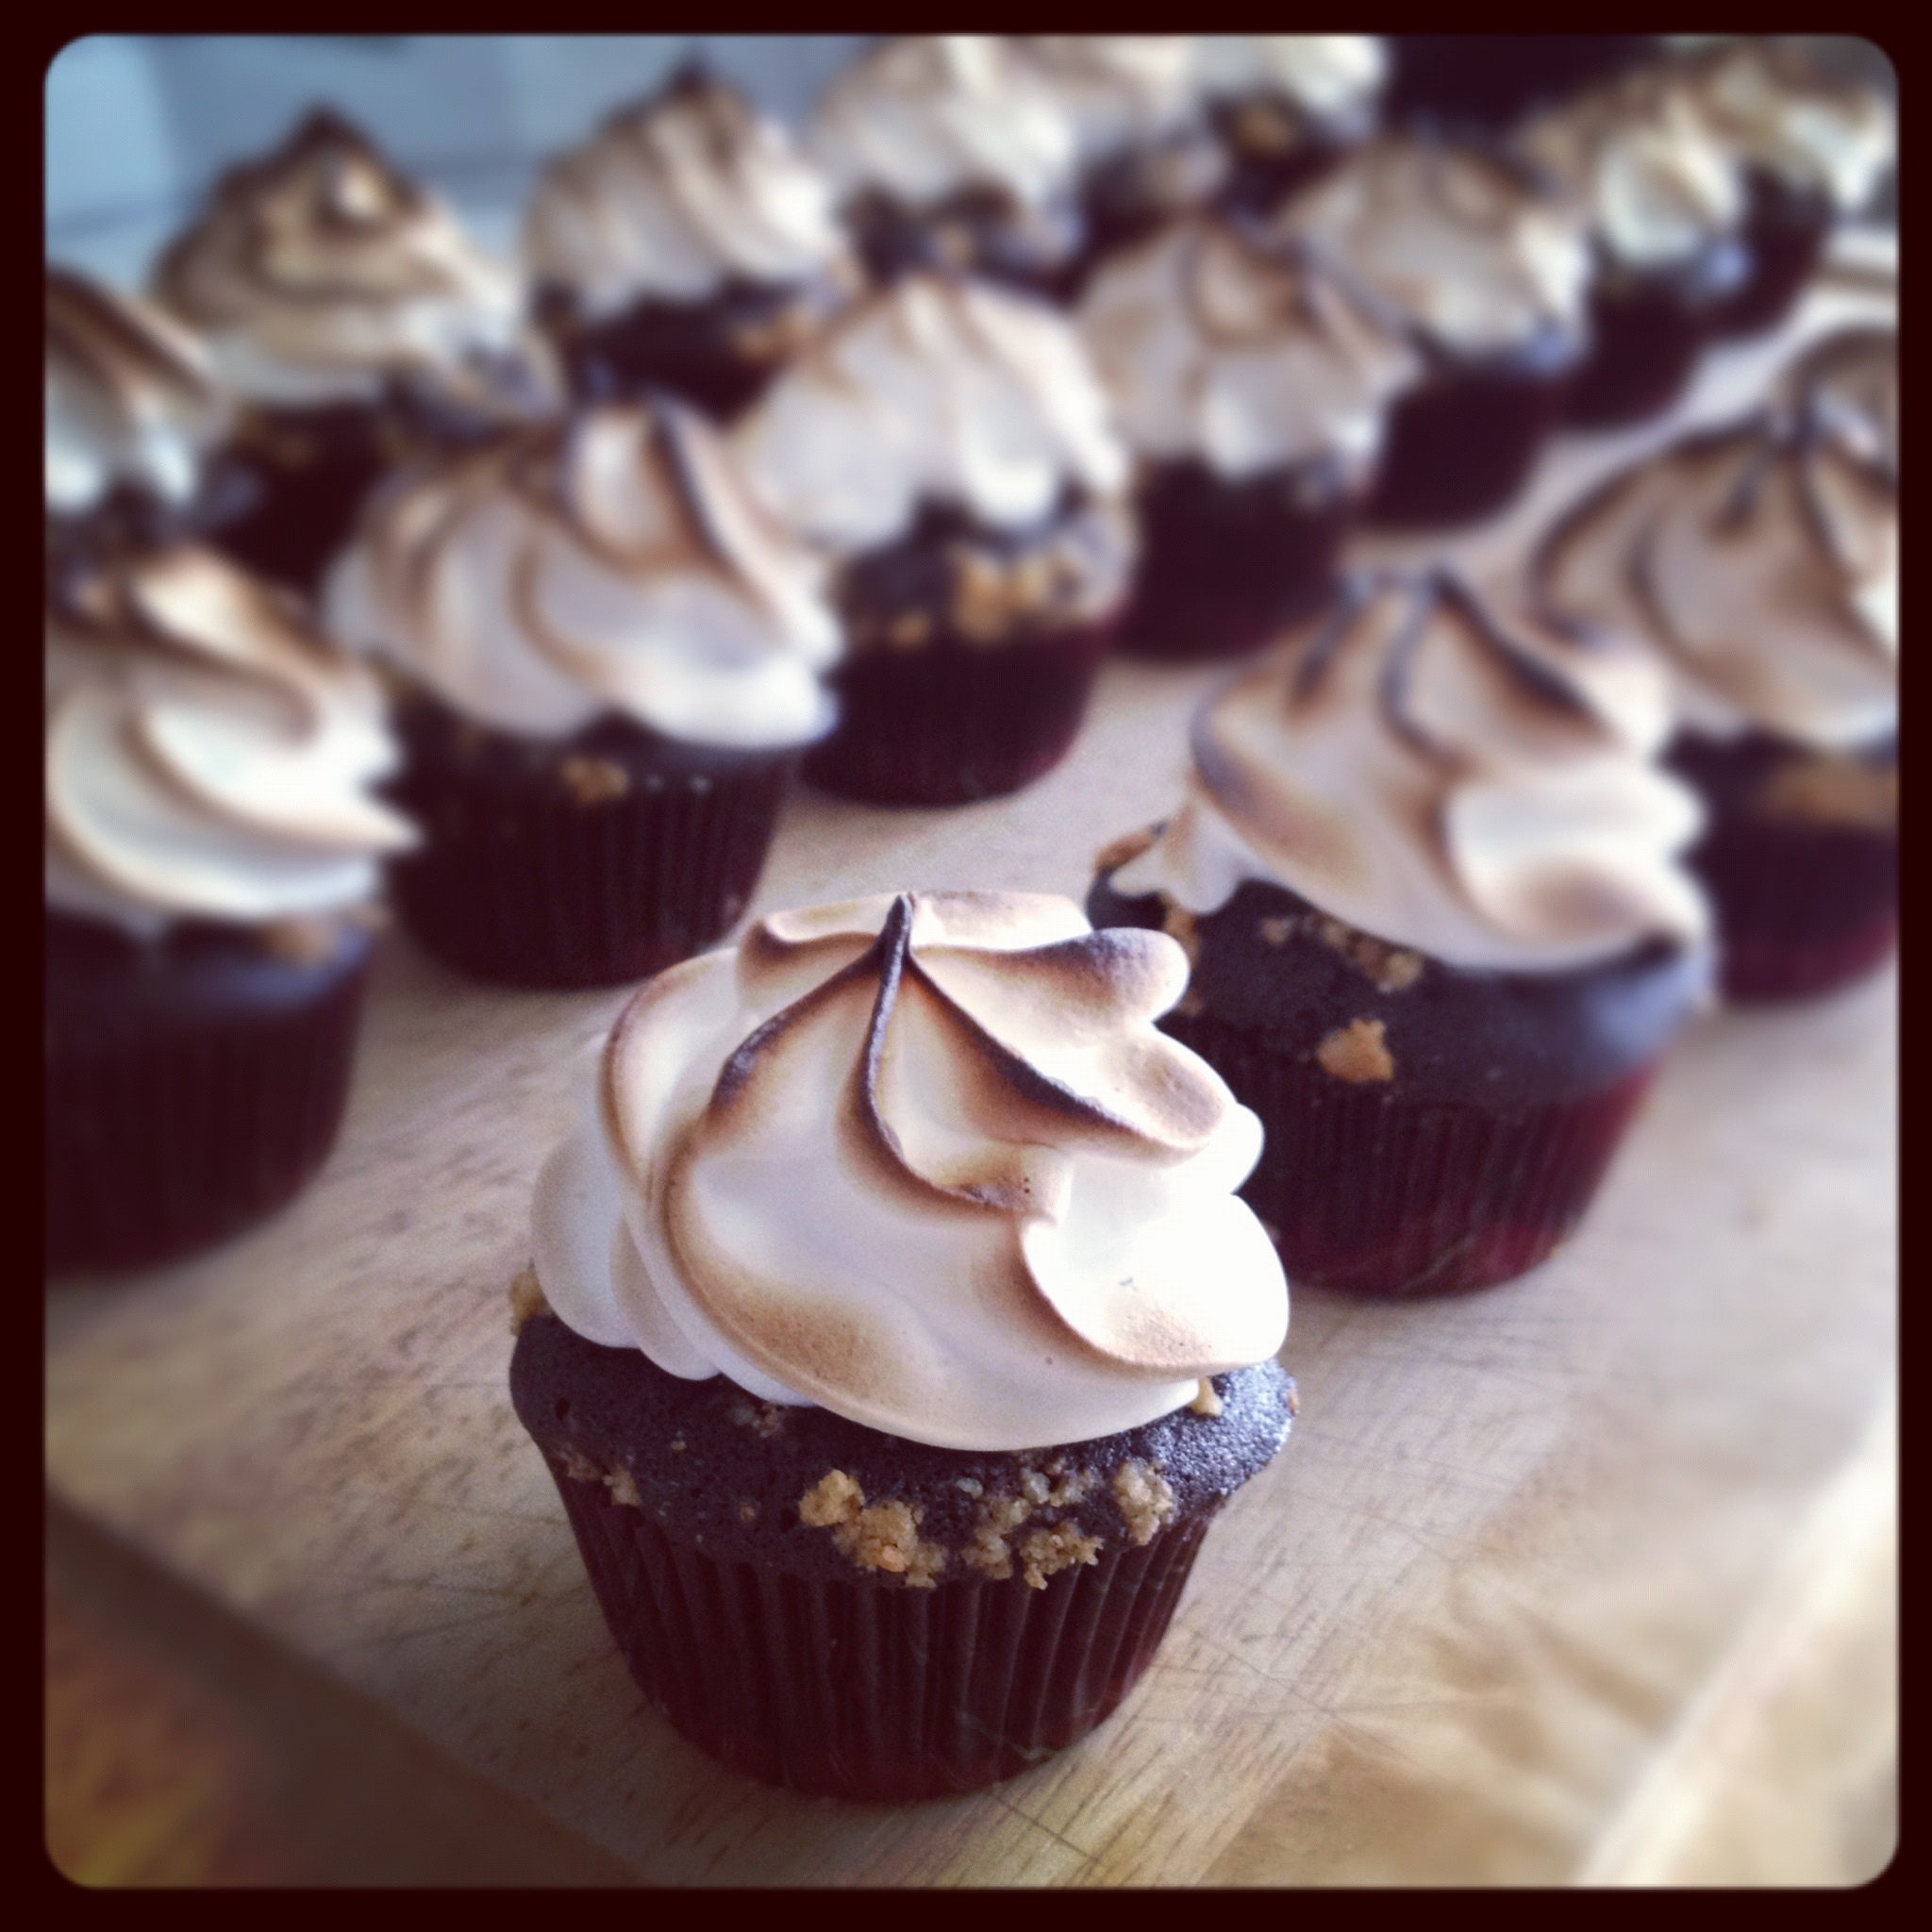
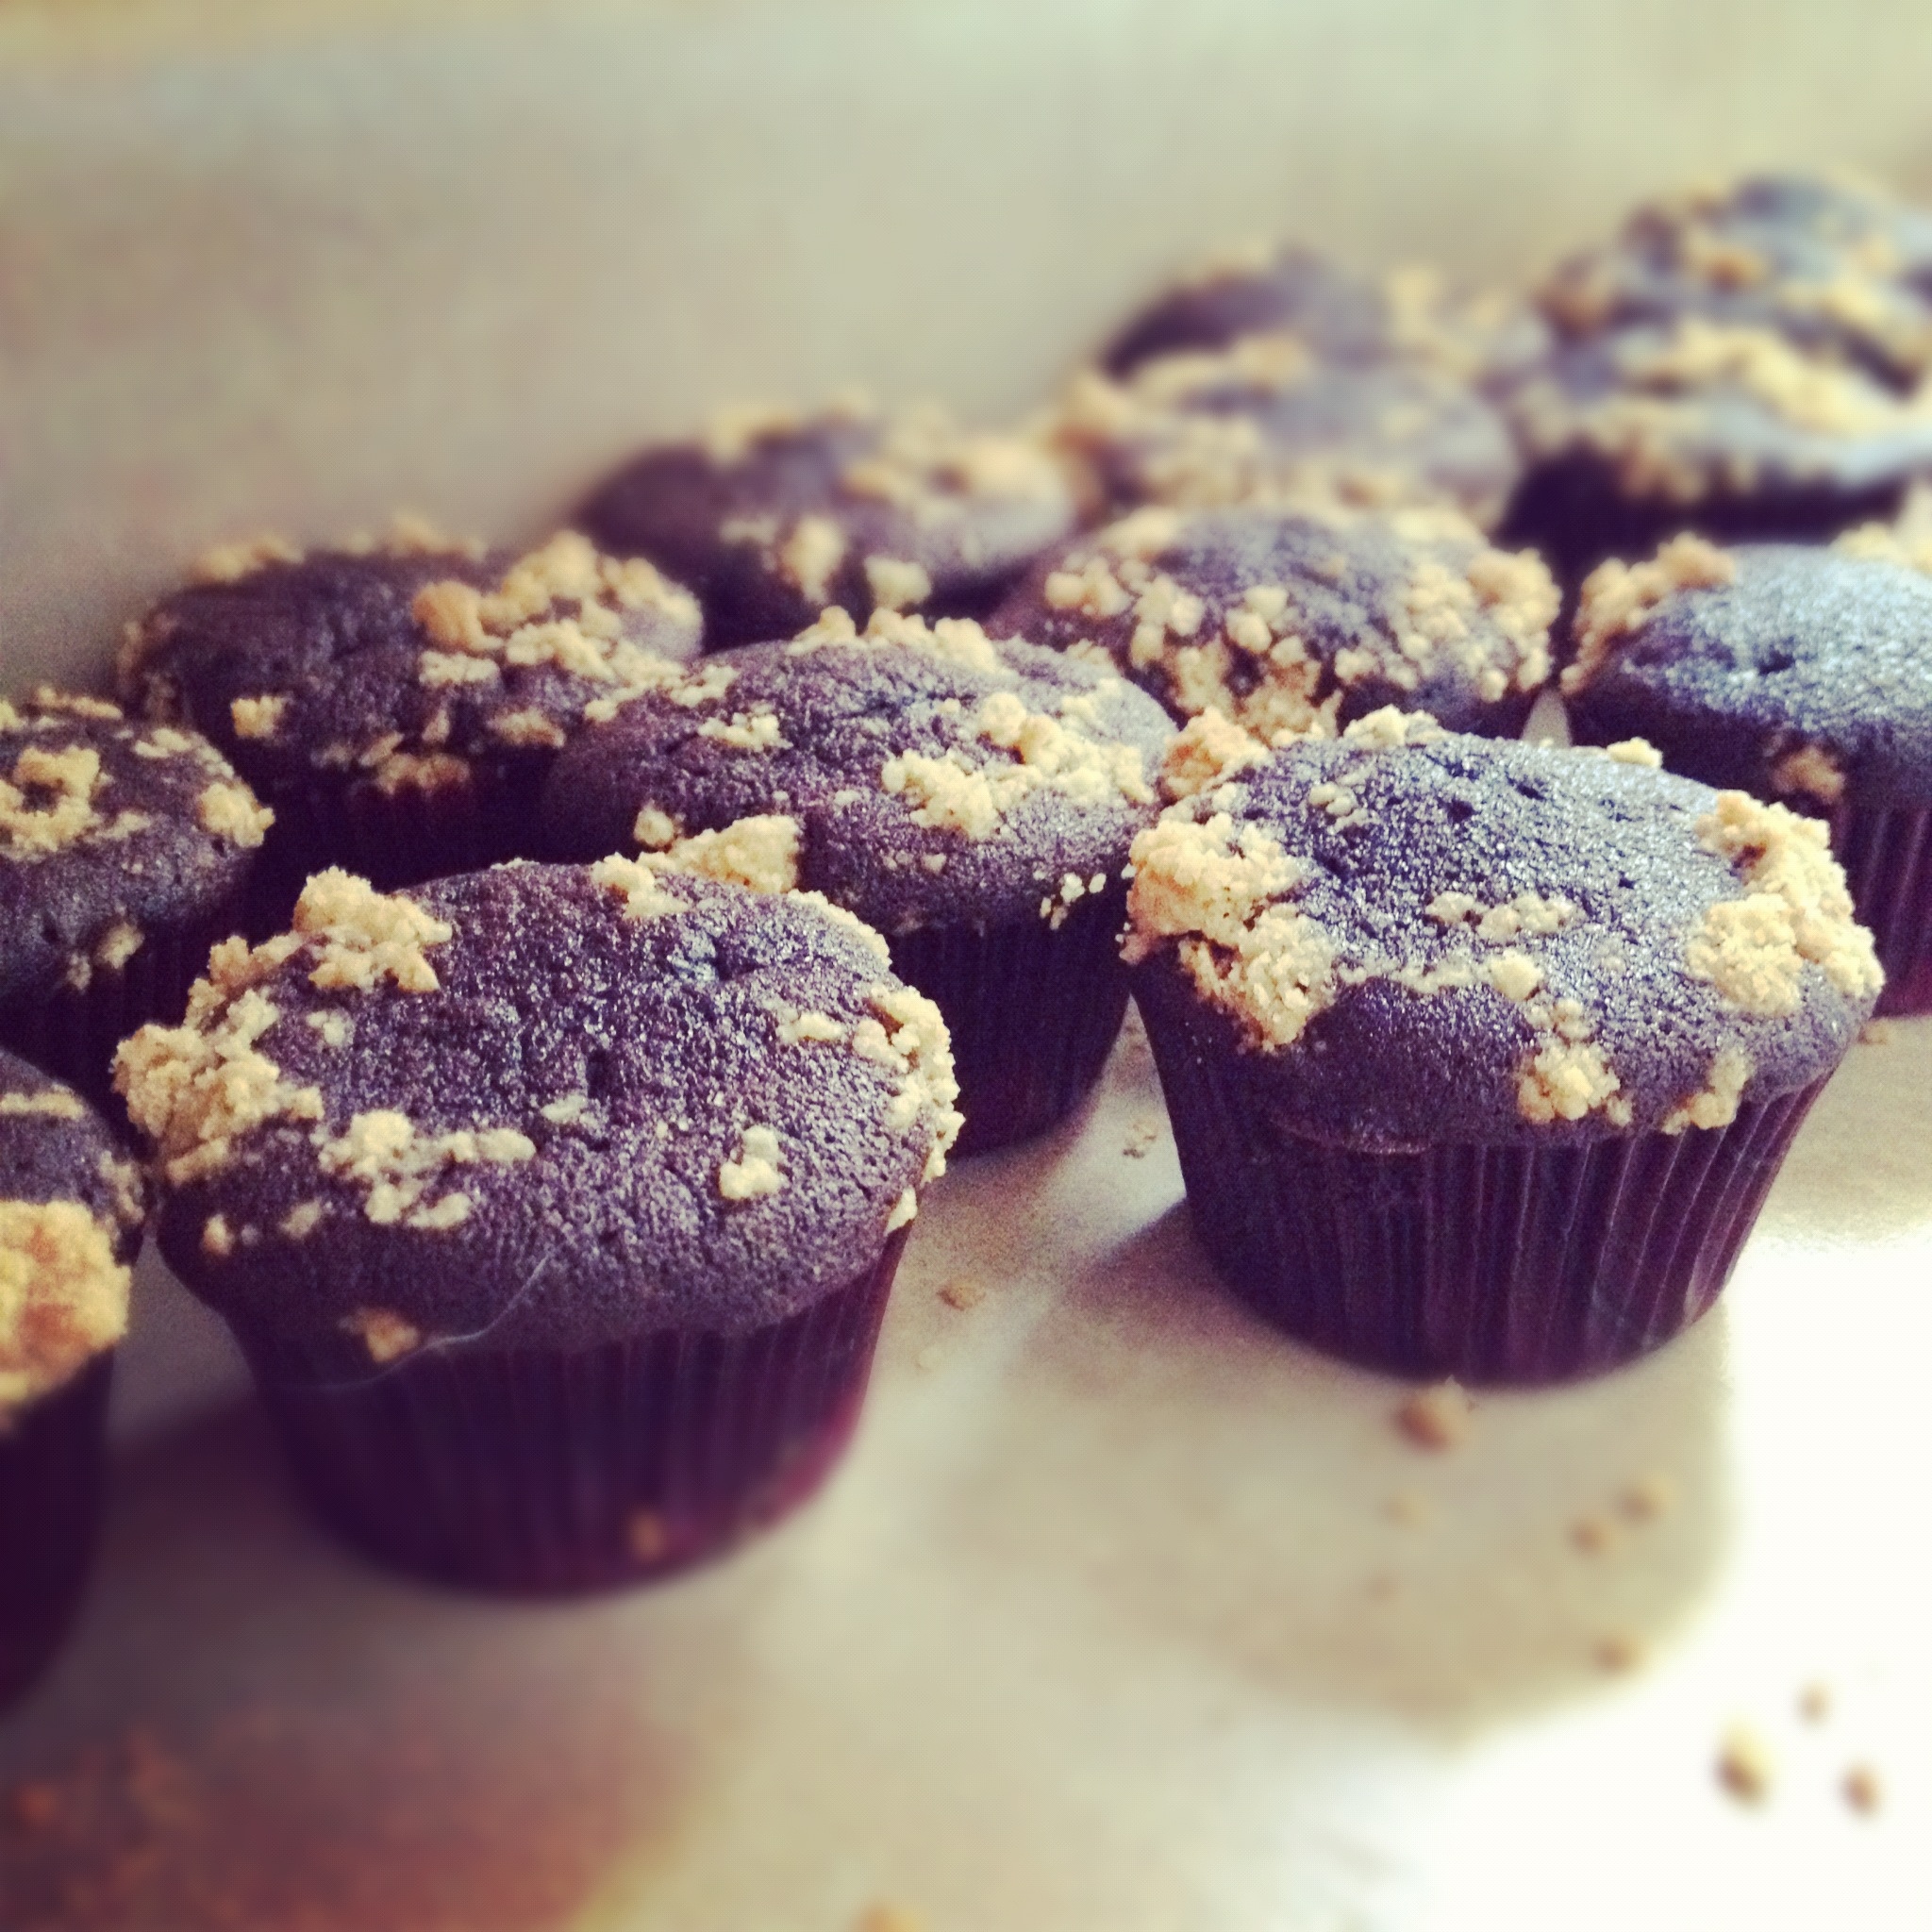
 I stumbled on this recipe while browsing a new to me blog Channeling Contessa. It intrigued me enough to try it, and follow the recipe to the letter, something I rarely do. Likes: roasting the strawberries before turning them into purée. Not only does your entire house fill with strawberry scented goodness, it makes for an intensely delicious purée. Dislikes: the buttermilk in the ice cream I felt overpowered the delicate creaminess and strawberry flavor. Next time I will stick with cream. And throw in a little booze to help keep this ice cream soft as its eggless and freezes ridiculously hard. It was however insanely good. Especially when my 38 weeks pregnant self got the idea at midnight to make a chocolate sauce to top it with and crumble graham crackers on top. Sooooooo good.

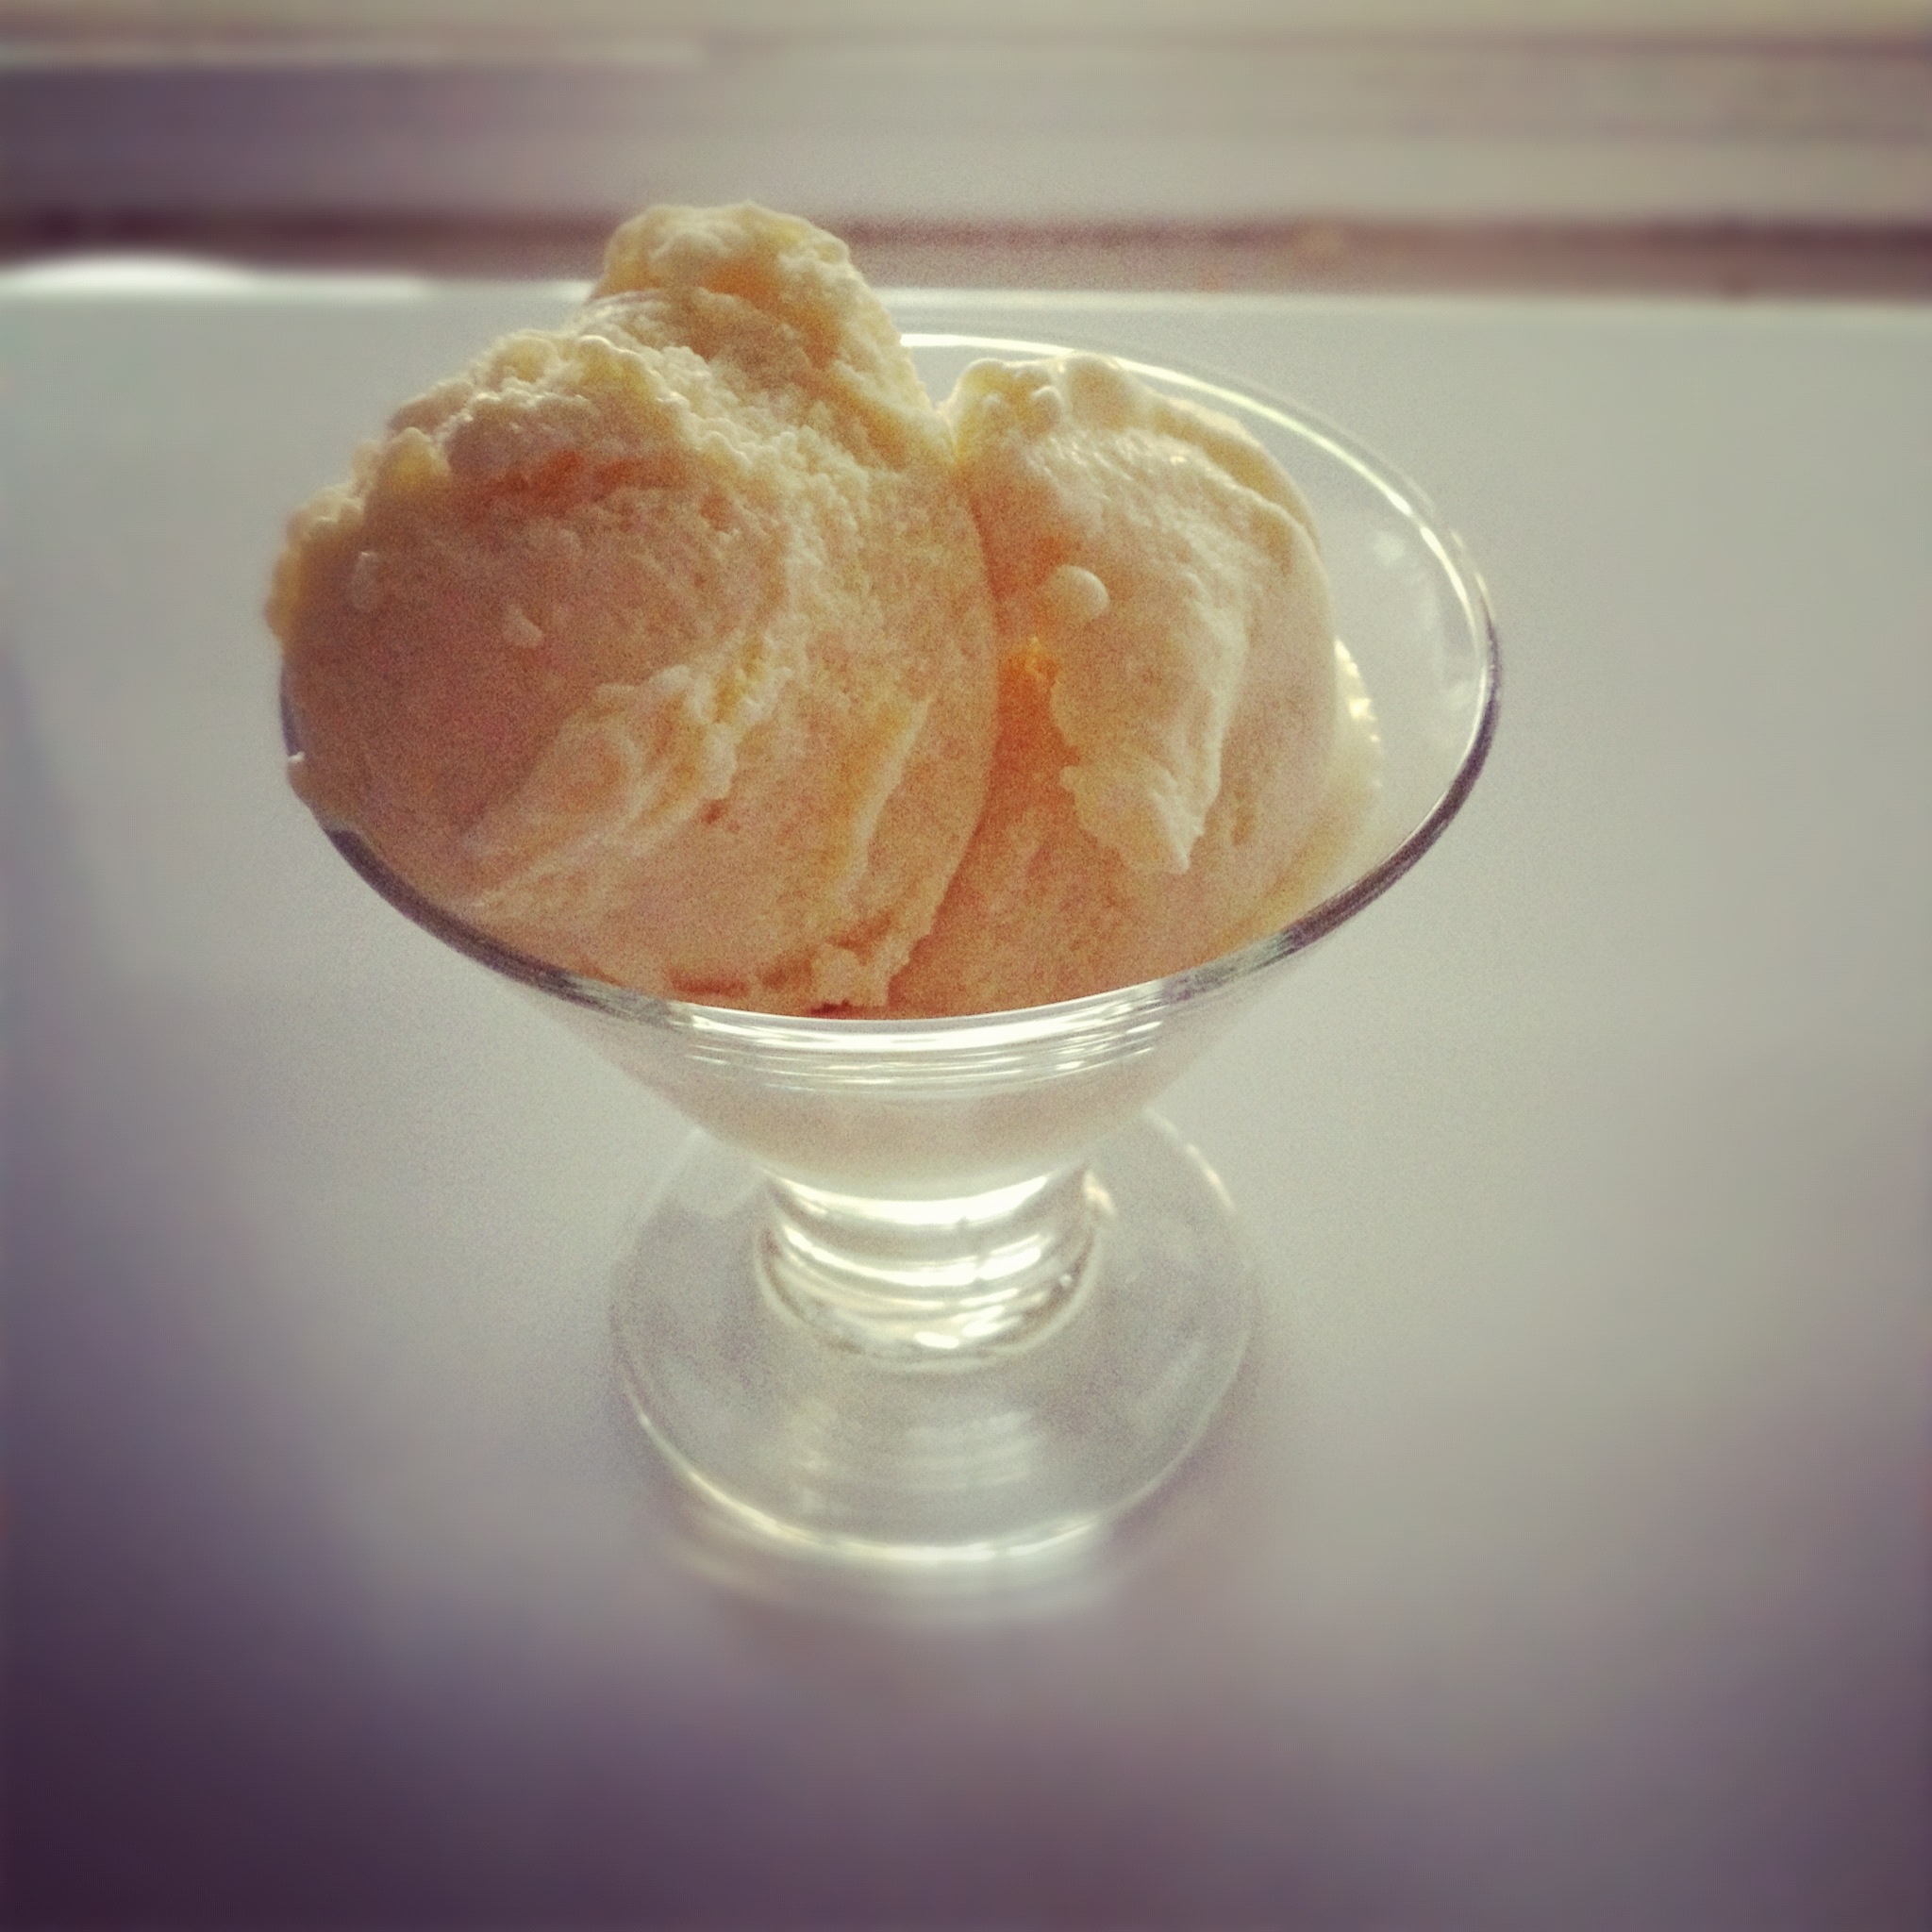
Roasted Strawberry Buttermilk Ice Cream
Like I said, next time I make this I’m swapping buttermilk for more cream and throwing in a tablespoon of liquor. Try it either way and let me know the outcome!
from Jeni’s Splendid Ice Creams at Home
Makes about 1 quart
For the purée:
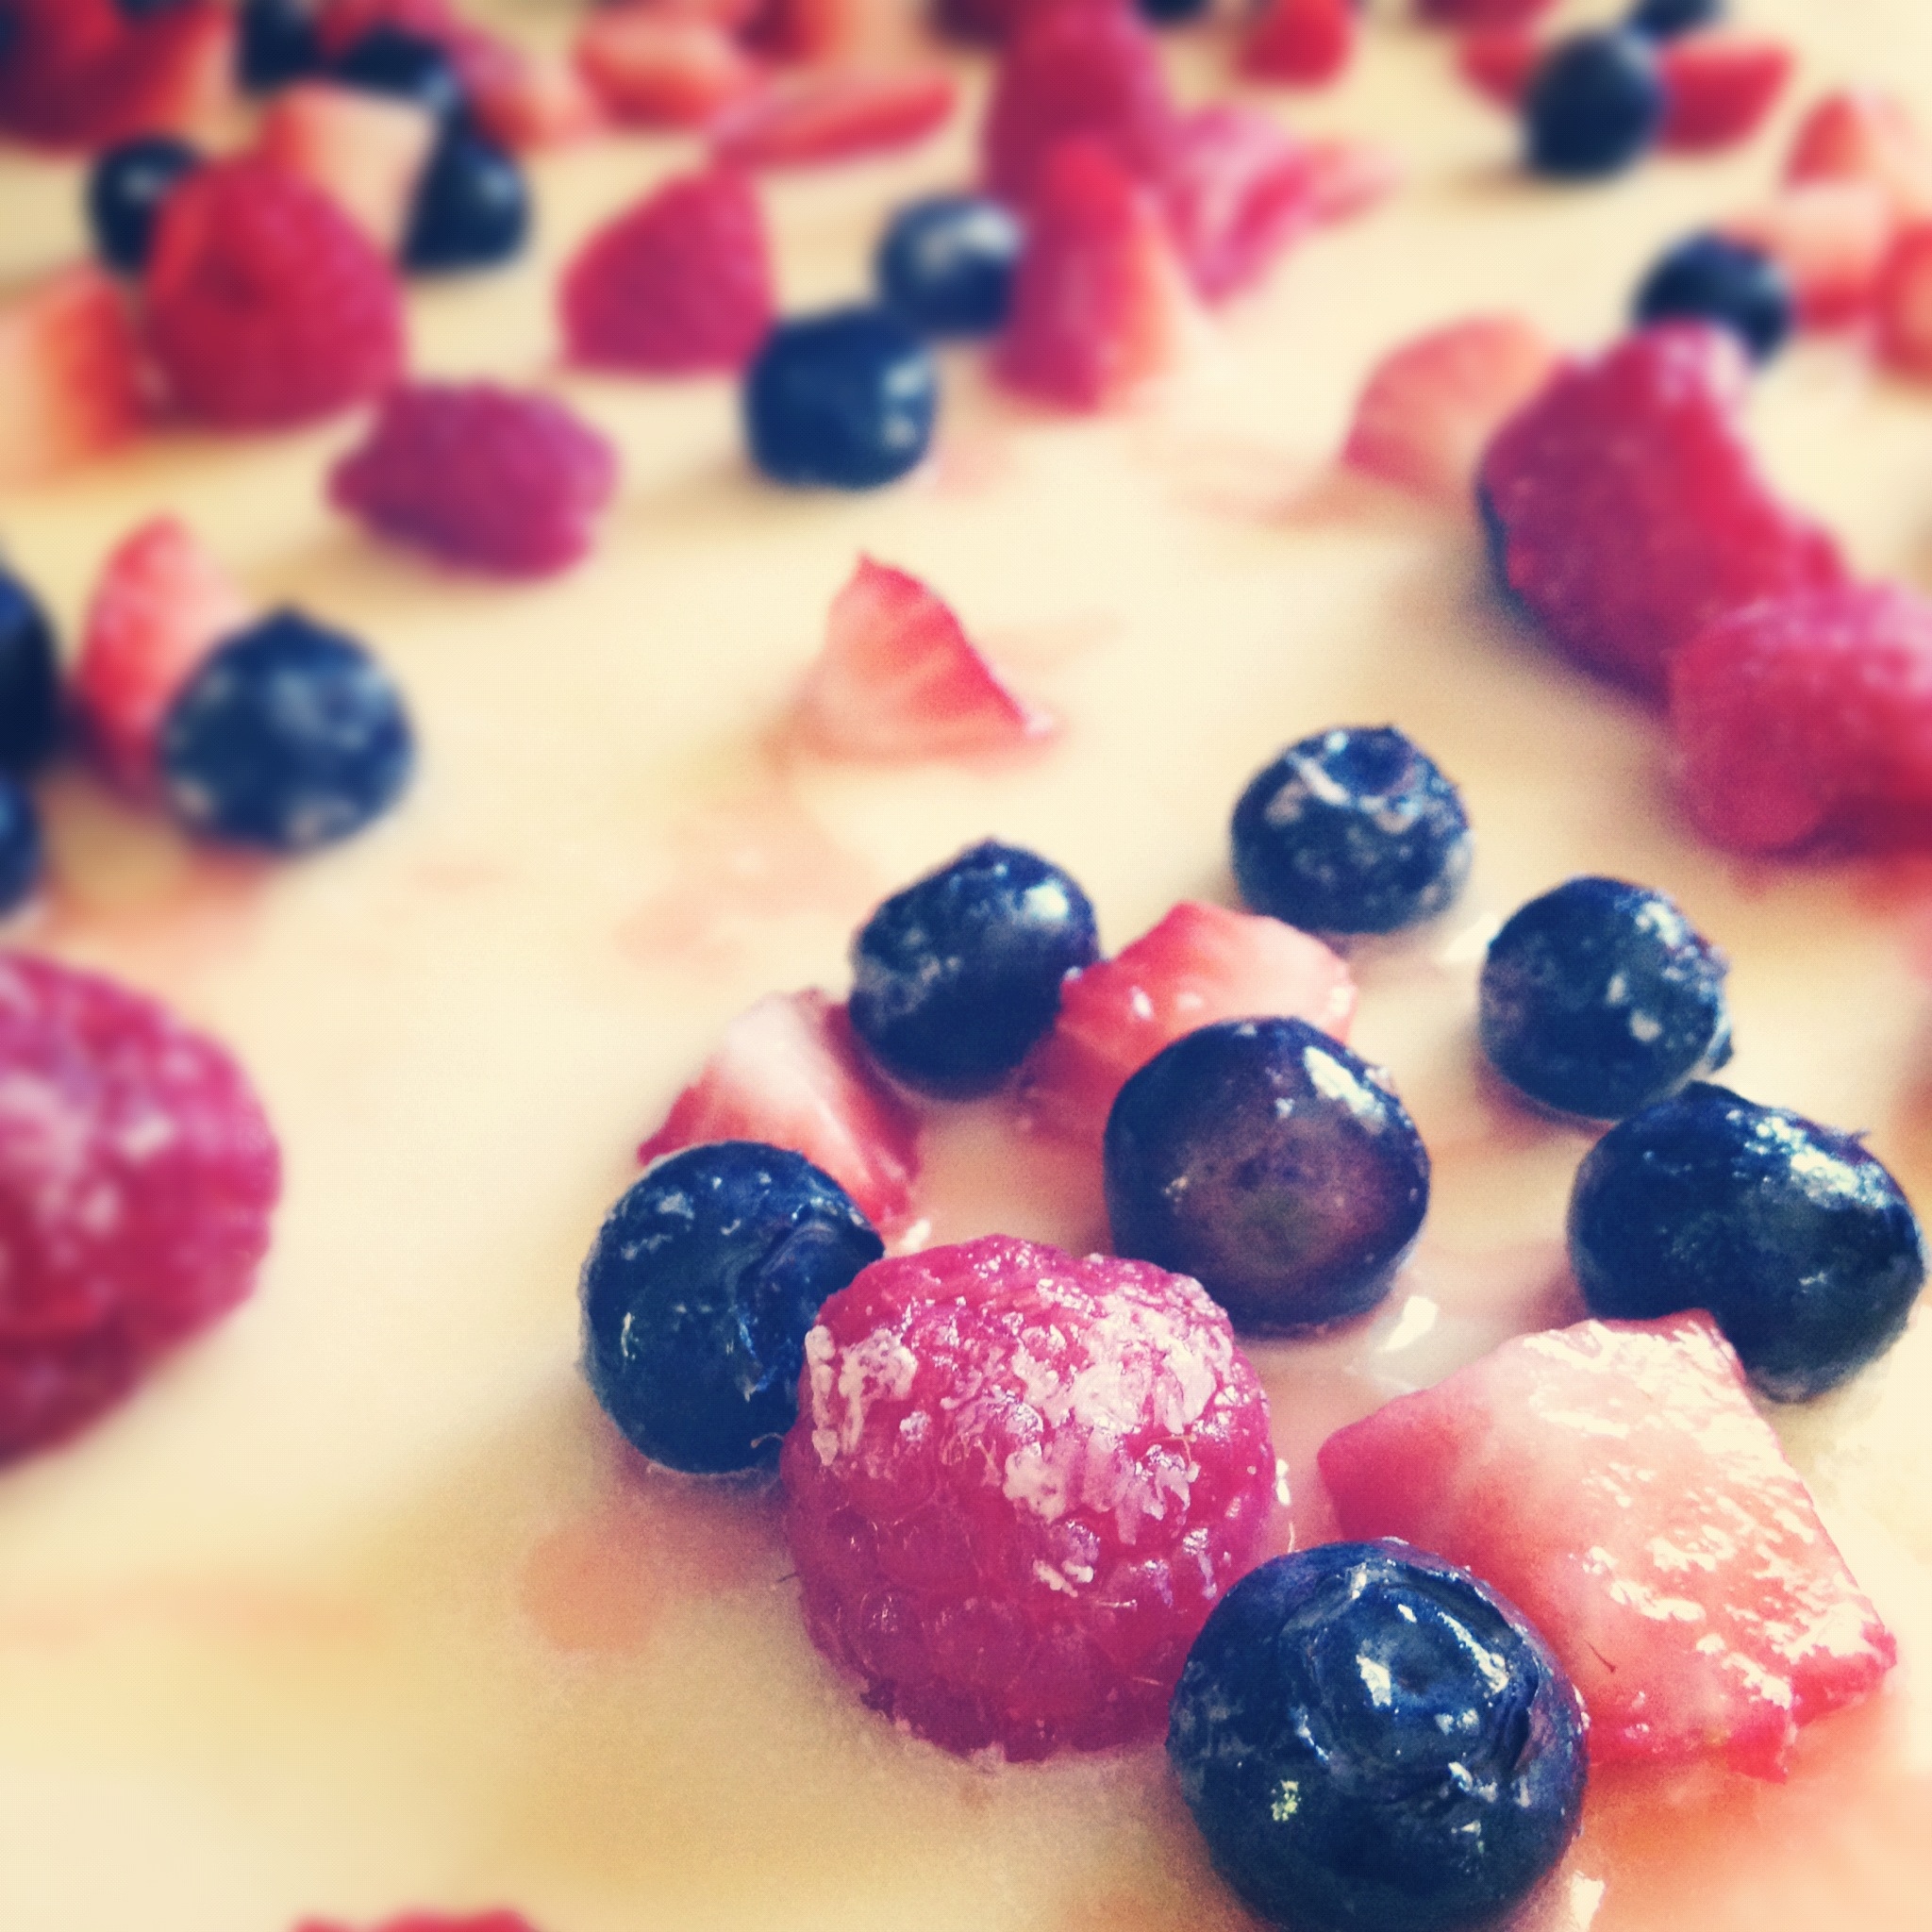
1 pint strawberries, hulled and sliced 1/2 inch thick
1/3 c sugar
3 T fresh lemon juice
For the ice cream:
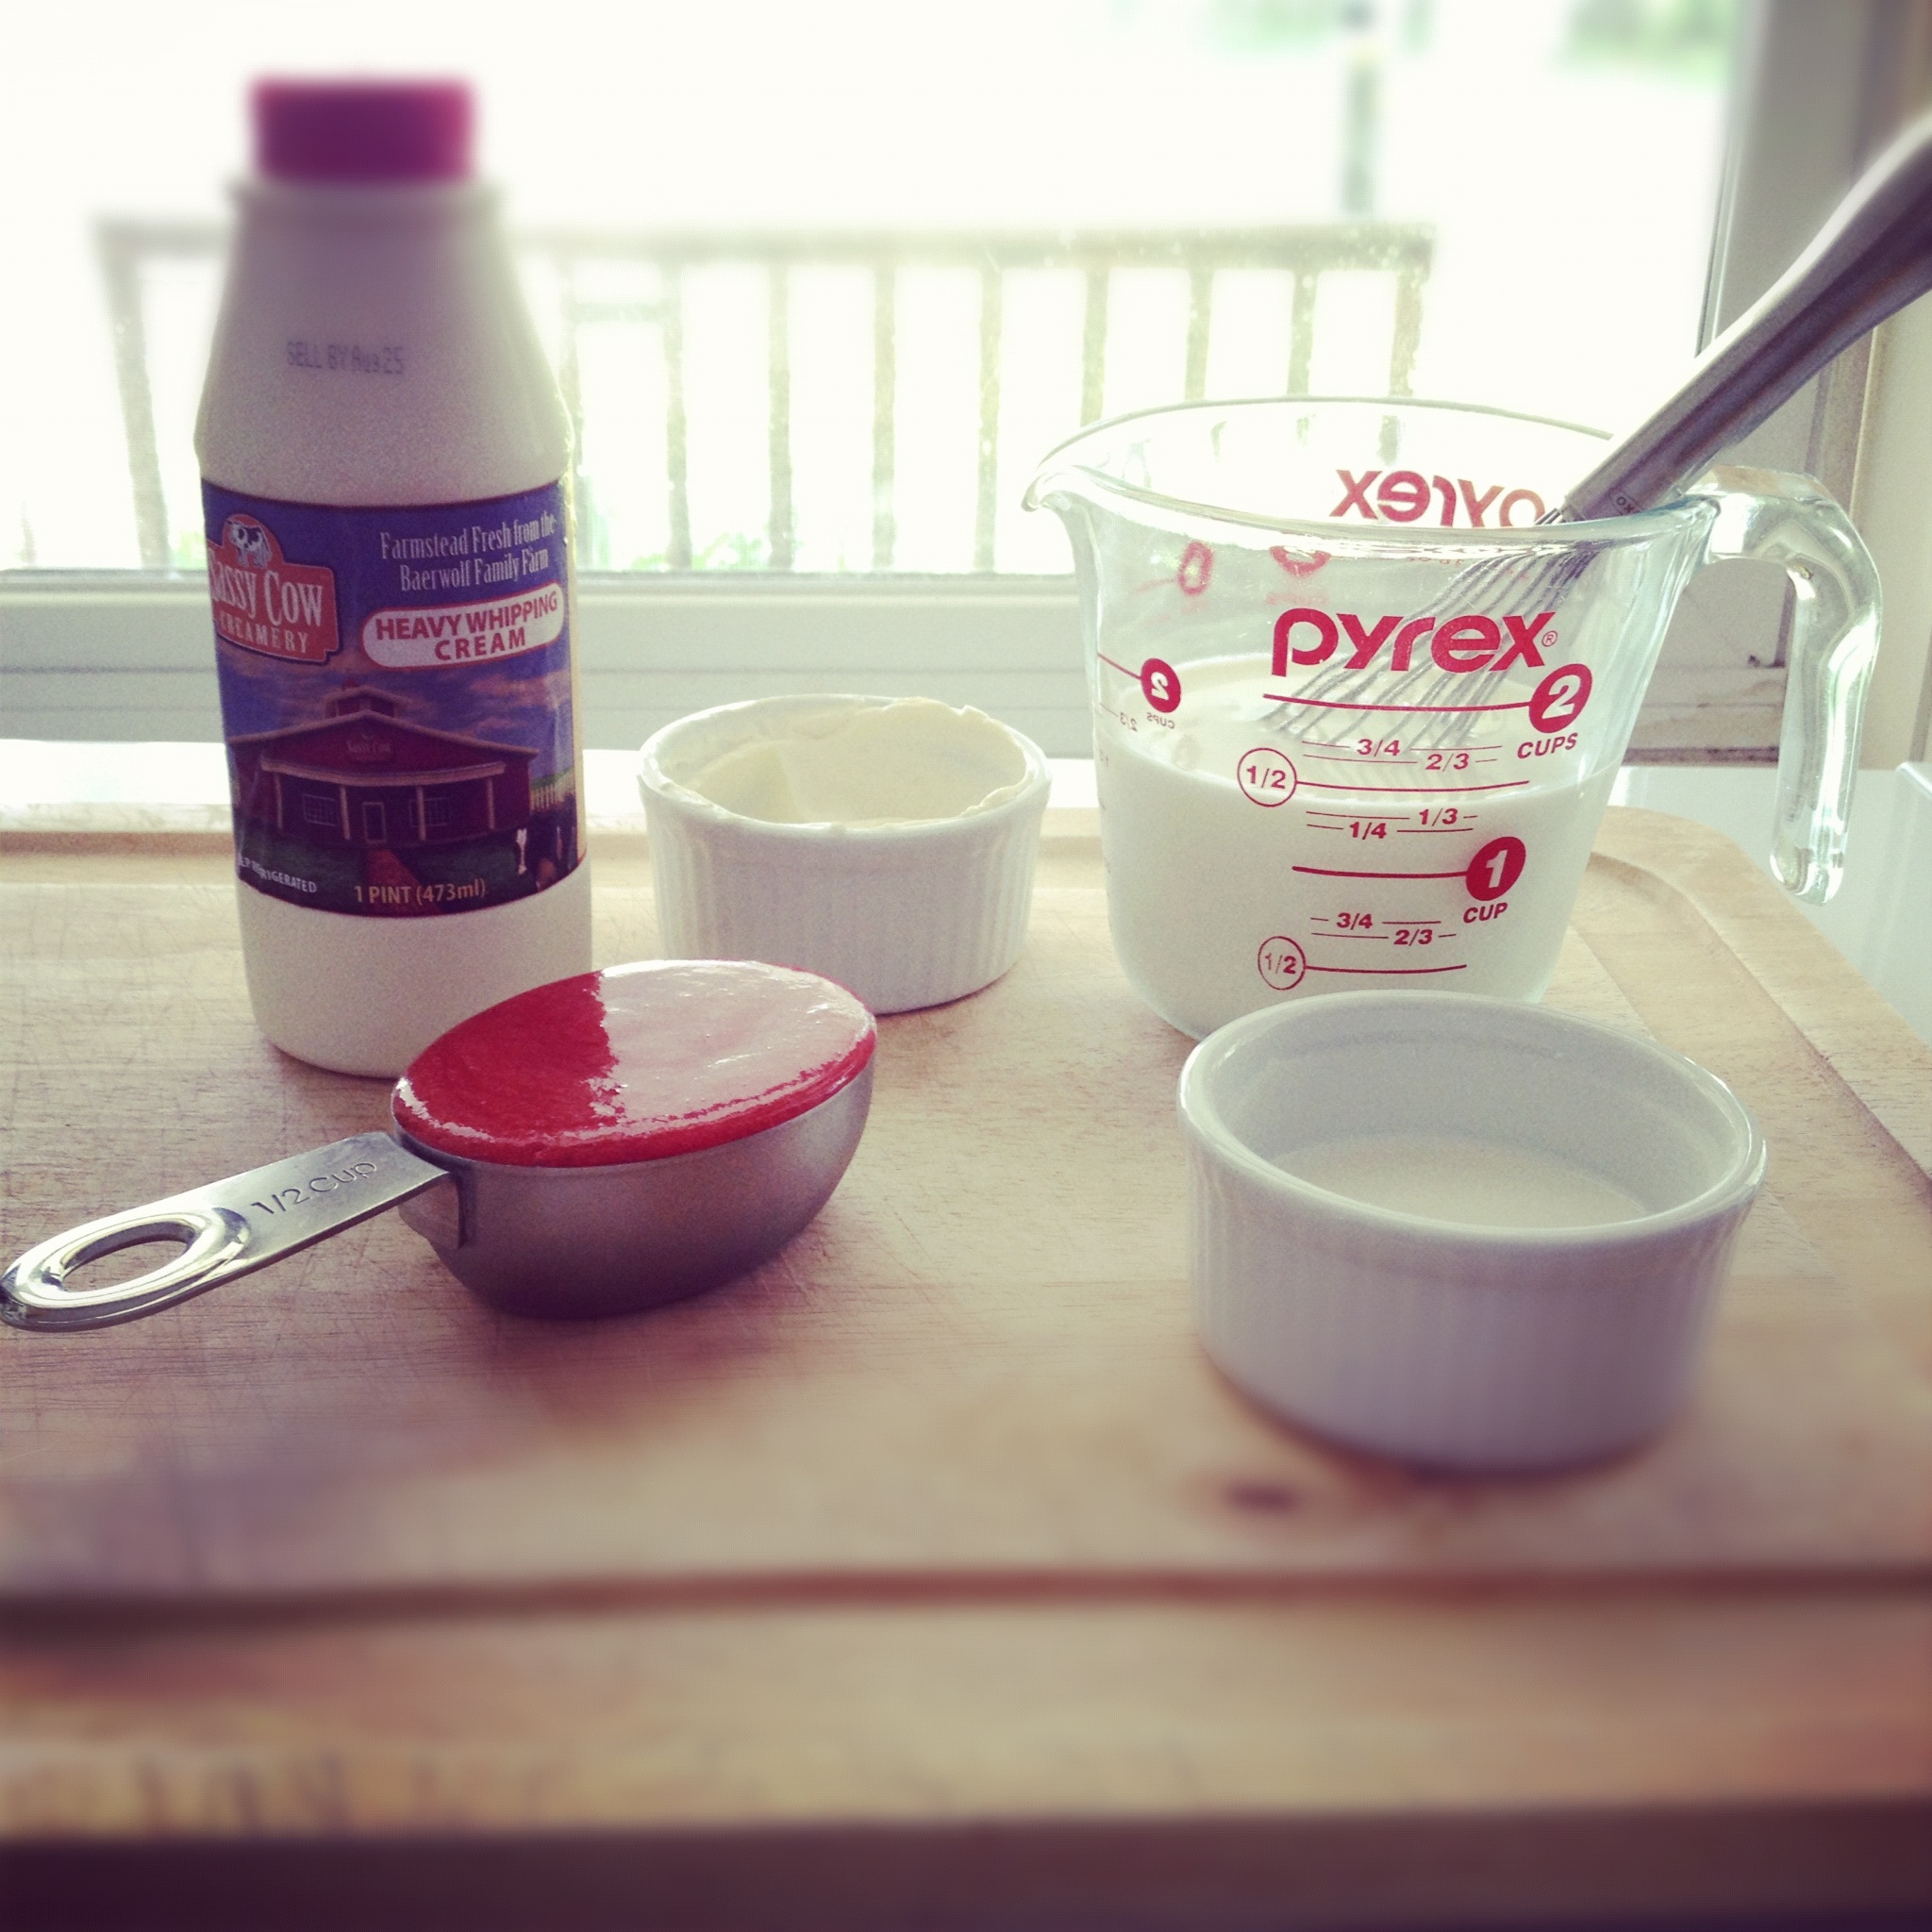
1 1/2 c whole milk
1 1/4 c heavy cream
1/4 c buttermilk
2/3 c sugar
2 T light corn syrup
2 T cornstarch
4 T or 2 oz cream cheese, softened
1/8 tsp fine sea salt
1. Roast the Strawberries: Preheat the oven to 375°. Place the strawberries and sugar in an 8 inch square baking dish and toss to combine. Roast for 8-12 minutes until just softened. Let cool slightly.
Purée the berries in a food processor with the lemon juice. Measure 1/2 cup of the puréed berries; refrigerate the rest of the purée for another use.
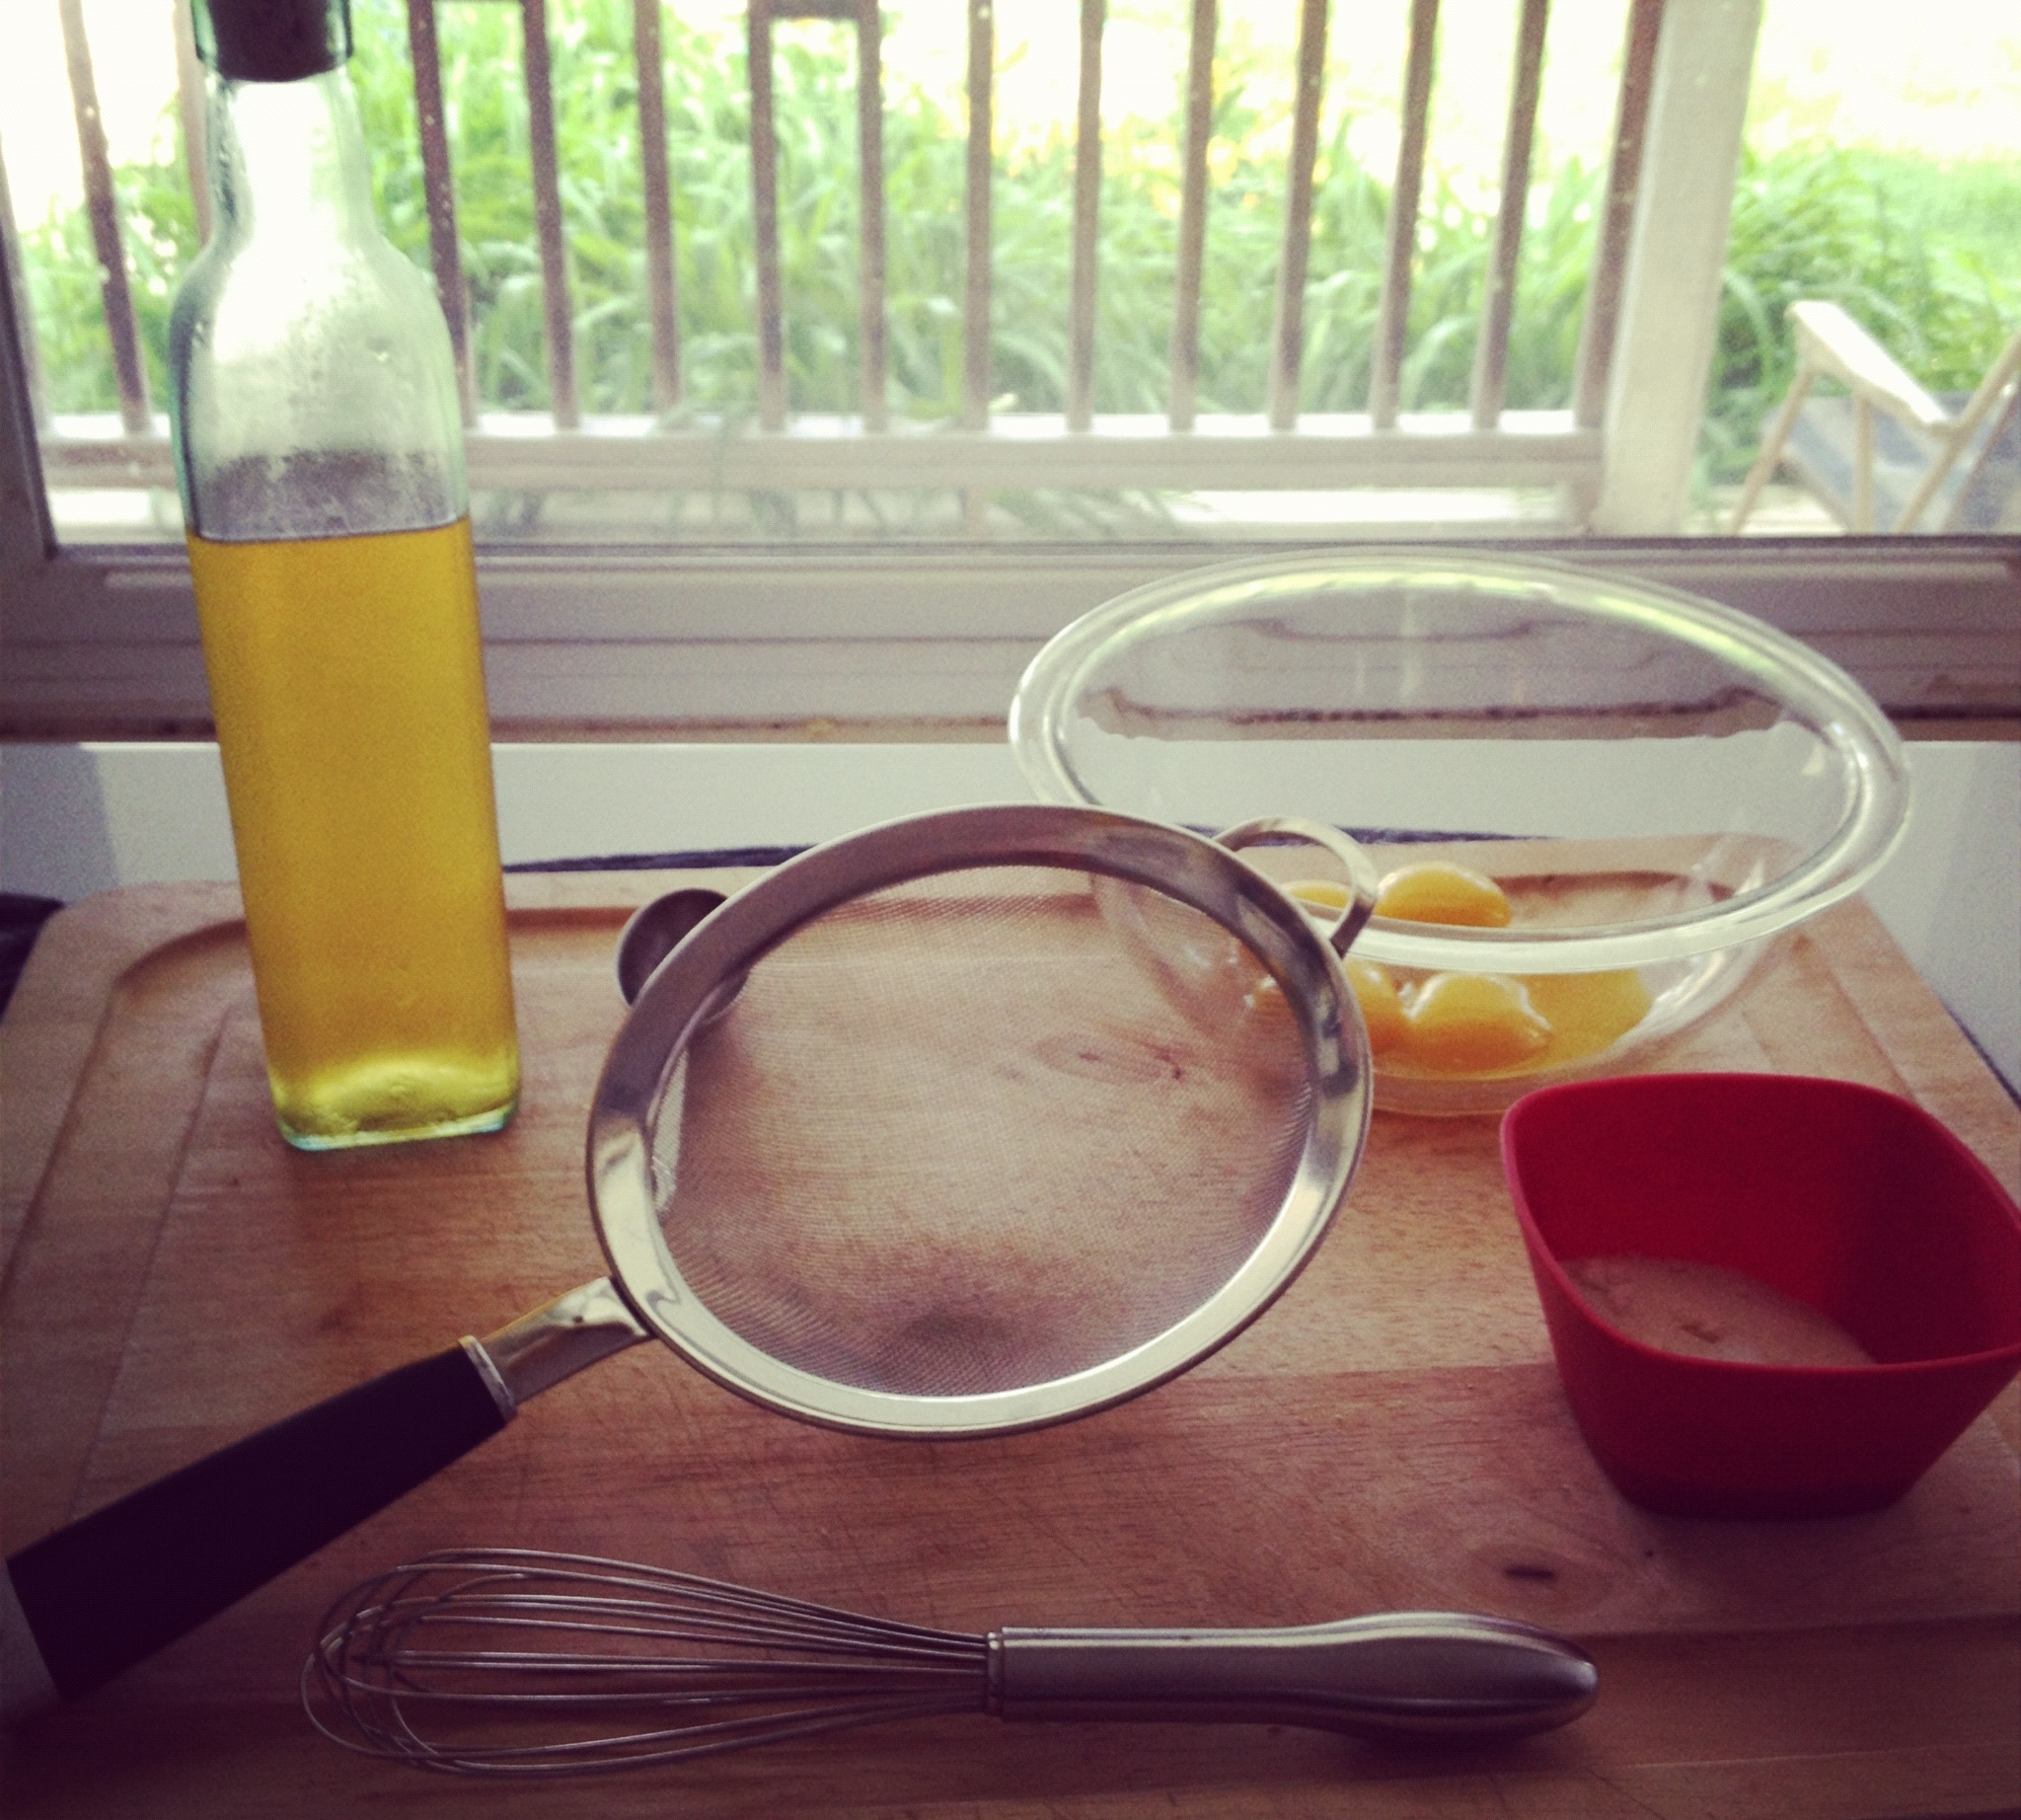
2. Make the Ice Cream Base: Mix 2 tablespoons of the milk with the cornstarch in a small bowl to make a smooth slurry. Whisk the cream cheese and salt in a medium bowl until smooth. Set both aside.
3. Combine the remaining milk, the cream, sugar, and corn syrup and a sauce pan and bring to a rolling boil over medium high heat. Boil for 4 minutes. Remove from the heat and gradually whisk in the cornstarch slurry. Bring the mixture to a boil over medium high heat and cook, stirring with a rubber spatula, until slightly thickened- about 1 minute. Remove from the heat.
4. Chill: Gradually whisk the hot milk mixture into the cream cheese until smooth. Mix the buttermilk into the strawberry purée, then gradually whisk into the ice mixture until well blended. Fill a large bowl with ice and a bit of water to create an ice bath. Pour the ice cream mixture into a 1-gallon Ziploc freezer bag(I just used a glass bowl that fit into another bowl for the ice bath). Submerge the bag in the ice bath. Place the bowl in the fridge and let chill until very cold- at least an hour, or up to overnight. Once cold, pour the ice cream into the frozen canister and spin until thick and creamy- about 25 minutes.
5. Pack the ice cream into a storage container, press a sheet of parchment directly against the surface(I didn’t do this), and seal with an airtight lid. Freeze until firm, about 5 hours.