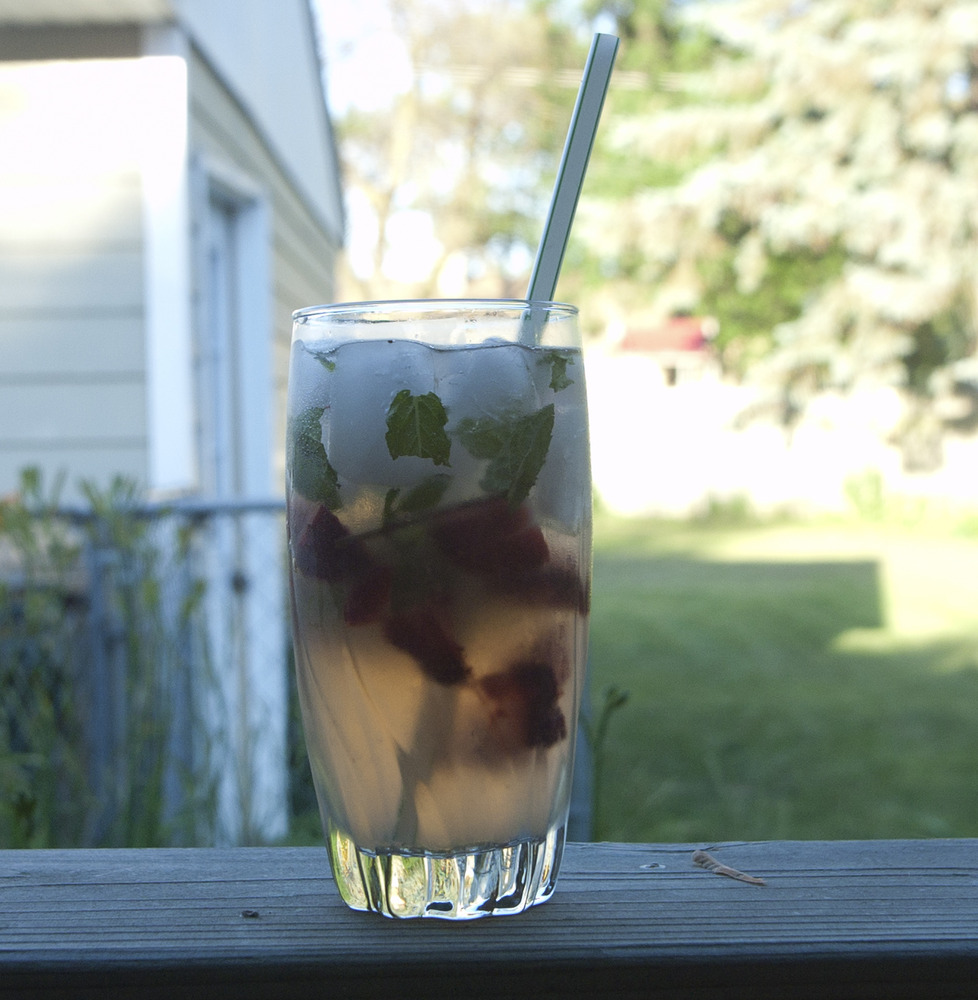
There is a distinct possibility I am sitting here drinking a delicious cocktail. It’s possible that it has strawberry and peach puree in it. And left over cream soda. It’s good. Really, really good. And refreshing. Don’t forget relaxing.
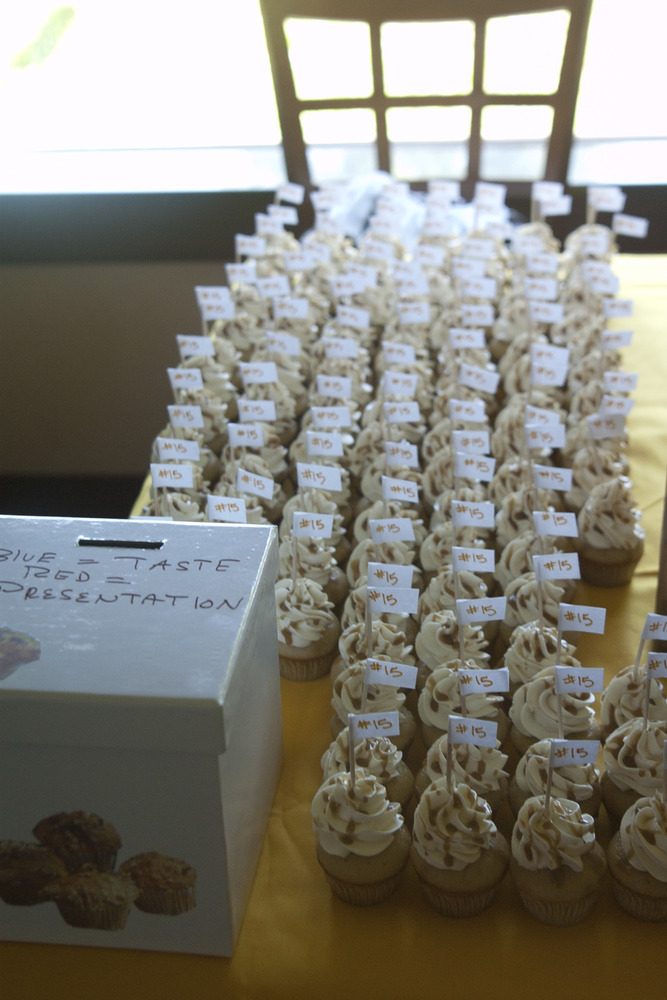
I spent the afternoon handing out cupcakes at Iron Cupcake. It was amazing. If you’re not familiar with Iron Cupcake you really should be. Go to the website. Do it. Now.
This challenge’s theme was children’s books. It was a benefit for the literacy council. My book choice came naturally.
I have a secret. I recently fell in love with Harry Potter. I mean really, I’m slightly obsessed. My mother, the writer, has talked about Harry Potter for years. I’ve only just been converted, previously thinking it silly. Or for kids. And nerdy. Somehow I seemed to have forgotten that I am all of these things. I was wrong. It happens rarely.
I’ve finally finished all of the books and re-watched all of the movies. I love the fantasy of it all. I love the idea that magic can happen, and help someone overcome tragedy. Can I pretend that real life is like a Harry Potter book?
That’s sort of how I feel about cupcakes. I know it sounds ridiculous, and maybe it’s not quite that intense, but a perfect cupcake can work wonders. Pillowy frosting and fluffy cake can work wonders.
I’ve been thinking about cupcakes a lot lately. A fabulous woman I know started the local chapter of Iron Cupcake in Madison. I keep saying I am going to enter next time. This time I did. I started baking for this challenge in March, on a quest to develop the perfect cupcake. I knew I wanted to use Harry Potter as my inspiration, but wasn’t sure how. And then it came to me.
Ding ding, ding, light bulb!
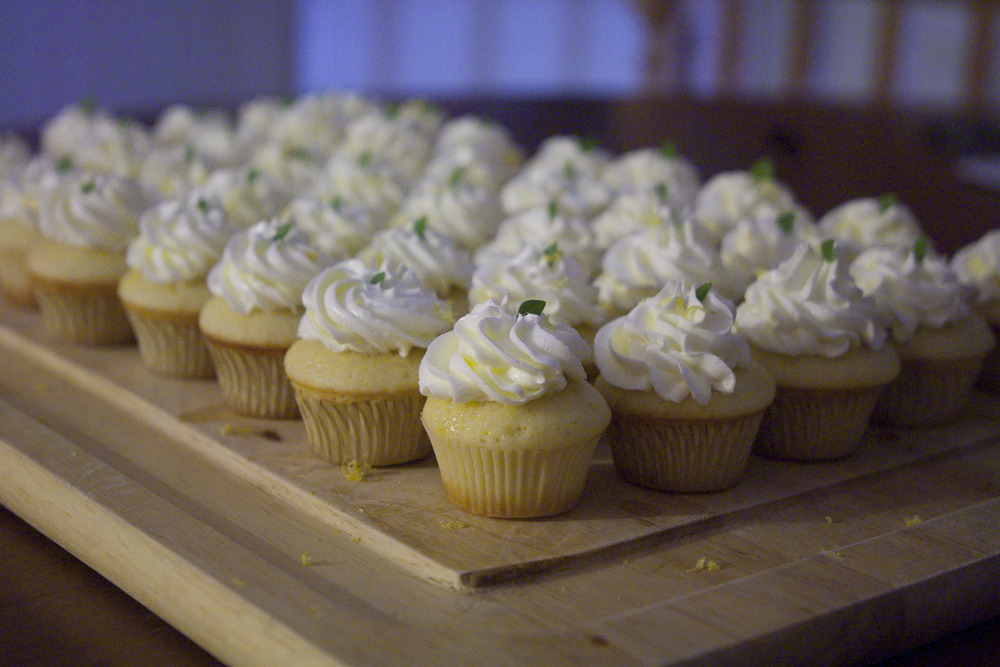
Butterbeer cupcakes.
If you are somehow still ignorant to the universe of Harry Potter let me explain. Butterbeer is a wonderfully frothy beverage served in the land of Hogwarts. It is said to be only slightly alcoholic, and not to inebriate humans, but quite intoxicating to elves. The author of the series has said ” I imagine it to taste a little bit like less sickly sweet butterscotch”.
I couldn’t help but think that a Butterbeer flavored cupcake would be amazing. I thought about them and pondered the recipe for days.
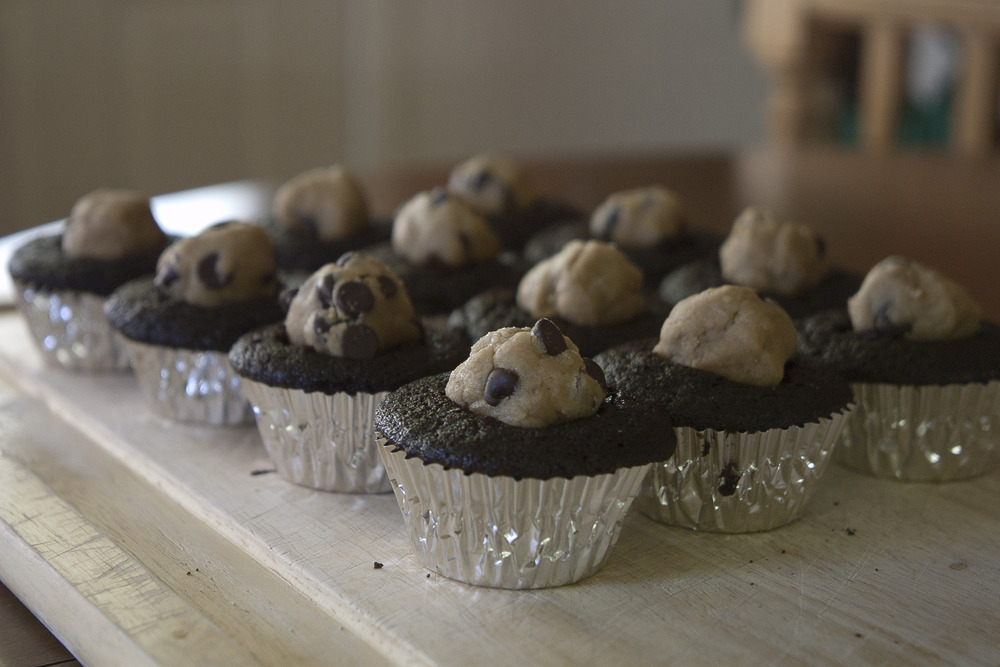
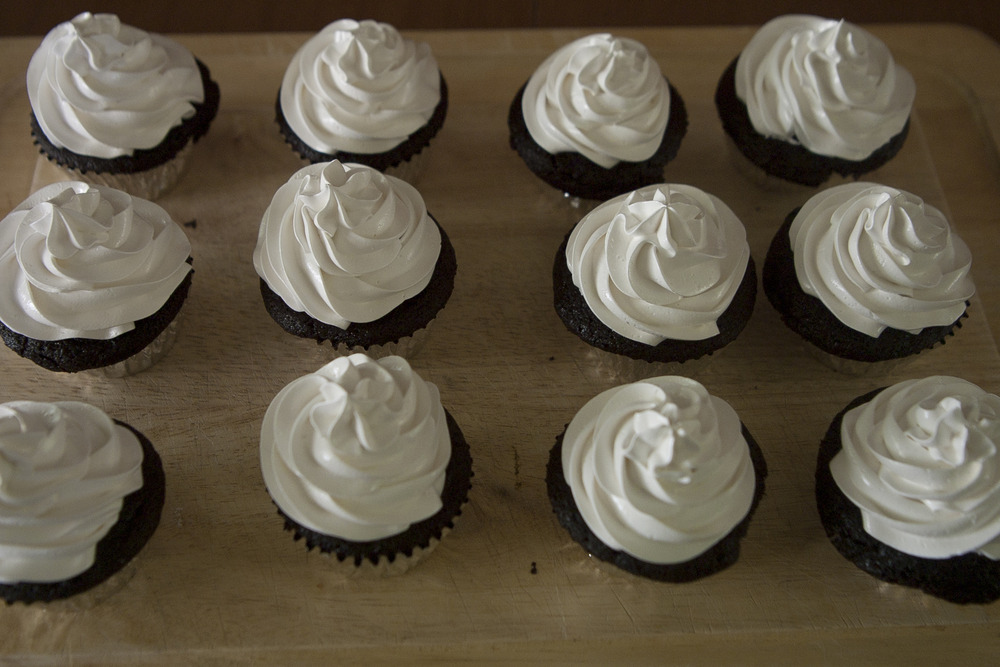
These cupcakes are everything I dreamed. The cake is fluffy and moist, flavored with cream soda and root beer. The frosting is a rich butter cream. Homemade butterscotch touches every part of this cupcake, filling the center, flavoring the frosting and drizzled over the top. This is not a difficult recipe; it is however quite time consuming.
I ended up getting second place in the category “Knock you socks off”. Pretty great in my opinion. This was my first attempt at mass competitive baking. I spent 7 hours on it and countless hours prepping, and it paid off. I may have forgotten to take lots of gorgeous photo’s. These things happen. It’s ok, I’ll make these again.
It’s possible my dog ended up with frosting on her head while I was making it. No big deal. She liked it.
Iron Cupcake was amazing. I am already anticipating the next challenge, in August, which will be summer fruit themed. My lovely garden will be in full bloom by then so I am hoping to use ingredients from my backyard.
So here is the recipe for my Butterbeer cupcakes, go make them for the premiere of the last Harry Potter movie next month, or simply because you want to. You won’t be sorry.
Butterscotch Sauce
Ingredients
4 tablespoons unsalted butter
1 cup packed dark brown sugar
3/4 cup heavy whipping cream
2 tablespoons corn syrup
1 tablespoon vanilla extract
1 scant teaspoon kosher salt
Directions
This recipe takes about a half an hour to completion. I choose to do this step the night before. Also get your ingredients out and ready to go before beginning, this is about as scientific as my cooking gets, but you need to get the timing right on this one.
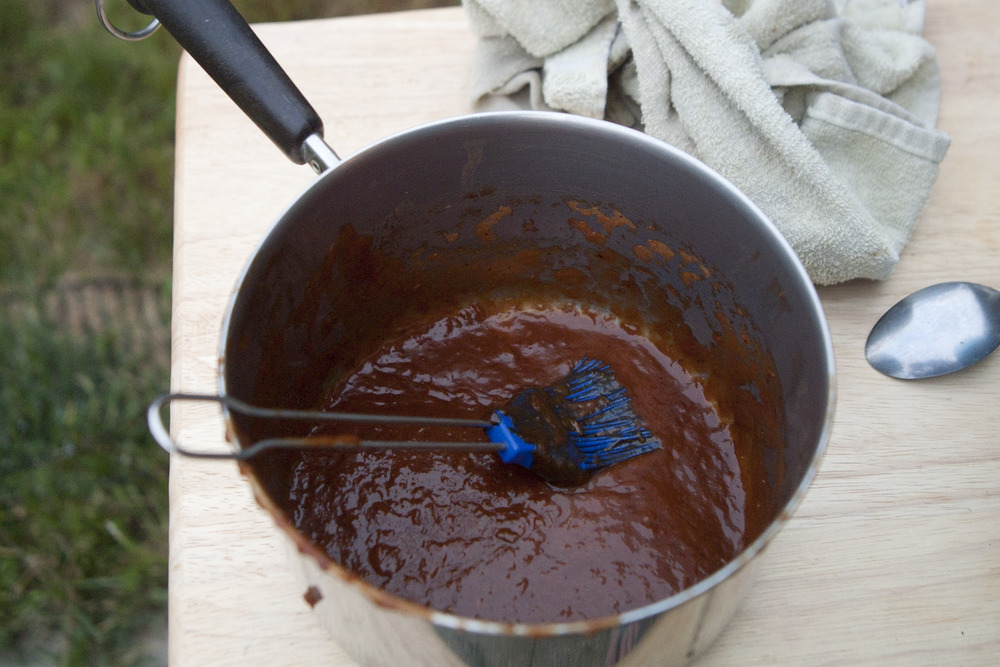
1. In a heavy bottom saucepan (2 quarts should do) melt the butter over medium low heat. As soon as it melts completely add all of the brown sugar at once and stir until all sugar is moistened. Prepare an ice bath.
2. Cook for 5-10 minutes, stirring occasionally until mixture melts and the grainy appearance of the sugar disappears and the mixtures looks more like a liquid.
3. Add the cream all at once. Change over to a whisk at this point. Add the corn syrup.
4. Let mixture boil lightly for 10 minutes. Take a pastry brush dipped in water and brush the sides of the pan occasionally. This will prevent crystallization of the sauce later once it cools. Whisk occasionally.
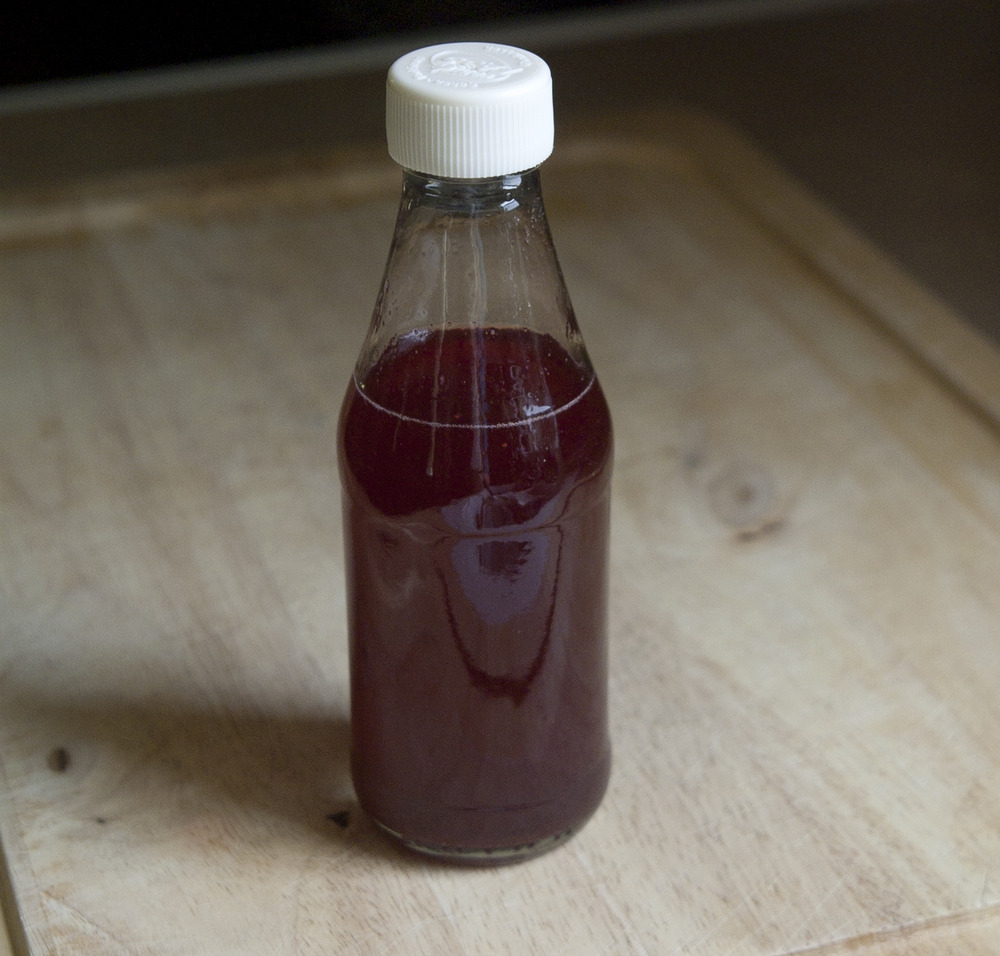
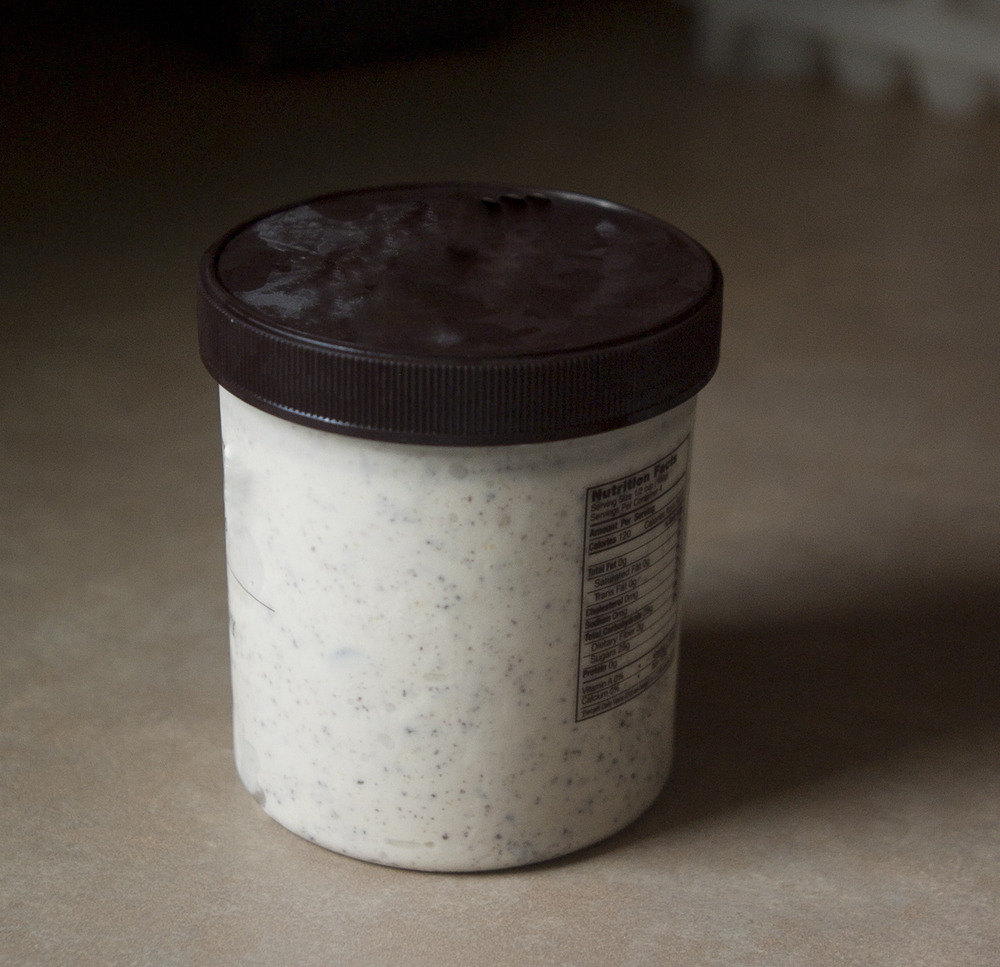
5. This next part is VERY important. Pour the mixture into a heatproof bowl that you have resting in an ice bath. Whisk every few minutes until it reaches room temperature. Add salt and vanilla. Once cooled transfer to a squeeze bottle. You can pick one up for under $1. The sauce will keep for a week or two capped tightly in the fridge.
Butterbeer Cupcakes
Makes 24 regular or 81 mini cupcakes
Ingredients
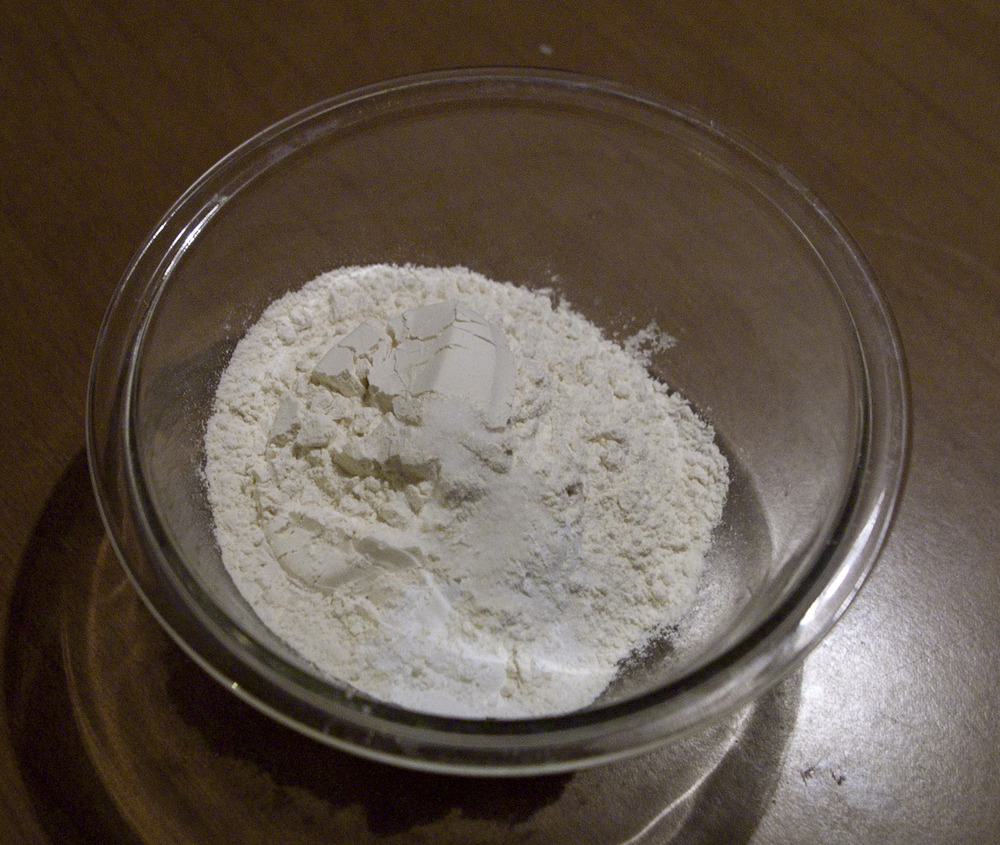
2 1/2 cups all purpose flour
2 cups cake flour
2 1/4 teaspoons baking powder
1 1/4 teaspoons salt
3/4 cup whole milk
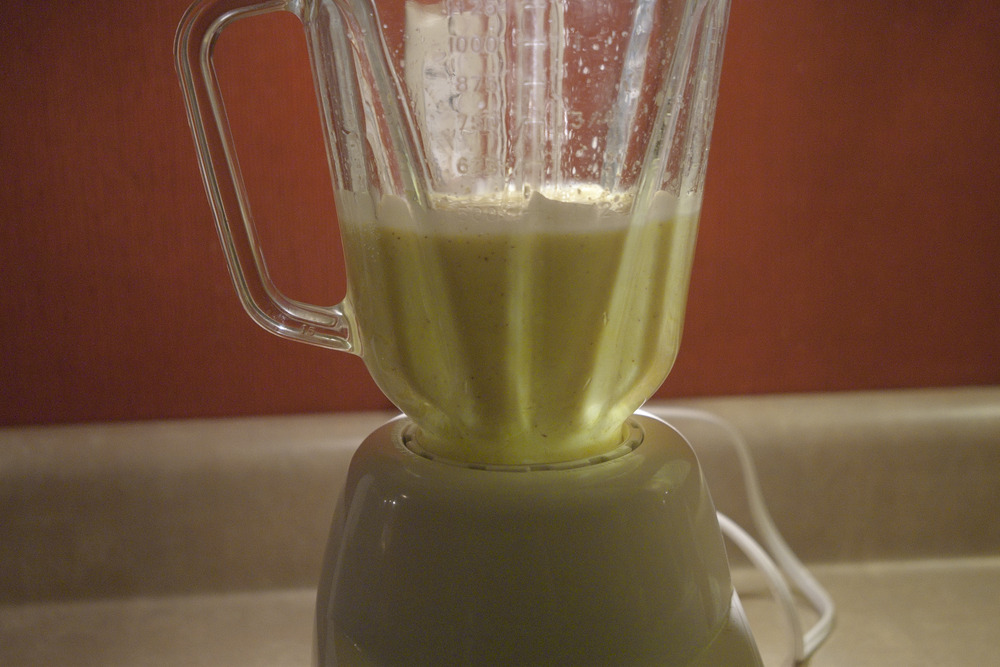
1/4 cup cream soda
1/4 cup root beer
1 tablespoon vanilla extract
2 sticks plus 2 tablespoons butter, softened
1 1/2 cups sugar
3/4 cup brown sugar
6 large eggs
Directions
1. Preheat oven to 350 degrees. Line 12-cup muffin tins with baking cups.
2. Whisk together flours, baking powder and salt in a small bowl. Stir milk, cream soda, root beer and vanilla in another small bowl. Beat butter in mixer on medium speed until light and fluffy, approximately 3 minutes. Add sugars slowly while mixing. Beat until pale and fluffy, about 3 minutes. Beat in eggs 1 at a time, mixing after each addition. Scrape bowl and beat until smooth.
3. Reduce speed and slowly add 1/3 of flour mixture. Alternate adding milk mixture and flour mixture until all ingredients added.
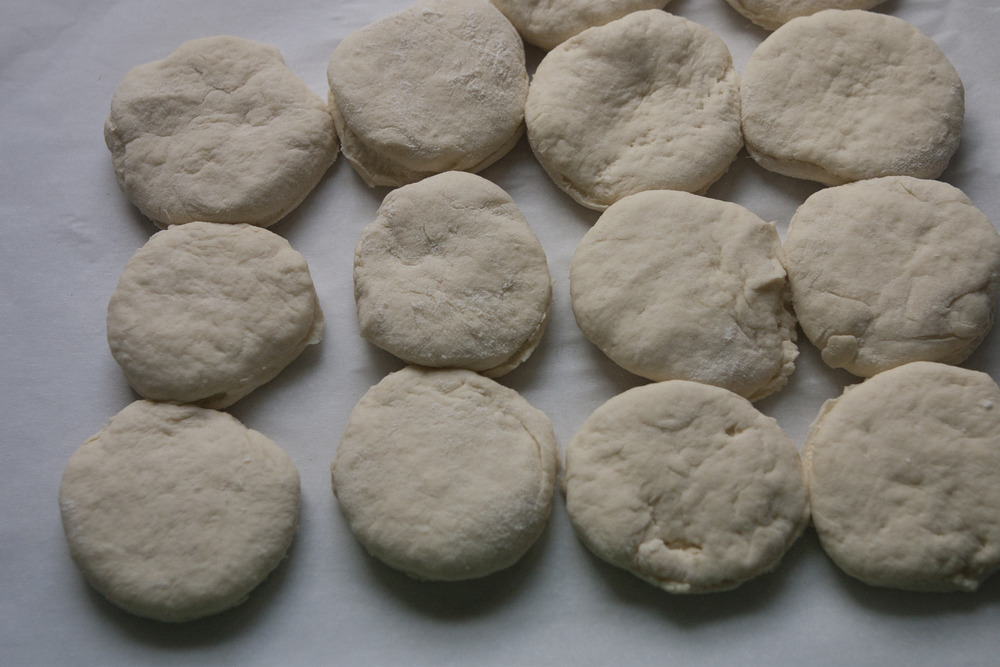
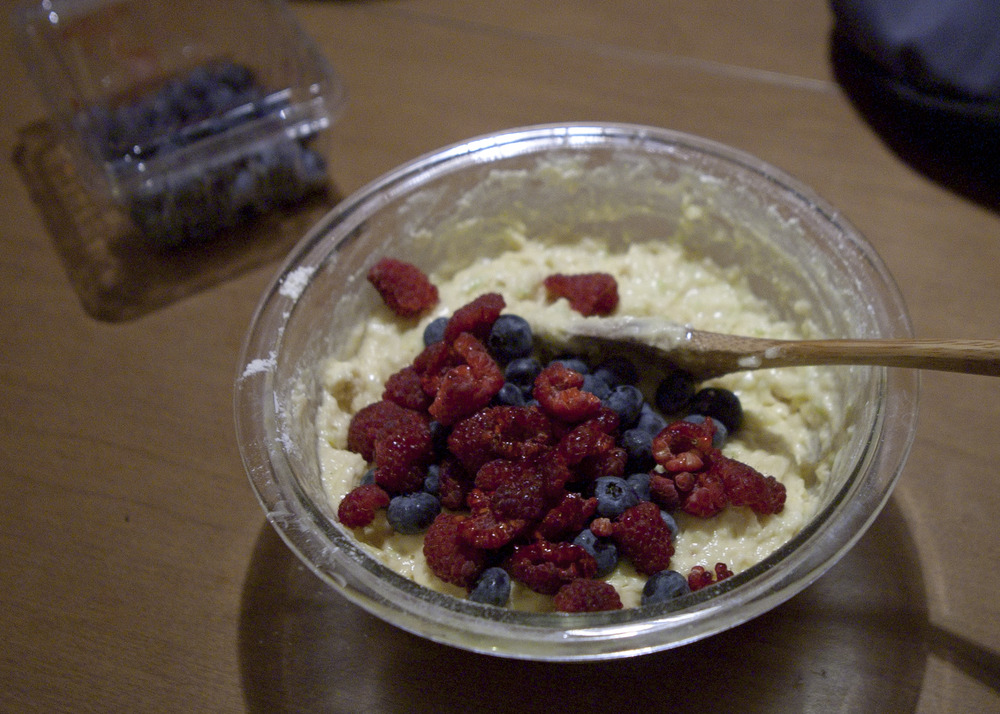
4. Divide batter among muffin tins. Using a small cookie scoop is the easiest way to do this, filling each cup with two large scoops (one scoop if doing mini cupcakes). Bake until a toothpick comes out clean, about 20-25 minutes (about 14 minutes for mini cupcakes). Let cool slightly. Using a squeeze bottle, fill cupcakes with butterscotch sauce. Put the tip on the bottle into the cupcake until it almost touches the bottom. Squeeze out sauce until it fills cupcake and a dollop comes out the top. Frost with Butterbeer frosting. Drizzle with butterscotch sauce.
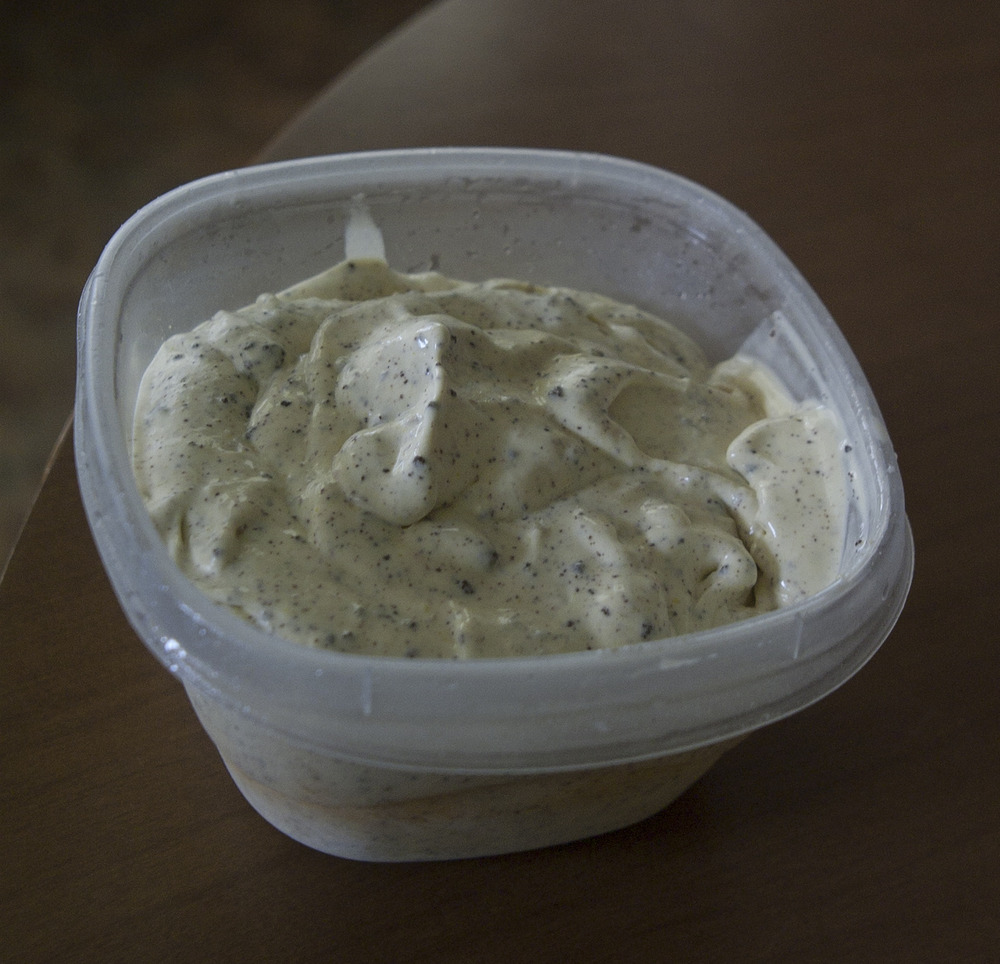
Butterbeer Frosting
Ingredients
1 cup sugar
5 large egg whites
4 sticks unsalted butter cut into tablespoons
1/4 cup butterscotch sauce
Directions
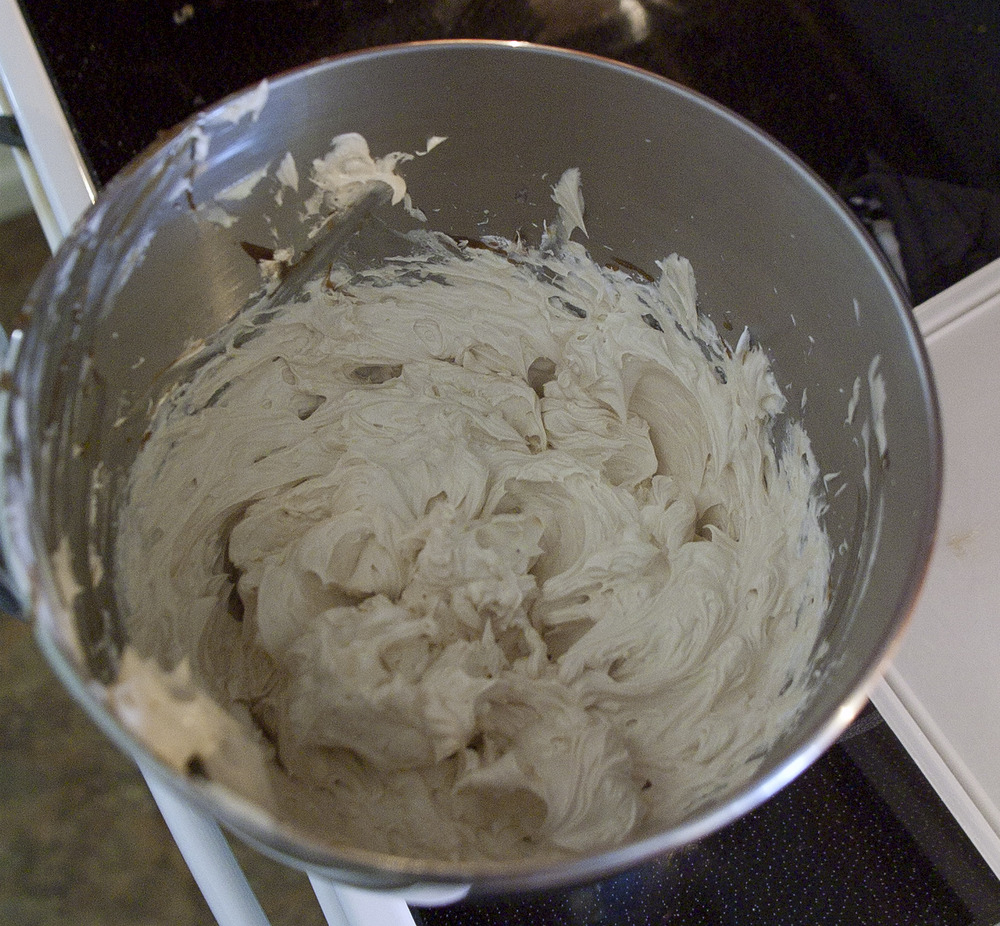
Buttercream frosting can be scary sometimes. Especially when it’s warmer outside. Halfway through the process you may think you have ruined the frosting. It may look like it’s too thin. Don’t worry, just keep going. Once you add all the butter it will firm up. If it doesn’t, turn the mixer to high, it will come together after a few spins.
1. Place heat proof mixing bowl over pan of simmering water. Add egg whites and sugar, whisking occasionally until temperature reads 160 degrees on a candy thermometer.
2. Transfer bowl to mixer and beat on medium speed for 5 minutes. Turn speed up to medium high and beat for another 6 minutes. Add butter 1 tablespoon at a time, mixing well after each addition. Add butterscotch and mix thoroughly.